Photo-based planning
How to design a flower bed from a photo
The short answer
A single yard photo can show the bed's shape, view, and fixed features, but it cannot tell you whether every plant will fit. Use the photo to explore a beautiful planting direction and a starting plant list, then check the real bed's light, drainage, measurements, mature spread, and local plant fit before buying.
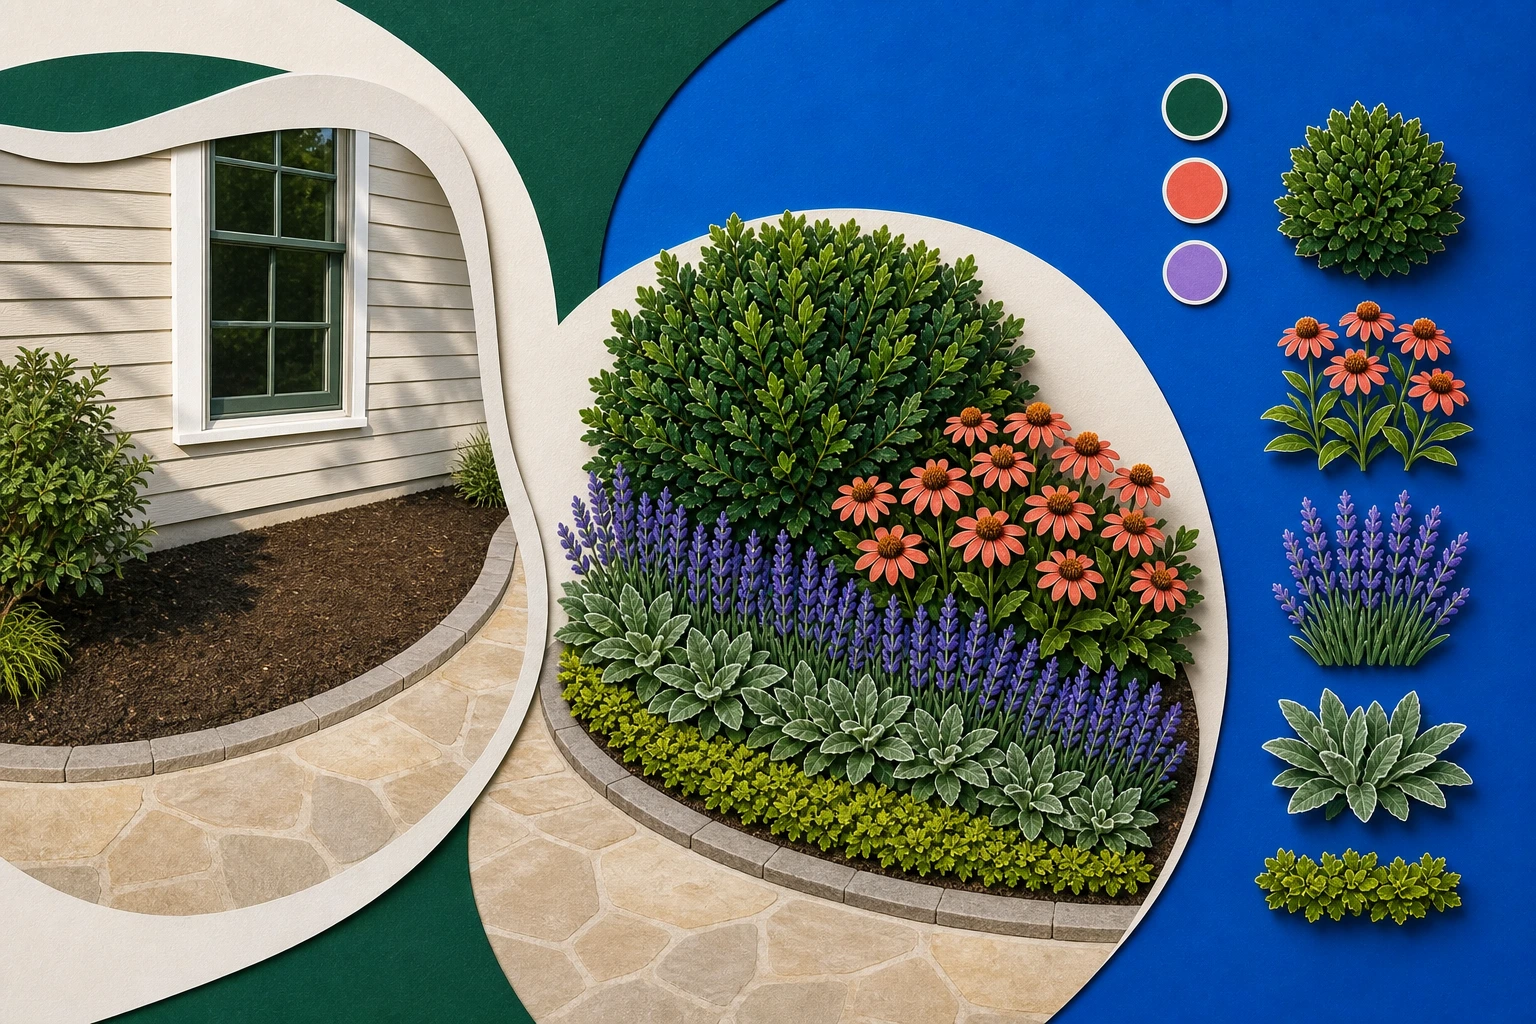
Use the photo to map the bed before choosing plants
A flower bed can look like a collection of empty spots when you are standing in it. In a photo, you can see the larger question: where should the planting feel full, where should the window stay clear, and which route still needs to work?
Take a straight-on photo that includes the full bed, the house or fence behind it, and the path or lawn edge in front. Leave doors, windows, steps, trees, utility covers, and anything you plan to keep in the frame.
Landscape plans begin with fixed features and bed shapes, then place structural plants, focal plants, and filling masses. A photo supports that order, but it does not confirm soil, drainage, utilities, or the light the bed receives across the day.1
Turn the photo into a bed plan
Whether you are sketching by hand or testing an idea with a photo tool, use this order: mark what must stay, place the largest plant groups, then repeat a few groups so the bed reads as one composition.
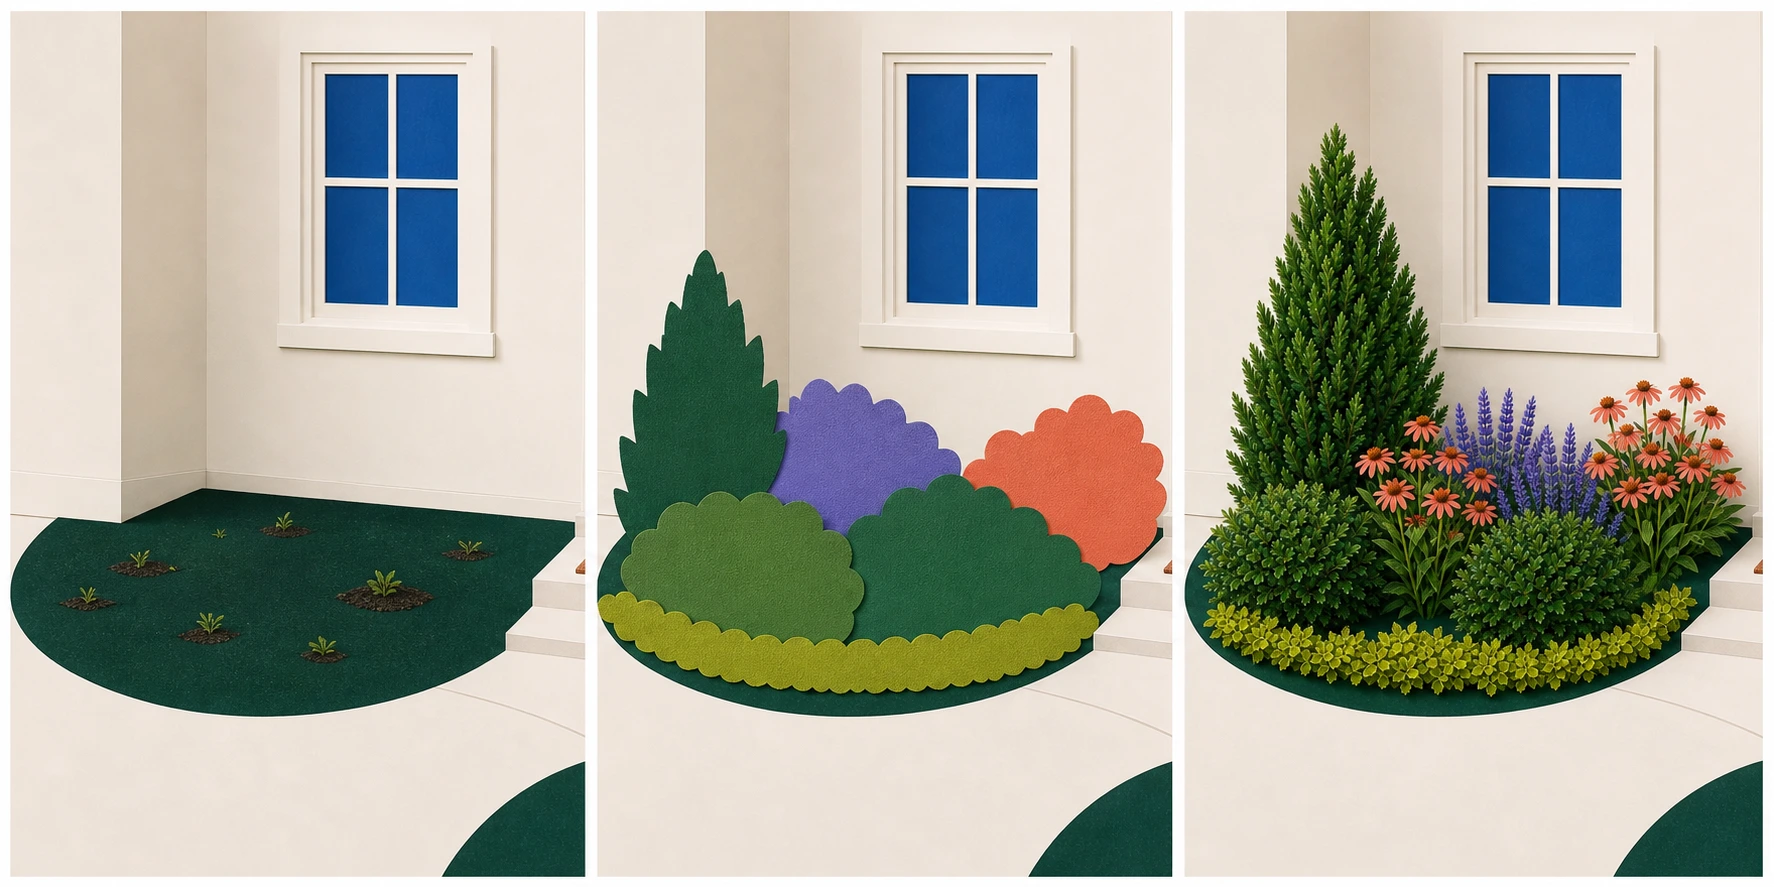
- 1. Mark what must stay
- 2. Place the largest plant groups
- 3. Repeat a few plant groups
- 1
Mark what must stay
Outline the area you can plant and note the path, steps, tree root zones, utility covers, and existing plants that stay. Treat those as constraints, not empty spots to fill.
- 2
Place the largest plant groups
Block in the largest shrub, ornamental grass, or broad perennial group before naming flowers. Keep the window, wall, and entry path readable at mature size.
- 3
Repeat a few plant groups
Repeat one flowering or foliage group in connected masses. Add a low edge only where it helps the bed meet a path or lawn, leaving room for mature spread and maintenance.
Worked example: a bed below one window
This example shows the order of decisions, not a plant list to copy. Adapt the roles to your light, climate, soil, water, and mature clearances.
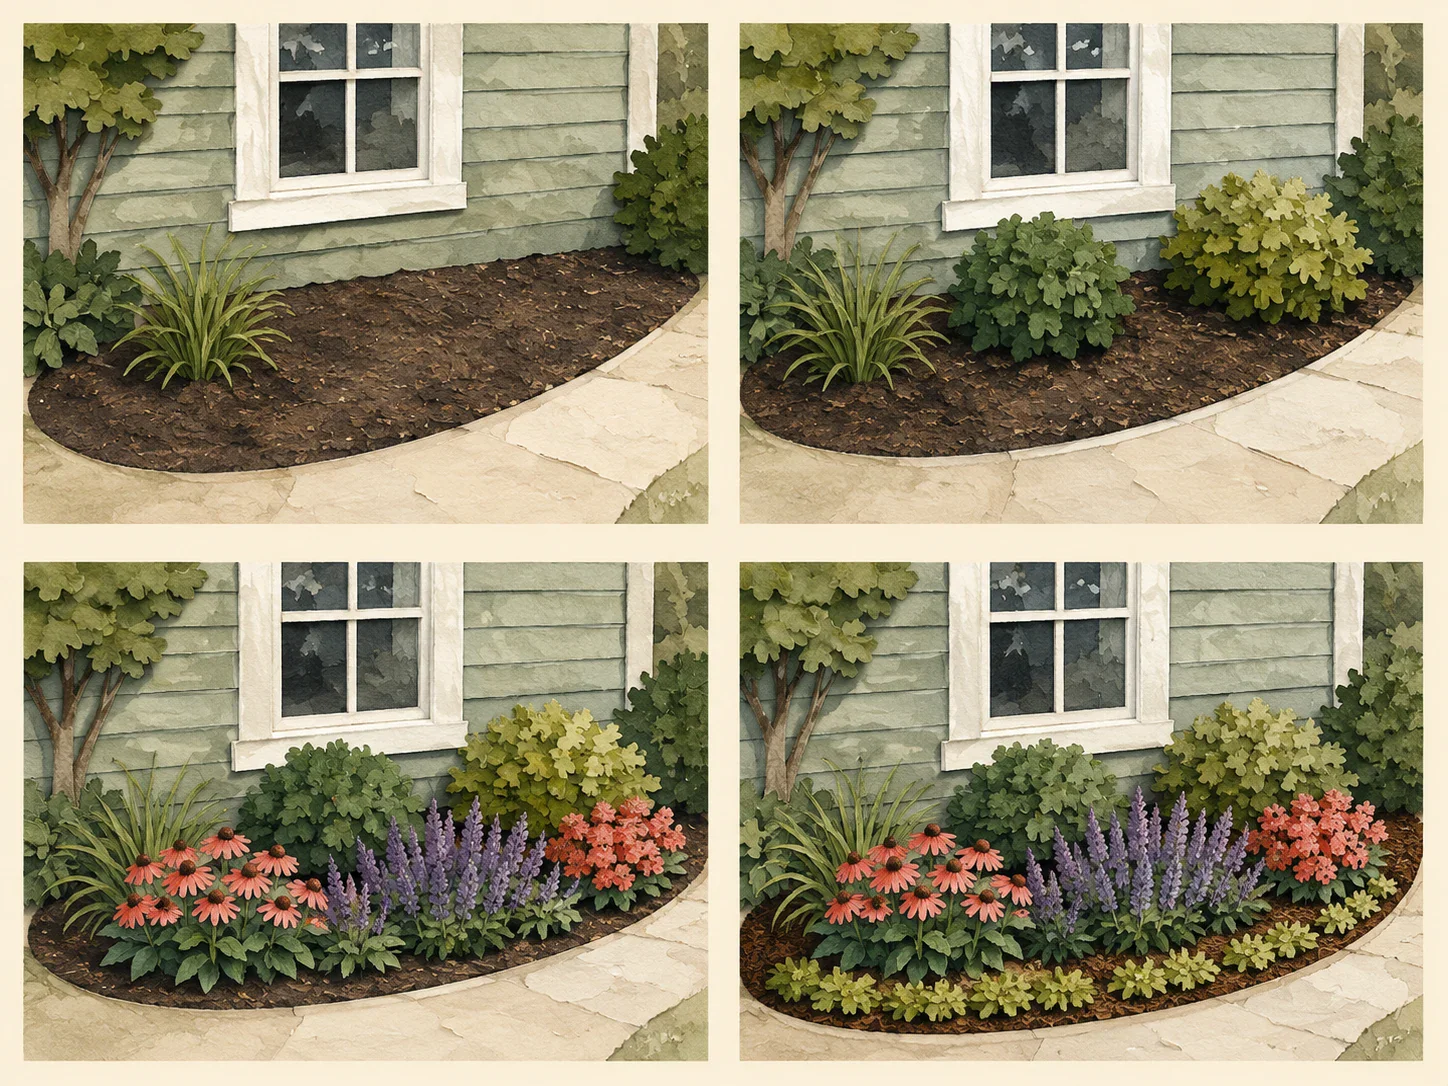
Keep the window and path readable at maturity
Assume the bed sits below one window, receives morning sun, and has no existing shrubs to keep. Confirm those assumptions in the real yard before choosing plants.
- 1
Protect the open view
Keep the center below the window and the path edge readable. This gives later plant groups a frame instead of filling every visible gap.
- 2
Place structure
Set two compact shrubs apart from the wall. Their mature widths should balance the window without blocking it or crowding the path.
- 3
Repeat flowering groups
Use the same flowering role in more than one group so color reads across the bed instead of as isolated dots.
- 4
Finish the edge
Add a leaf texture that still works before and after bloom, then space a low edge along the path with room for mature spread.
The useful output is the relationship between the roles. Choose exact plants and quantities only after you measure the bed and check the site.
Verify the bed before you buy
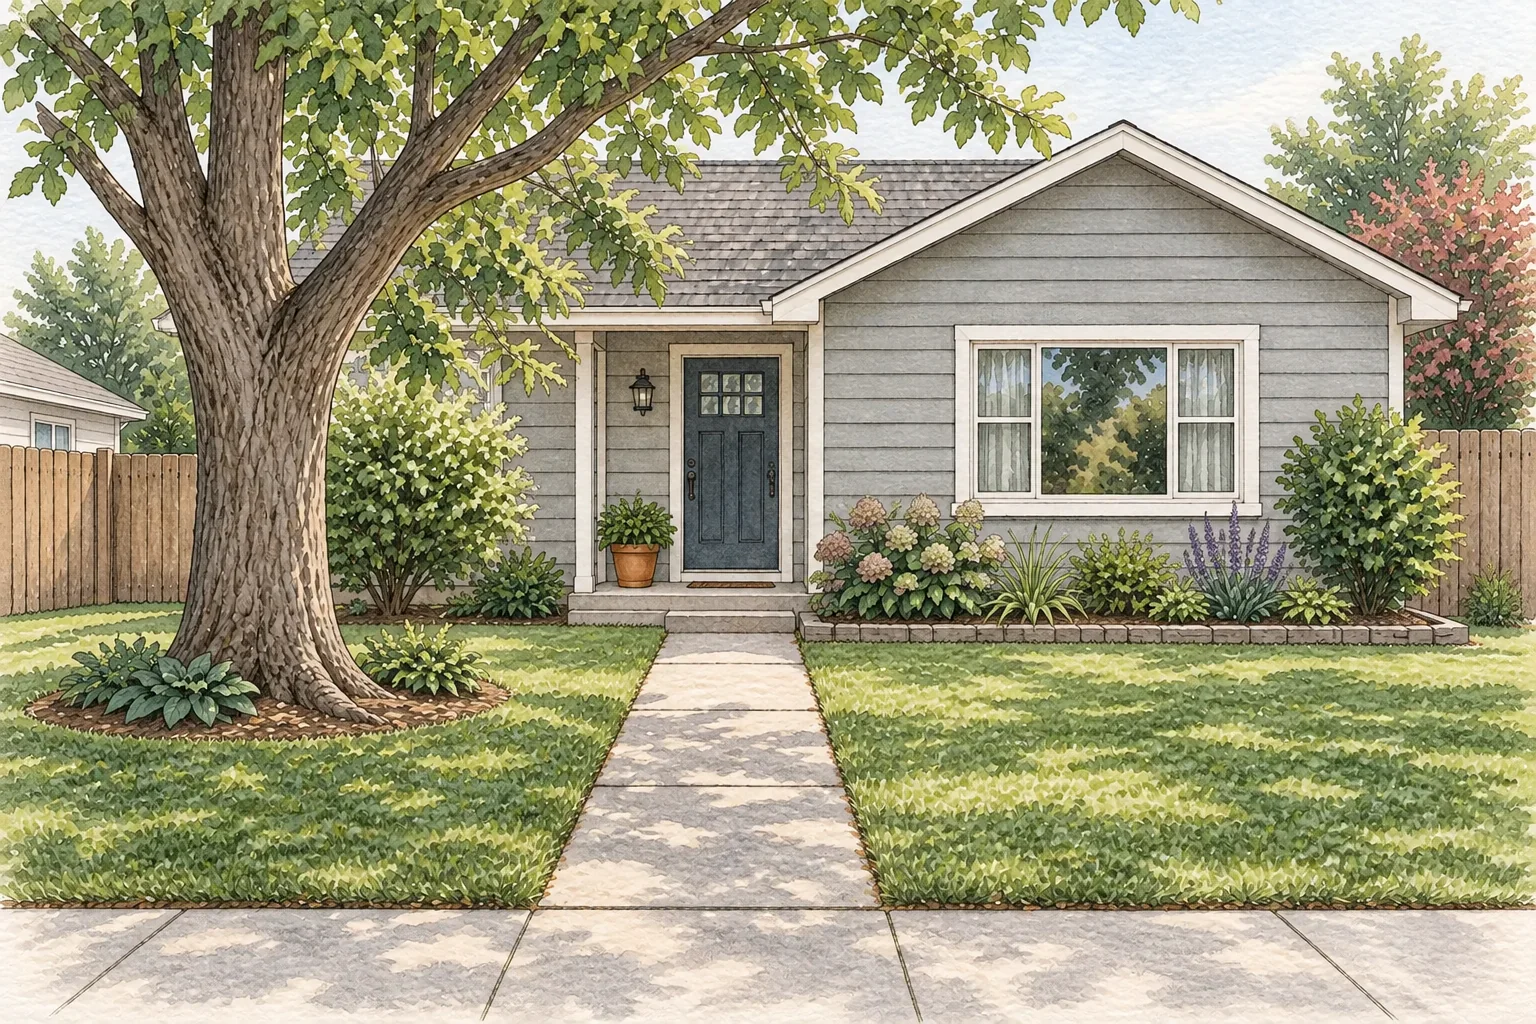
The photo gives you a visual direction. Three quick checks keep that direction grounded in the real bed.
1
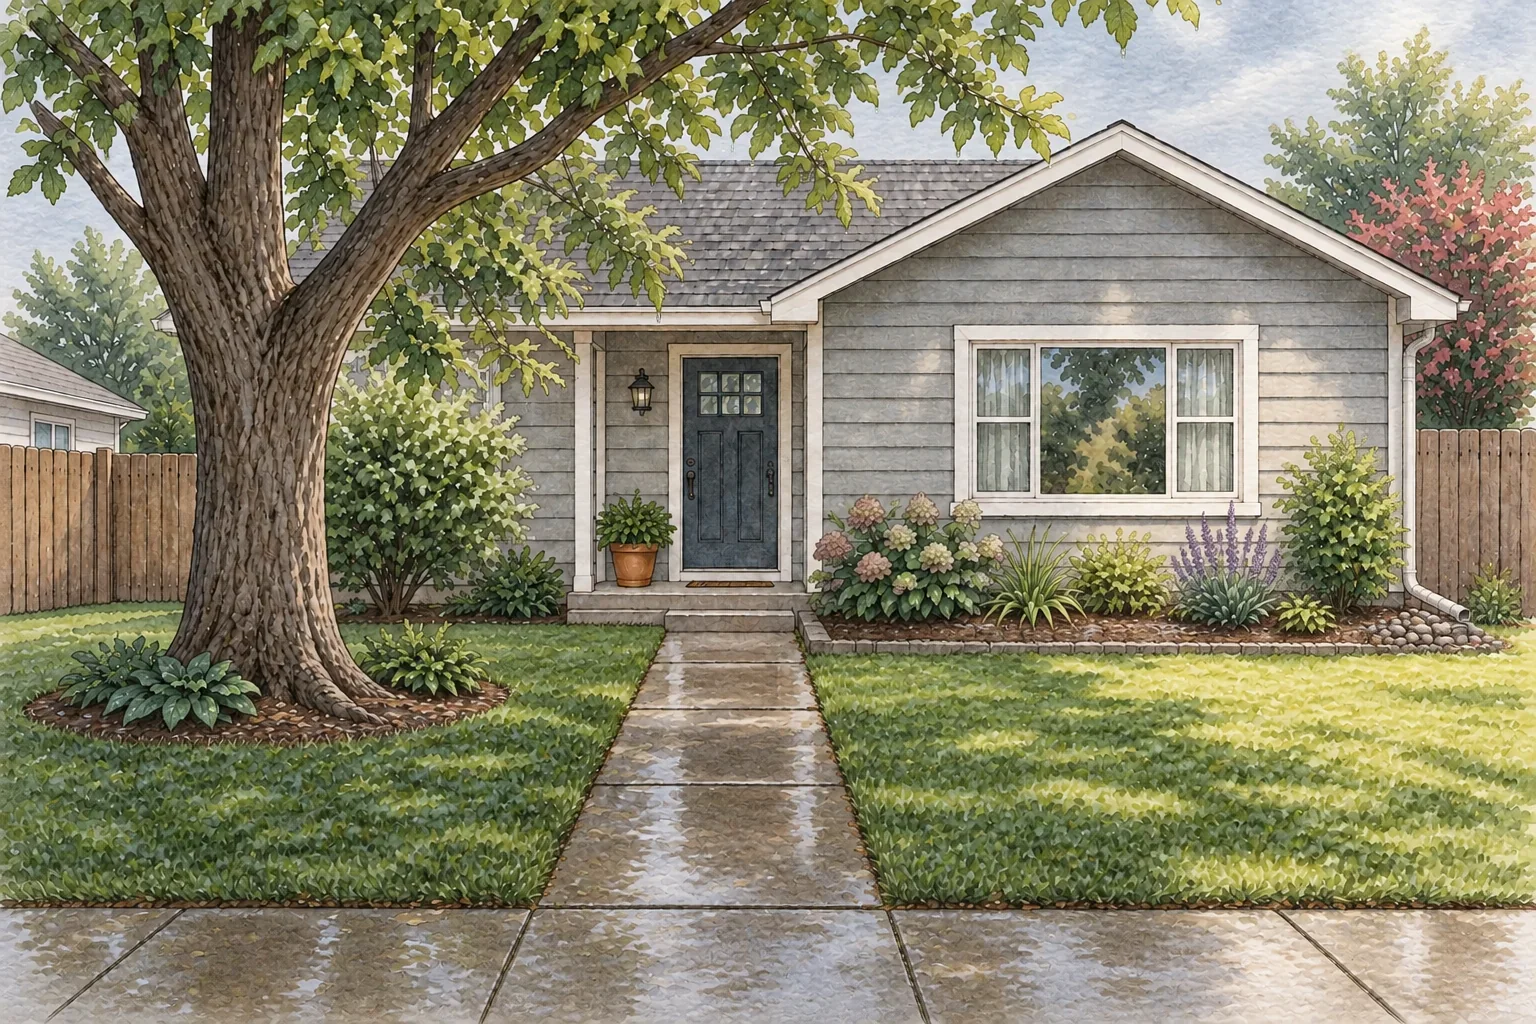
Frame the scene
Keep the window, path, wall, and anything that must remain in view. The photo is useful for composition only when the parts you need to protect are visible.
2
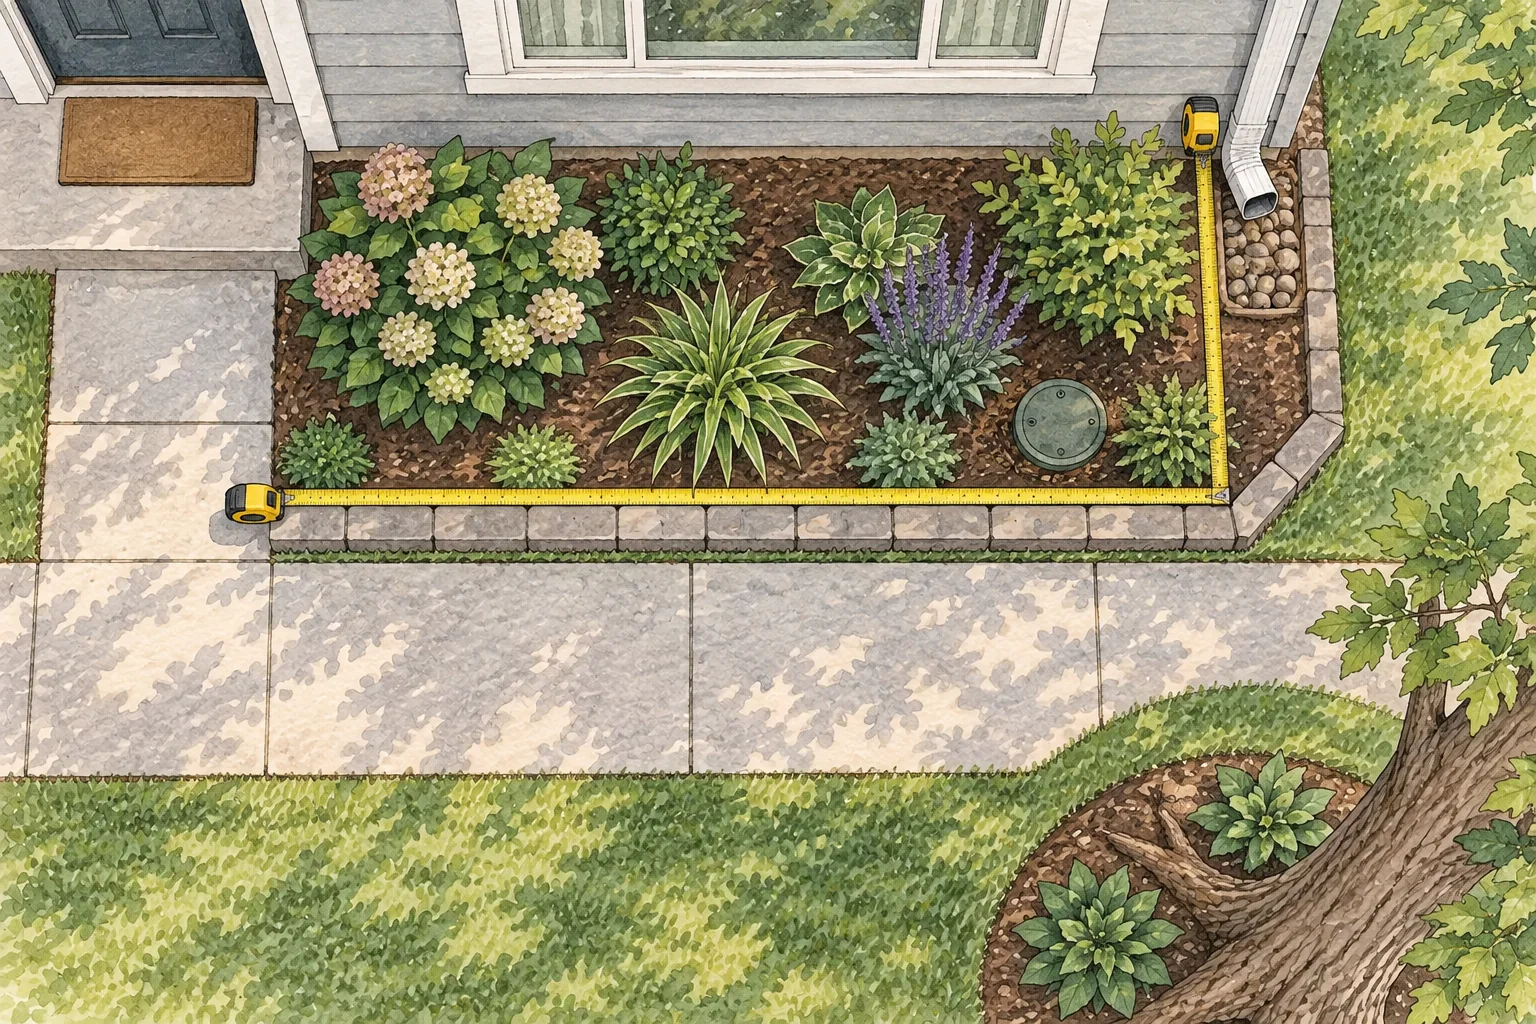
Measure the bed
Locate utilities, irrigation, downspouts, vents, roots, and covers, then measure plantable space rather than estimating from perspective.
3
Observe light and water
Watch the bed morning, midday, and late afternoon, note where water collects after meaningful rain, and confirm each plant's mature size and local fit before buying.
Use the photo to make the layout easier to see. Use the real bed to decide what belongs there.
Use Gardenful after you map the bed
Once you know the bed boundary, viewing angle, light, and measurements you need to verify, Gardenful can help you explore a beautiful planting direction from the same yard photo. Select the area you want to change, review the visual direction, then use the design notes and plant list as a brief for the checks that remain.
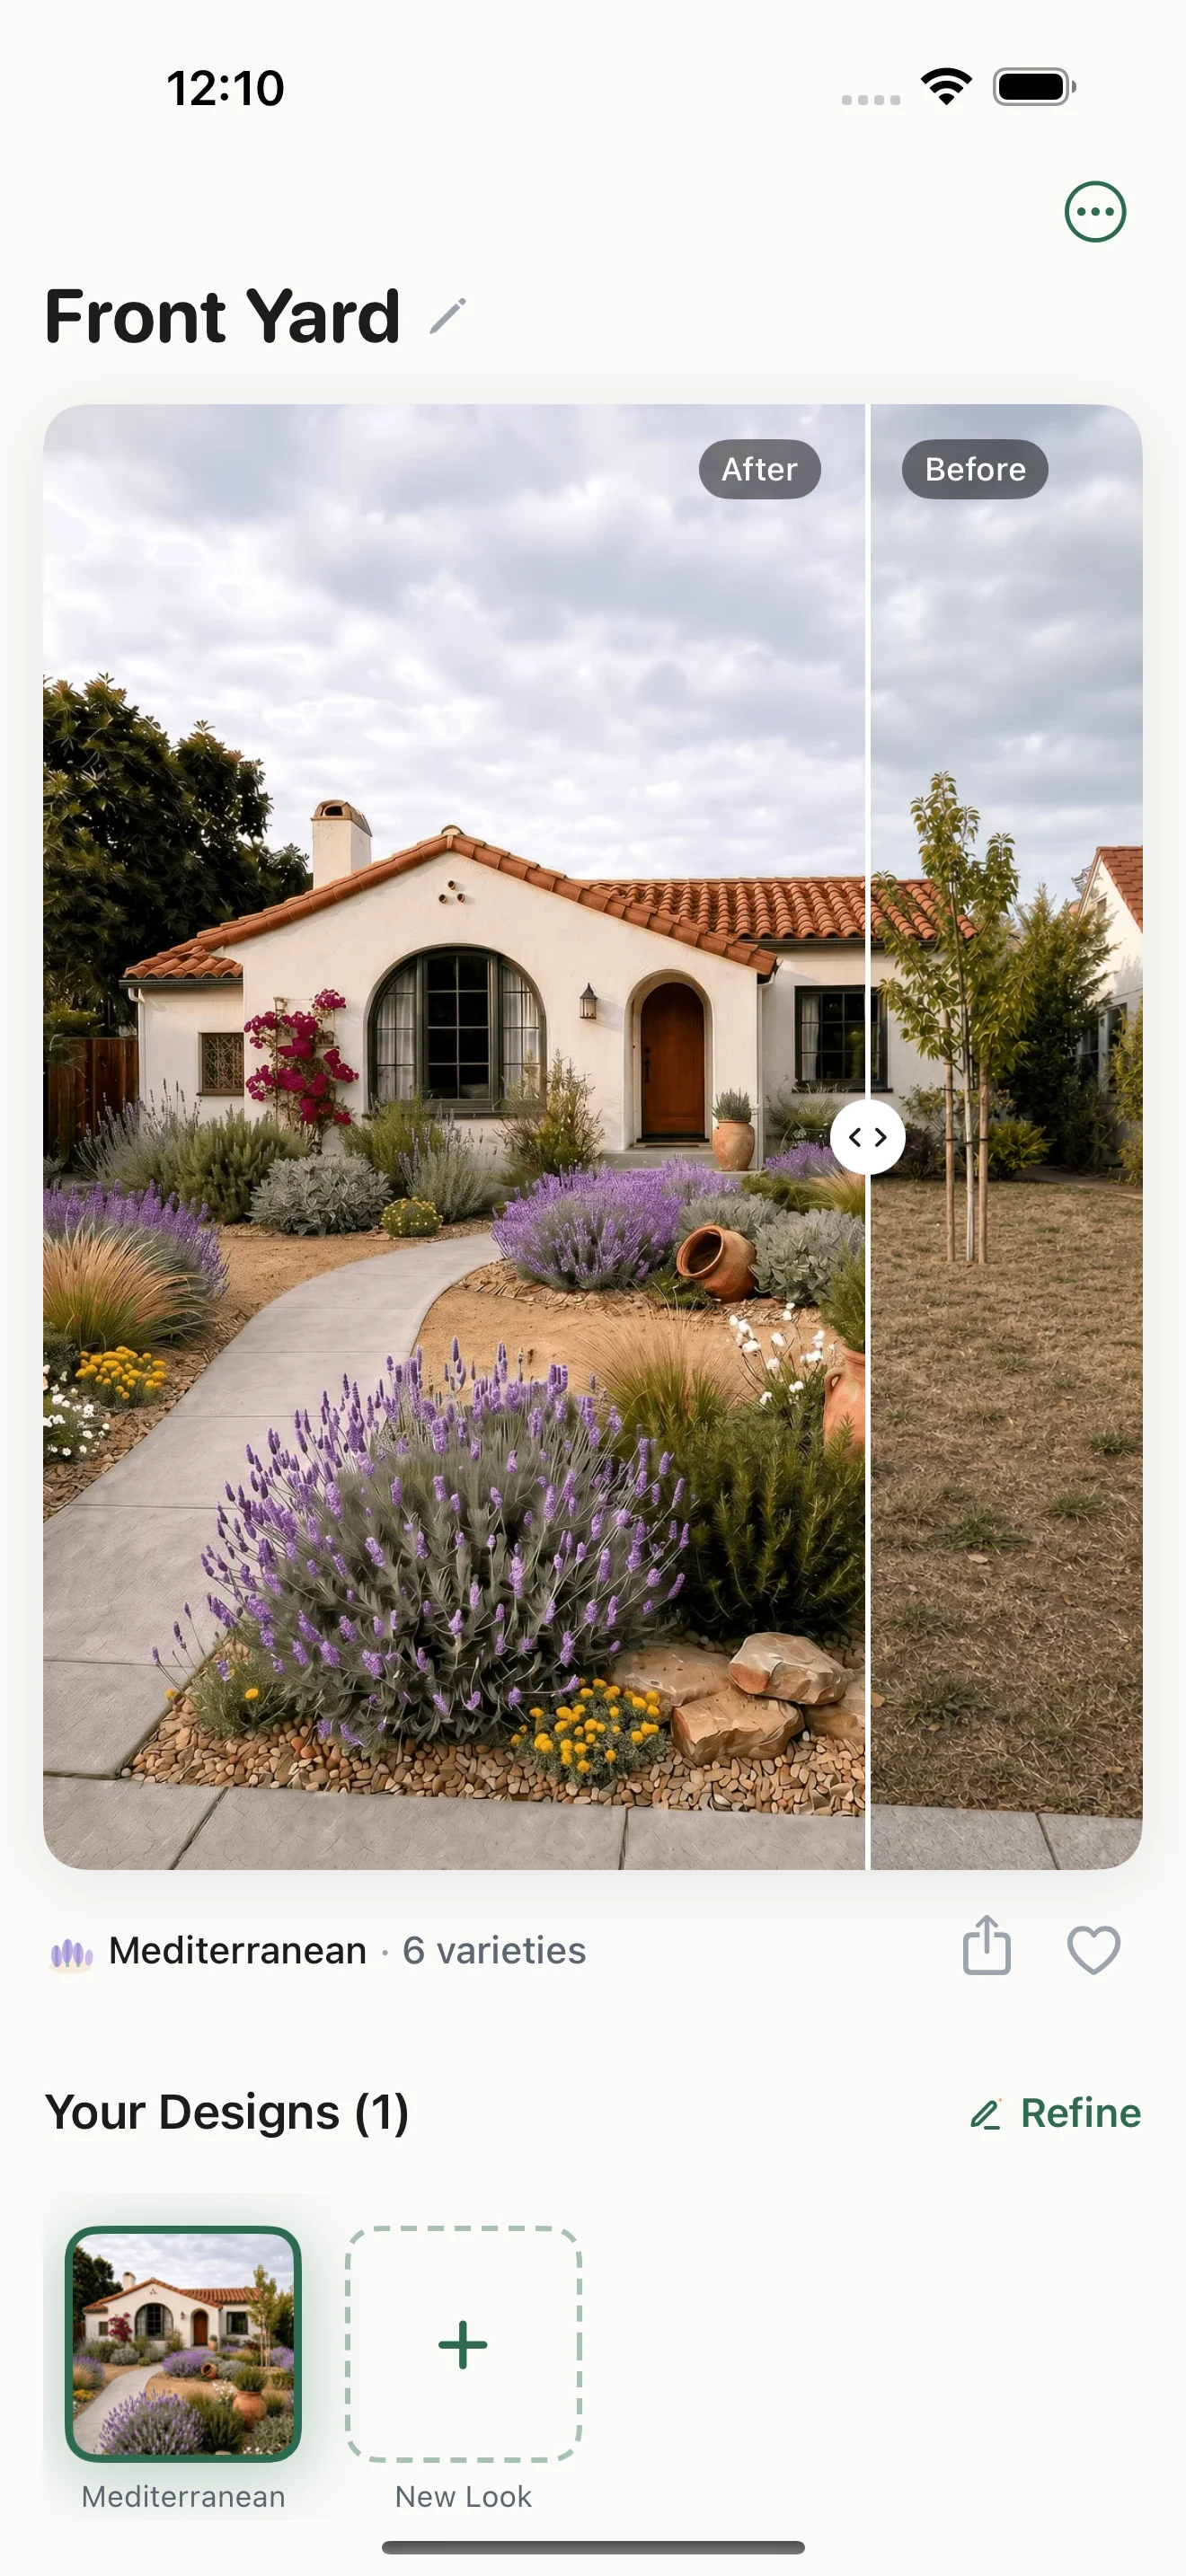
Compare the planting direction
Keep the window, path, wall, and surrounding yard in view while you decide whether the proposed bed still belongs to the place you are planning.
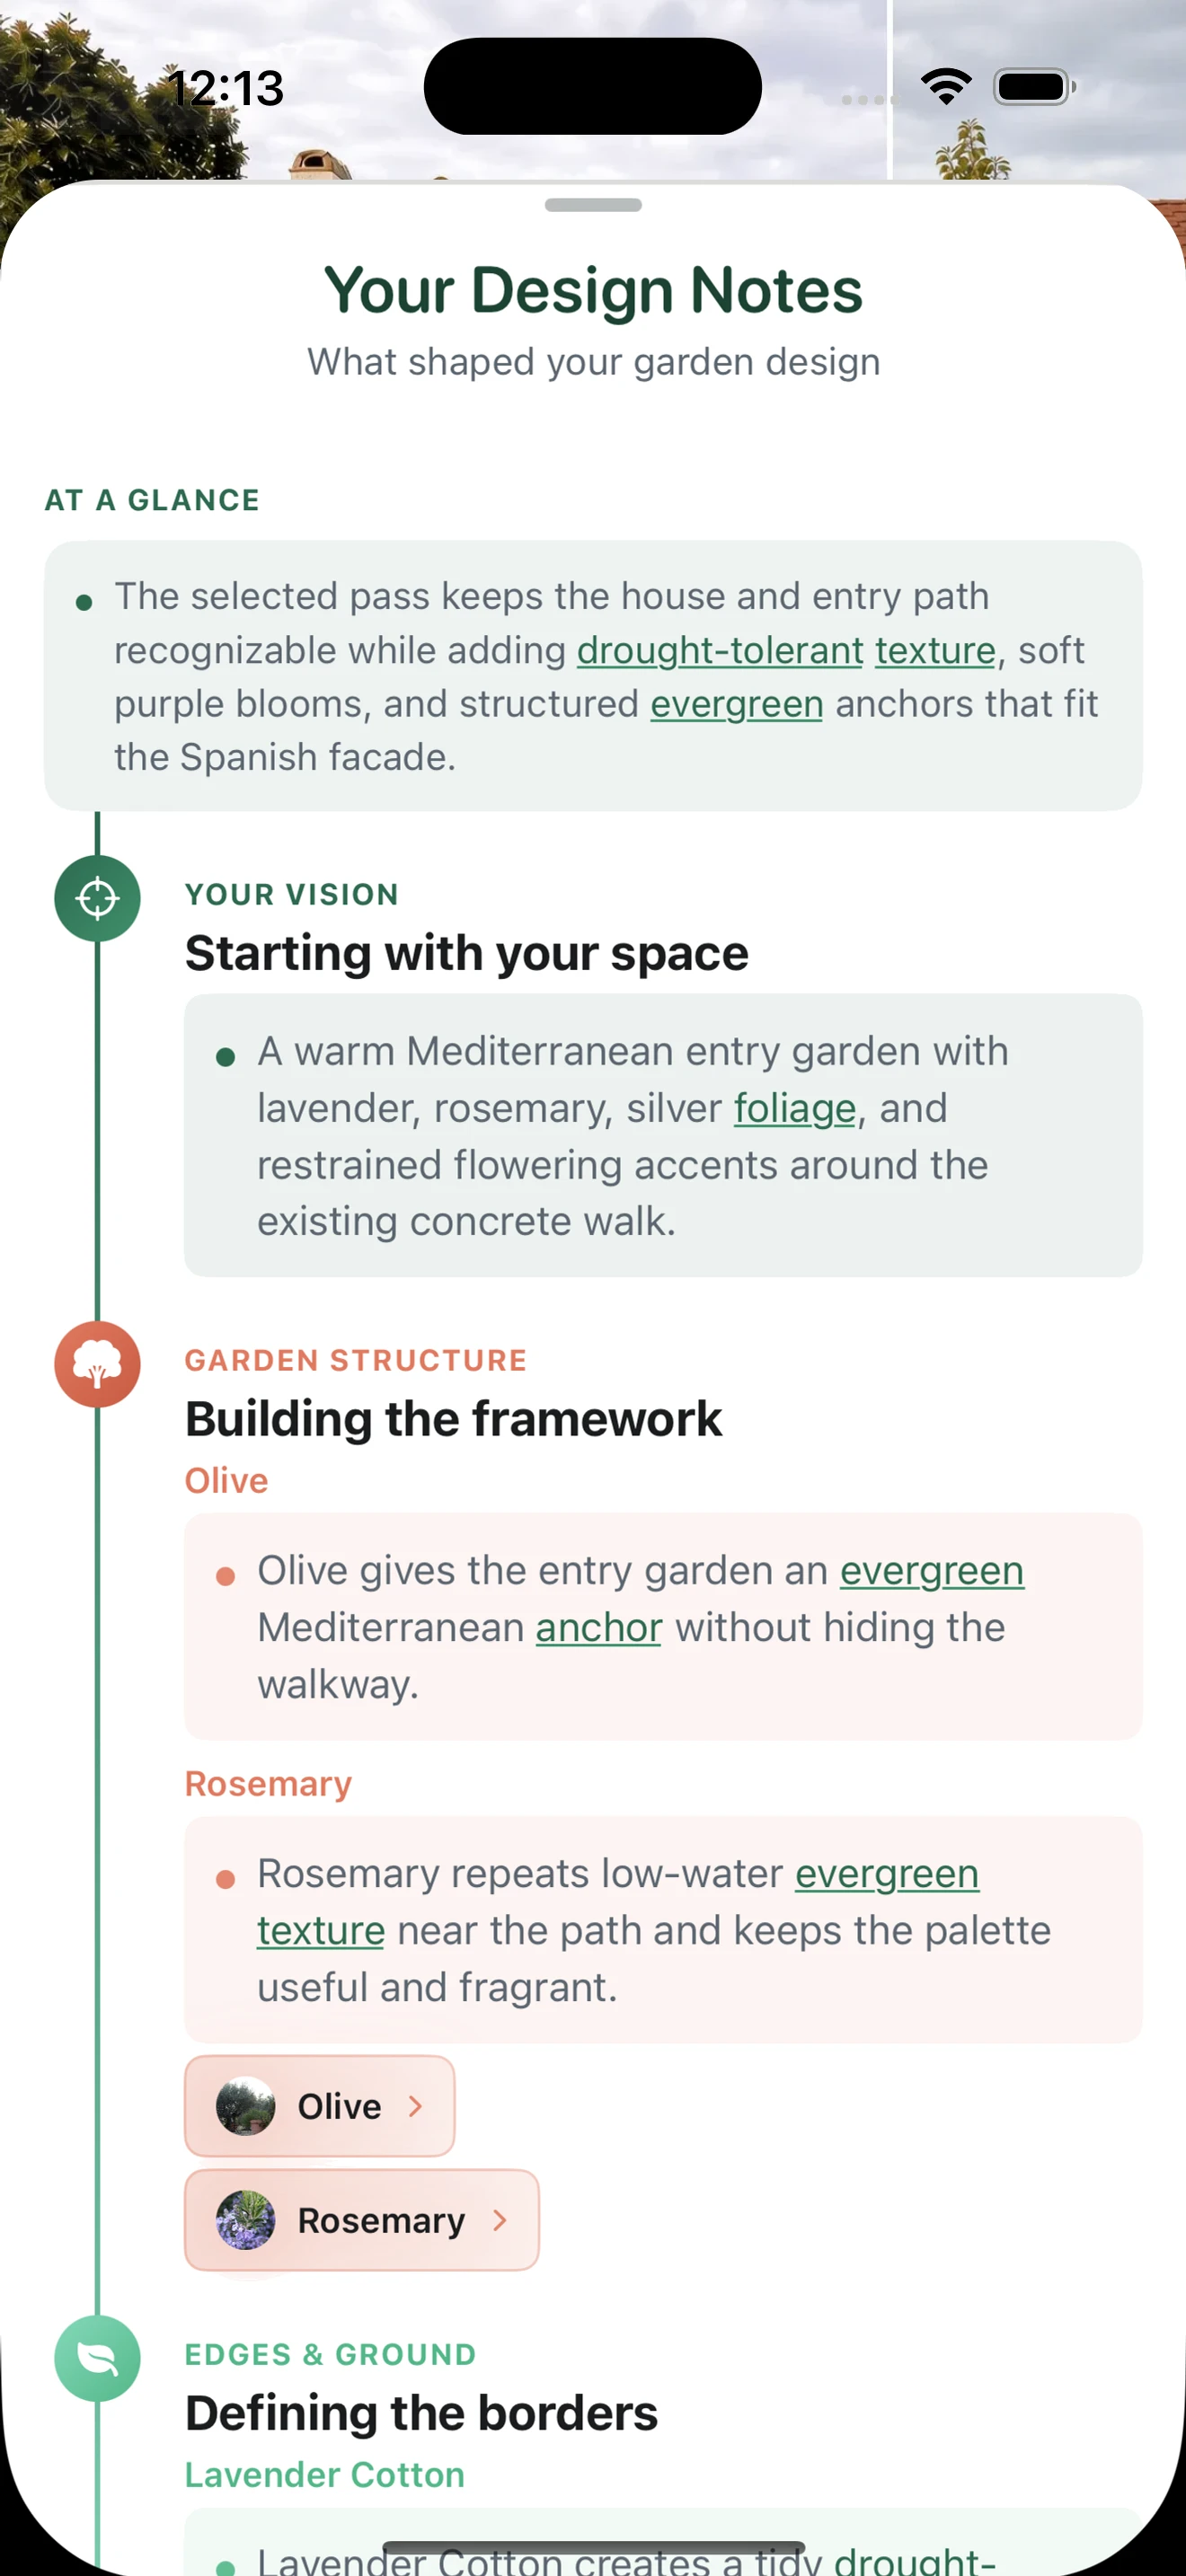
Read the design notes
The notes explain the roles behind the direction, such as structure, repeated masses, foliage contrast, and the edge transition.
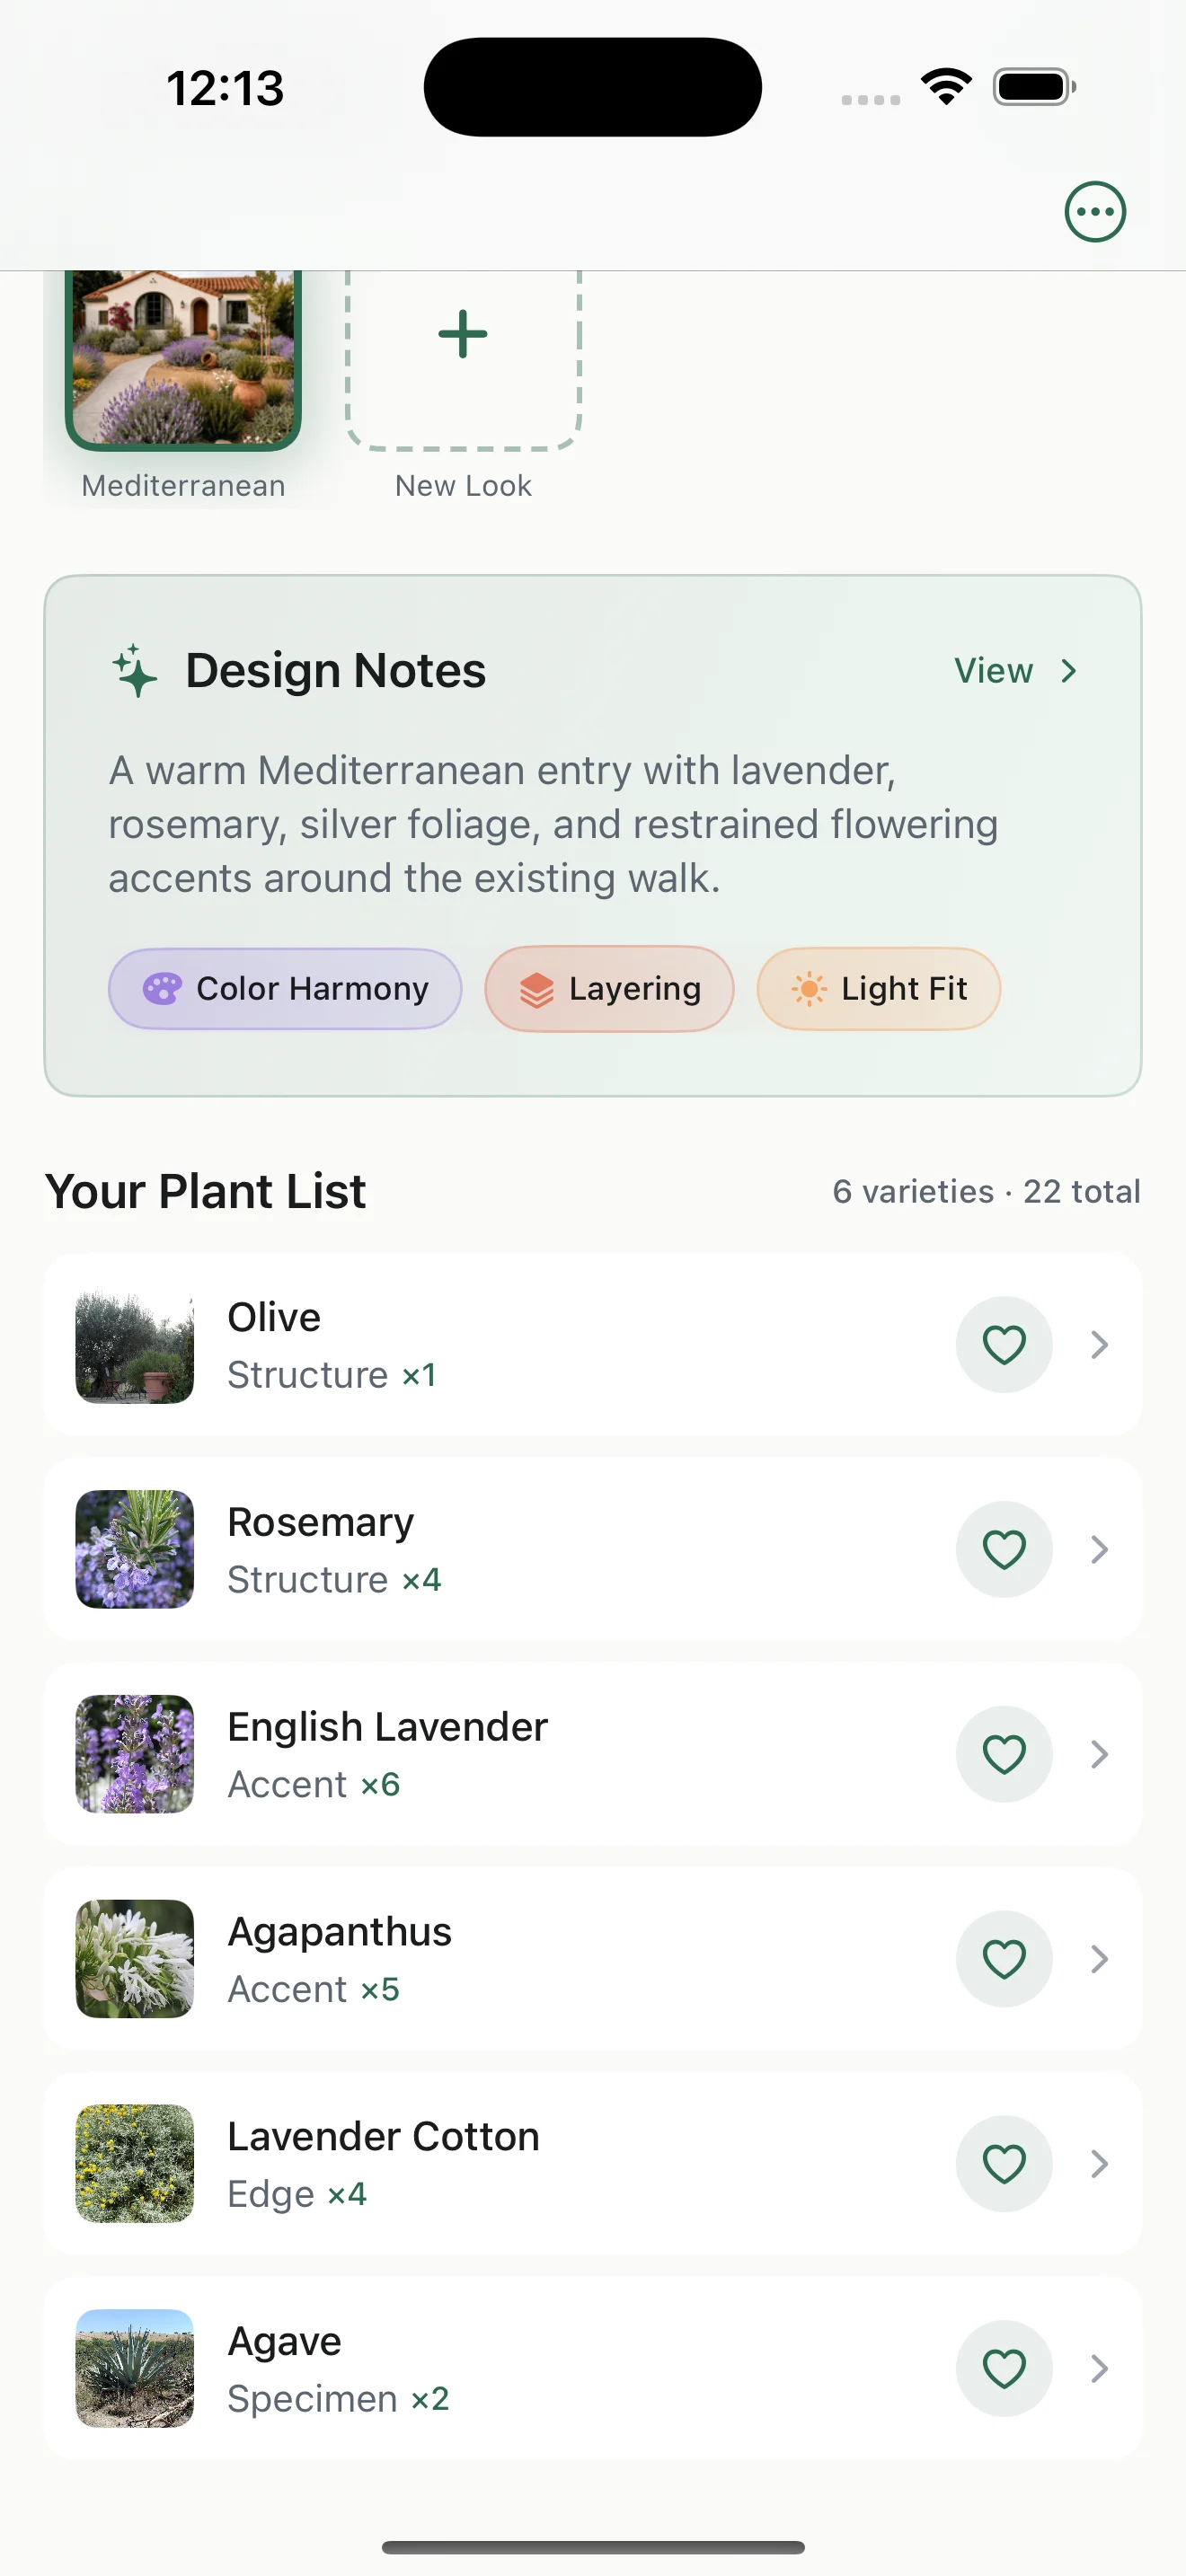
Take the plant list to the next check
Use suggested varieties and quantities as a starting brief, then verify mature spread, site conditions, local availability, and substitutions before buying.
Gardenful helps you explore the direction. The real bed, not the photo alone, decides what you can plant.
Frequently asked questions
Can I design a flower bed from one photo?
One well-framed photo can support the visual layout, especially when it shows the whole bed and nearby constraints. You still need measurements and separate checks for sun, soil, drainage, utilities, climate, and mature plant size.
What should I mark on the photo first?
Mark the plantable bed, anything that must stay, the main path or viewing direction, windows and doors, utility access, and the areas where tall plants would block a view.
How many different flowers should be in one bed?
There is no universal number. A small bed is usually easier to read when a few plants repeat in visible groups instead of every spot holding a different species.
Does Gardenful give exact planting quantities?
Gardenful provides suggested quantities and plant roles as planning guidance. Confirm the final count from actual bed measurements, mature spread, availability, and the substitutions you choose locally.
 Gardenful
Start with the bed you can already photograph.
Keep the fixed features in frame, select the area you want to change, and use Gardenful to explore a planting direction with real plant choices behind it.
Gardenful for iPhone
Download the app free and start with a photo of your yard.

Sources
The sources support the planning sequence. They do not replace measurements, local plant guidance, or professional advice for construction and drainage.
- [1]Landscape Design: Drawing a Planting Plan
University of Florida IFAS Extensionhttps://ask.ifas.ufl.edu/publication/EP456
- [2]Landscape Design: Ten Important Things to Consider
University of Florida IFAS Extensionhttps://ask.ifas.ufl.edu/publication/ep375
- [3]