Beginner garden planning
Garden design for beginners: plan the yard before the plants
The short answer
Garden design is easier when you solve one useful area in a clear order instead of choosing plants at random. Start with one part of the yard and one job it needs to do. Measure the fixed features, observe sun and water, draw the routes and open areas, then arrange broad plant masses. Choose individual plants only after the layout works.
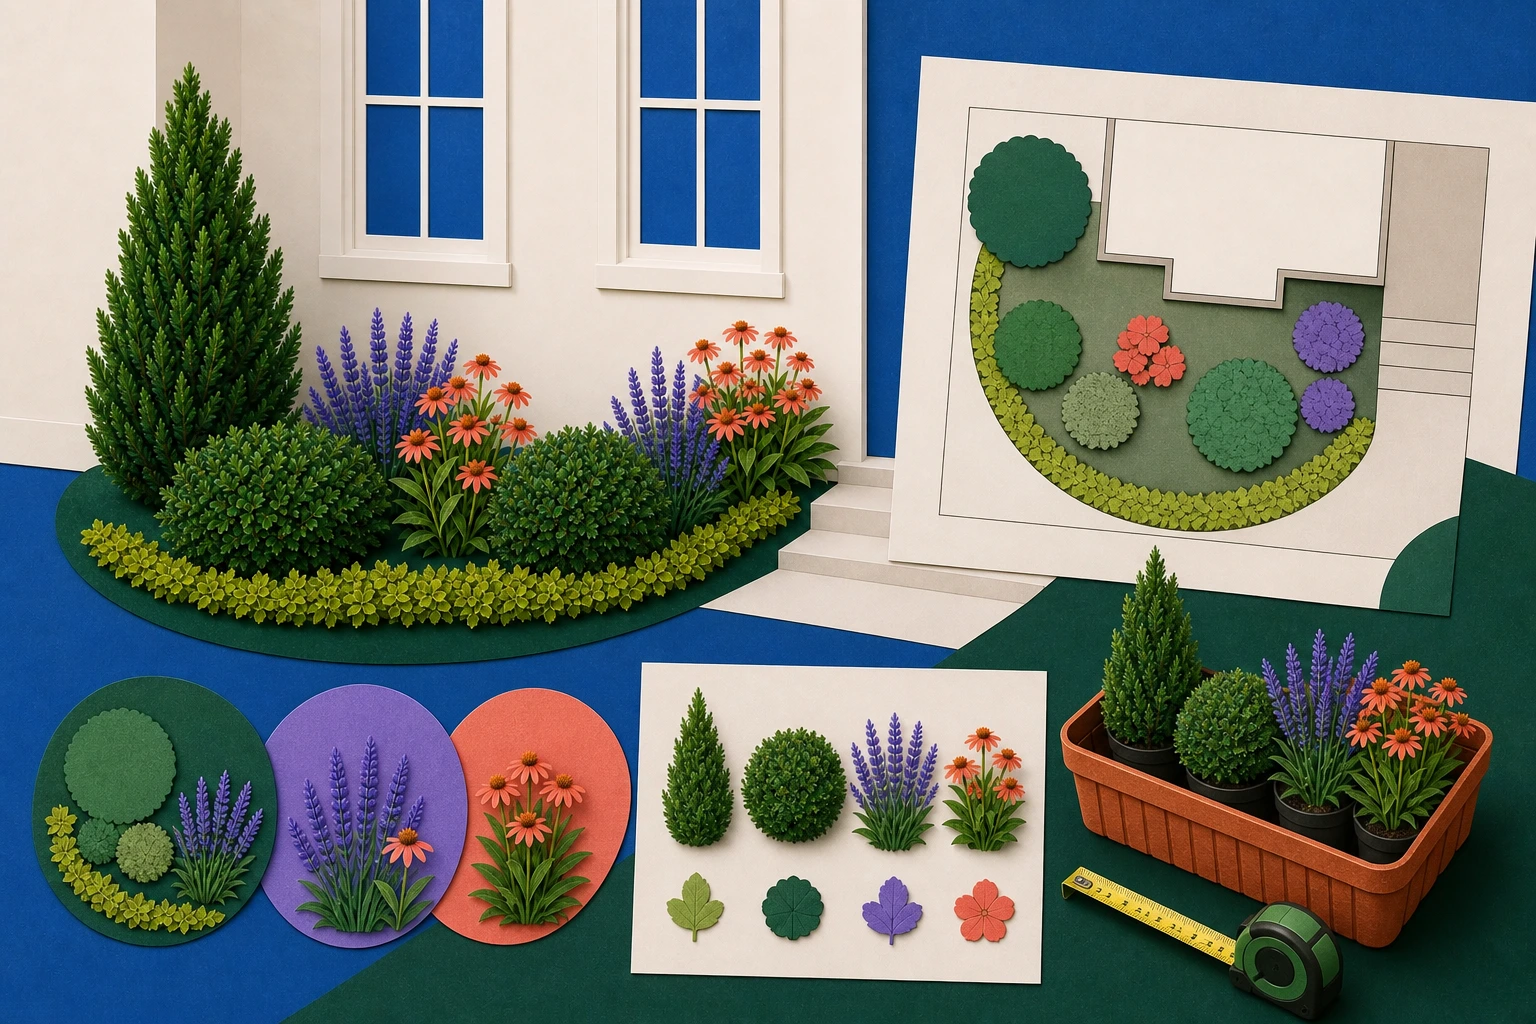
Define a bounded first project before choosing a style
A whole yard is too many decisions at once. Give the first project a boundary and a job.
Choose one bed, entrance, side-yard strip, or backyard corner. Write down what should change there: make the door easier to find, add shade, replace a bare patch, create privacy, or build a planting bed that looks finished from the kitchen window.
Keep permanent features on the page from the beginning. The house, doors, windows, walks, driveway, fences, utilities, slopes, drains, and healthy trees decide what can fit. A garden plan that ignores them becomes expensive to correct later.2,4
Take one useful photo from the main viewing point and make a rough top-down sketch. The sketch does not need to look professional. It needs enough measurements to stop a six-foot plant from being assigned to a three-foot space.
Make four decisions in order
Work through four questions in order. First solve how people use the space. Then record sun and water. Next draw the paths and open areas. Only after that place mature plant shapes and choose names.
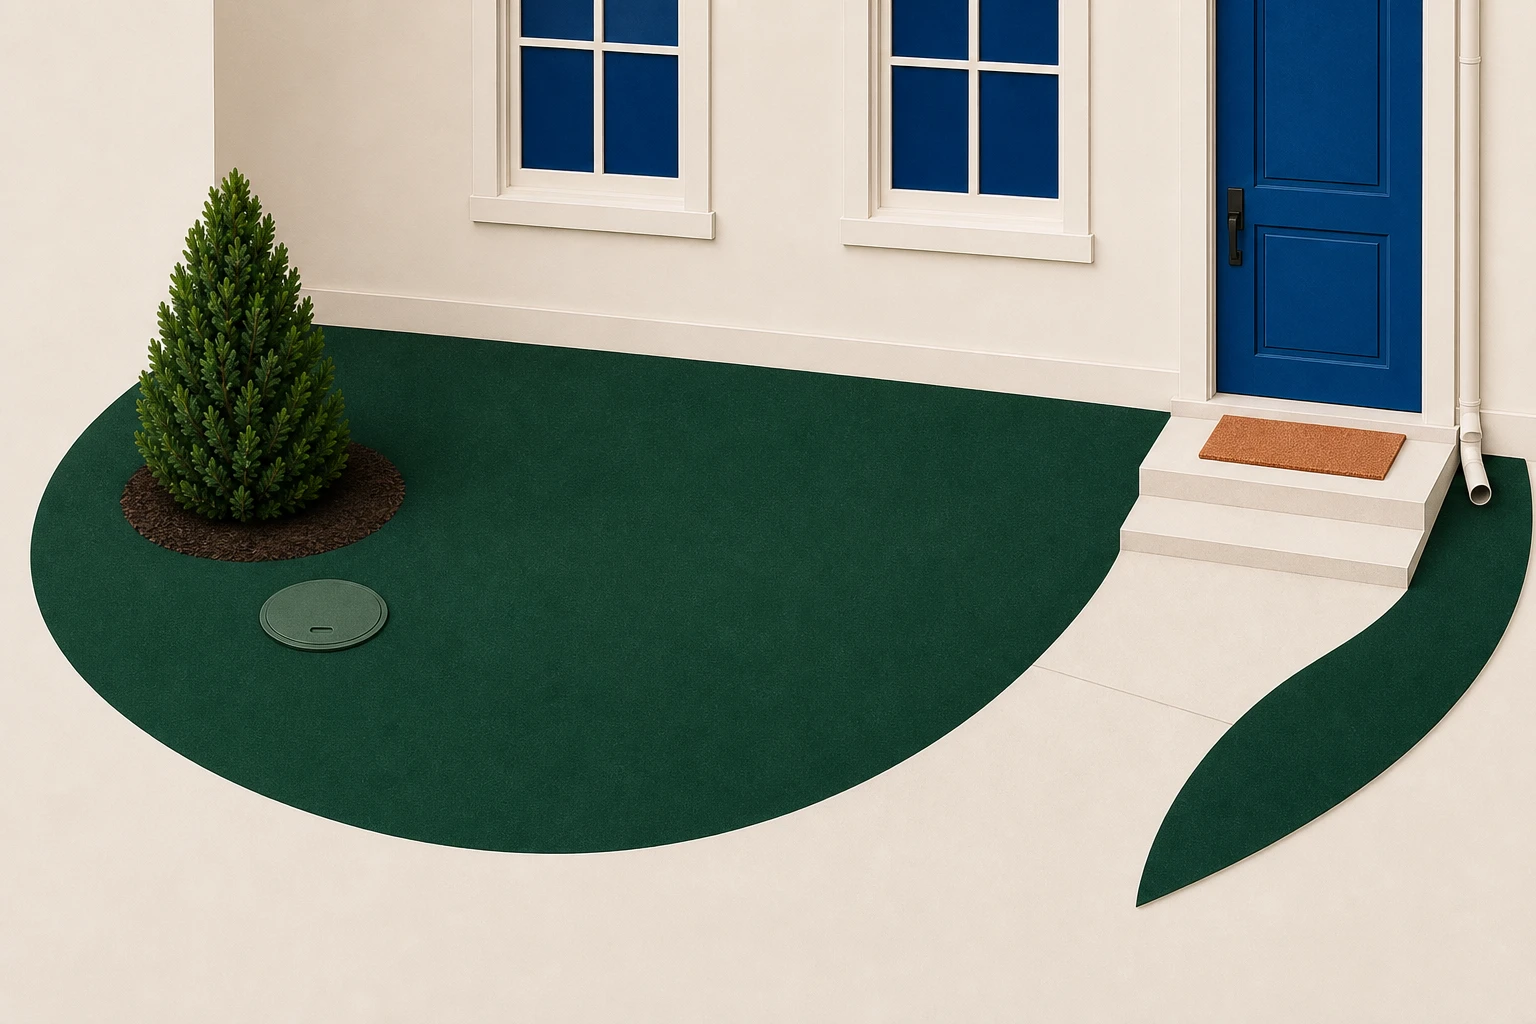
1
Name one job
Give one bounded area a practical purpose before deciding how it should look.
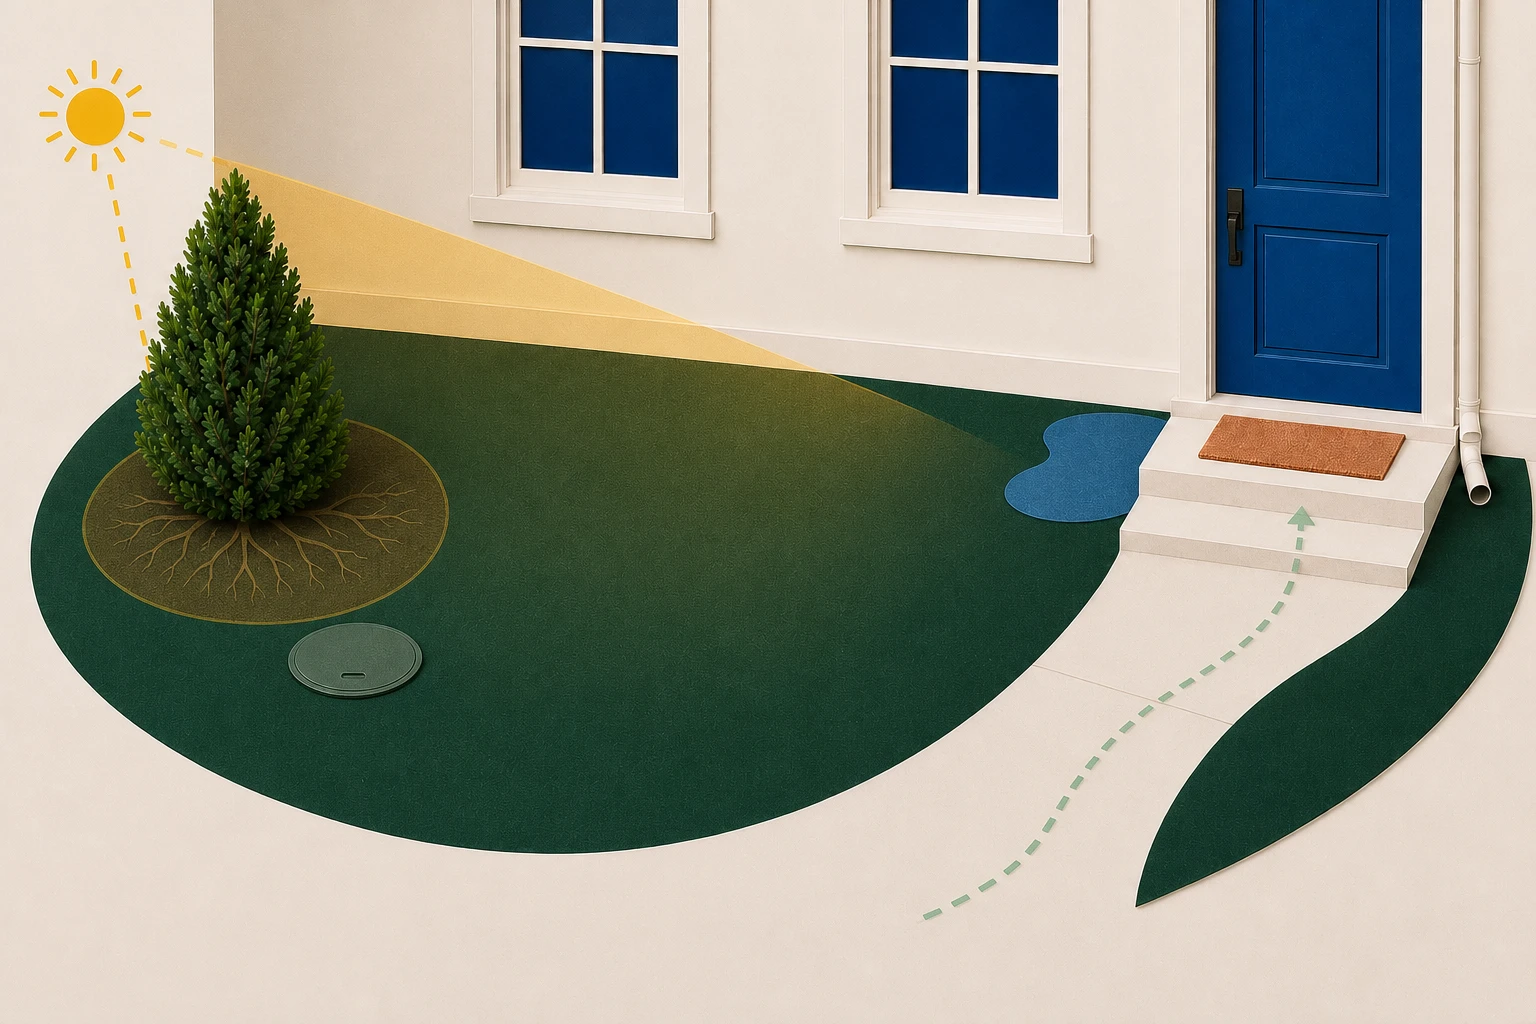
2
Record what is already there
Map the fixed features, then note light, water, roots, utilities, property edges, and daily routes.
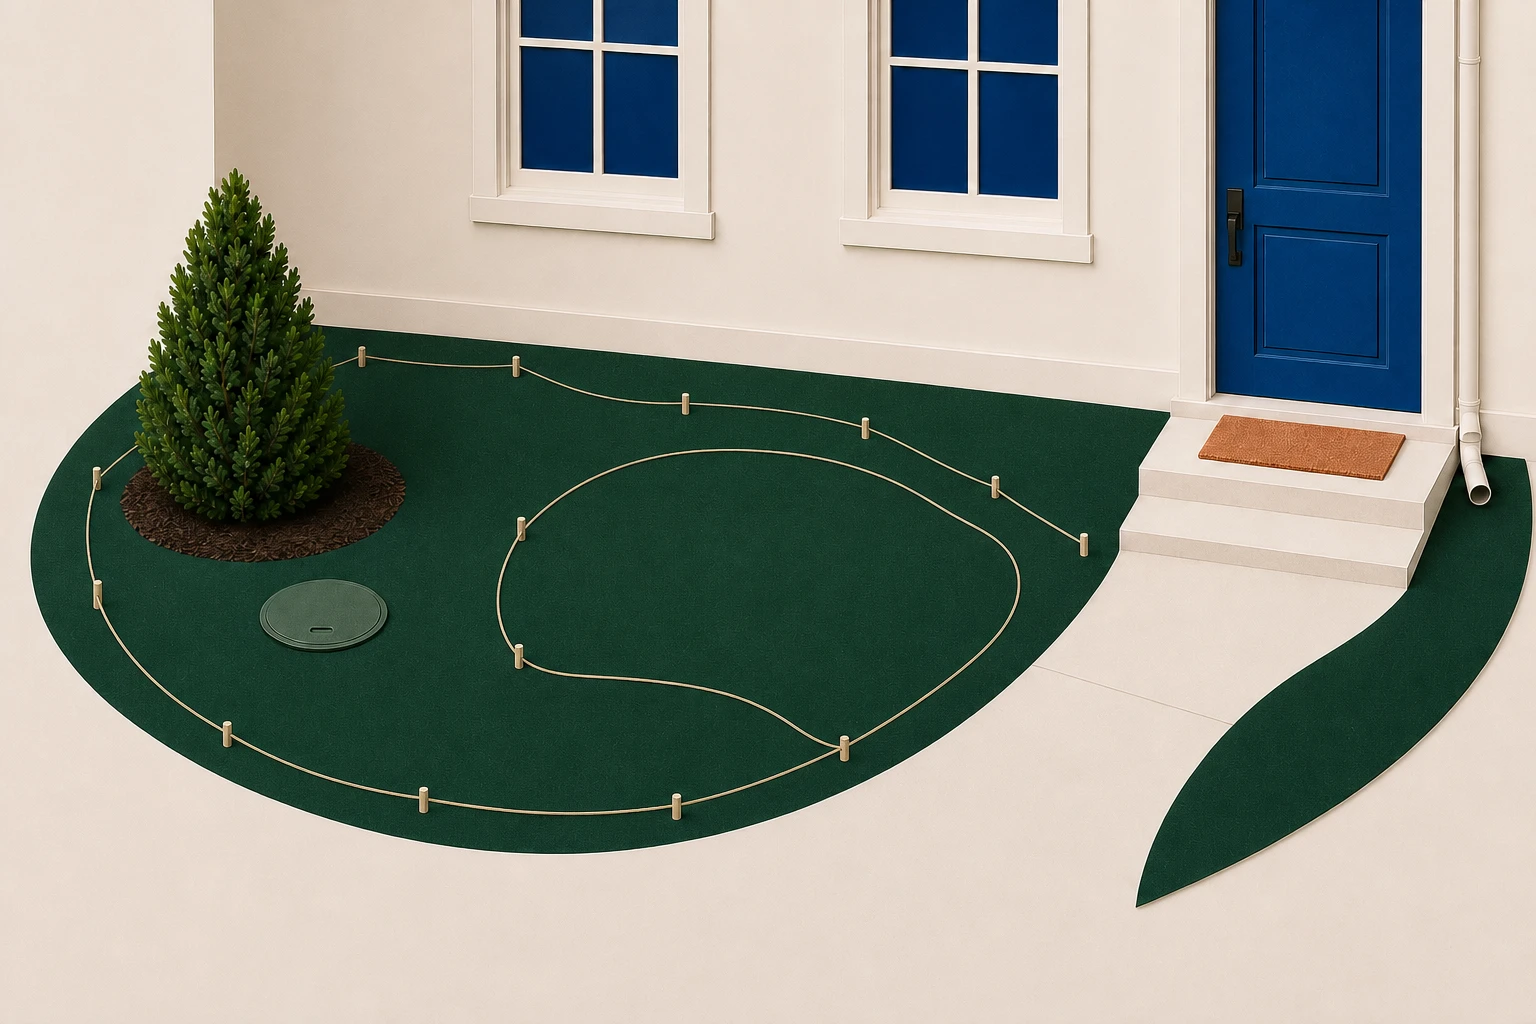
3
Draw paths and open space
Place the path, sitting or play area, and one useful open shape before filling the leftover ground.
4
Draw mature plant shapes
Block in tree, shrub, flower, and ground-layer shapes. Choose locally suitable plants and quantities after the layout works.
Choose a planning scale that matches the project
A small bed and a whole yard need different levels of detail. Do not turn a simple planting refresh into a full property plan unless the surrounding routes and drainage also need work.
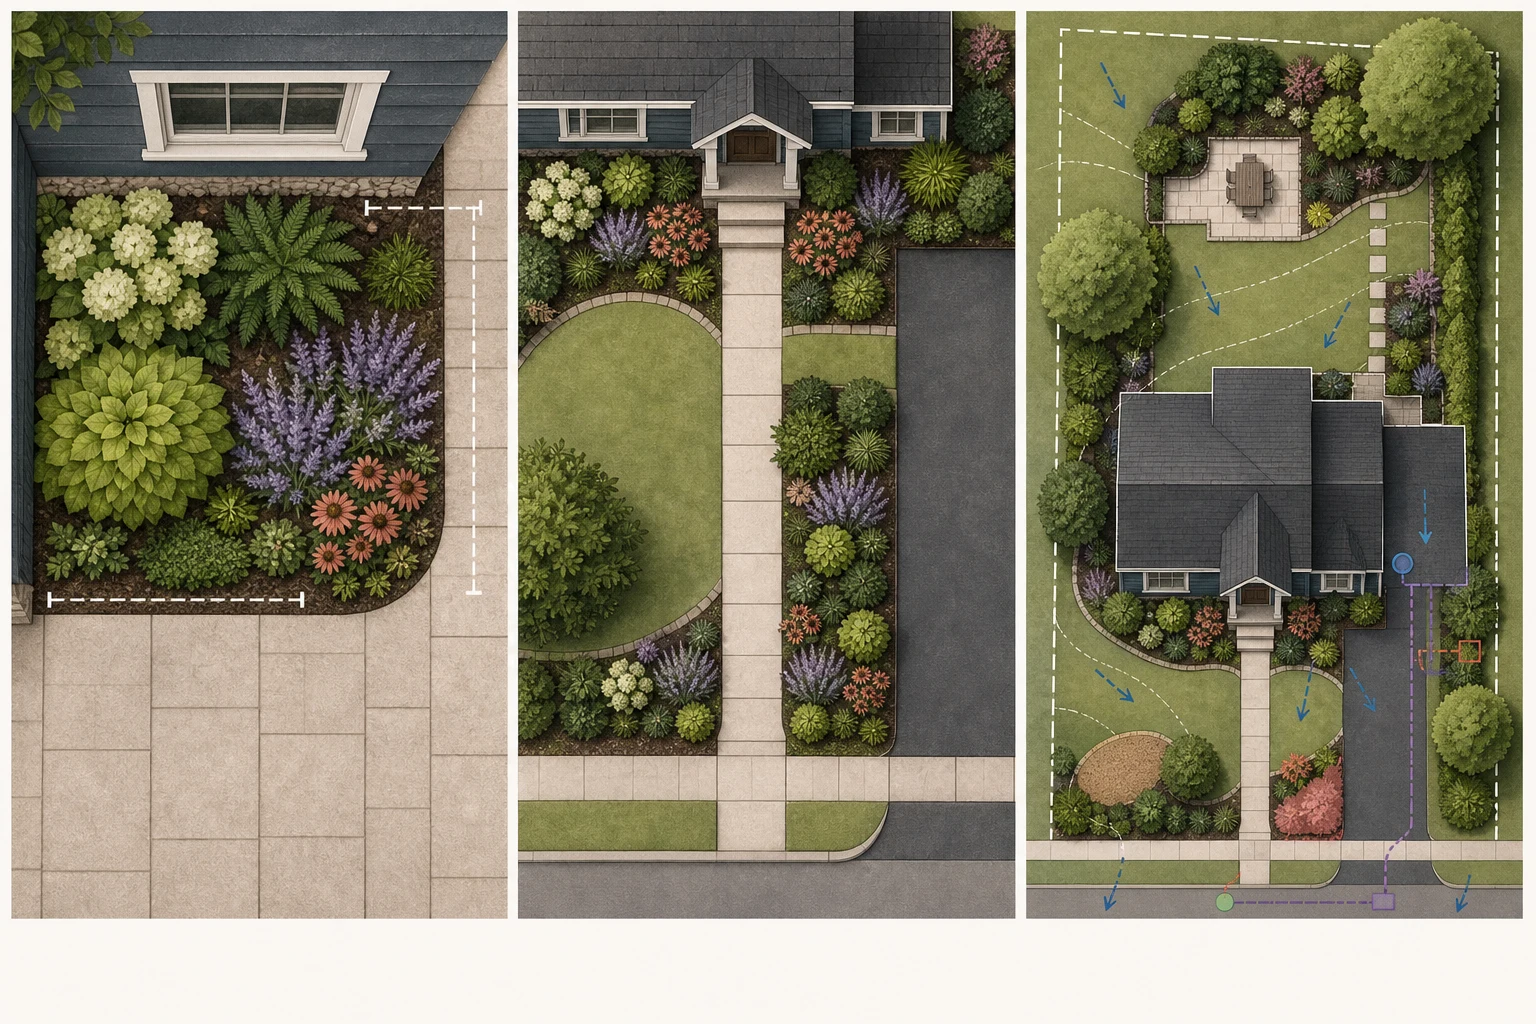
One planting bed
Plan the bed shape, wall and window clearances, viewing direction, mature masses, and spacing. Still record sun, drainage, utilities, roots, and the path edge.
Entry or front-yard zone
Plan the door route, driveway access, one open area, foundation clearances, and repetition. Include door swing, handrails, car doors, bins, and property edges.
Whole yard
Plan connected use areas, circulation, trees to keep, slopes, drainage, privacy, and phases. Bring in qualified local help for grading, walls, drainage, or construction.
Choose a visual direction after the layout works
Style changes the shapes, materials, planting rhythm, and mood—not the fixed constraints. Keep the same usable route and mature clearances while testing a direction.
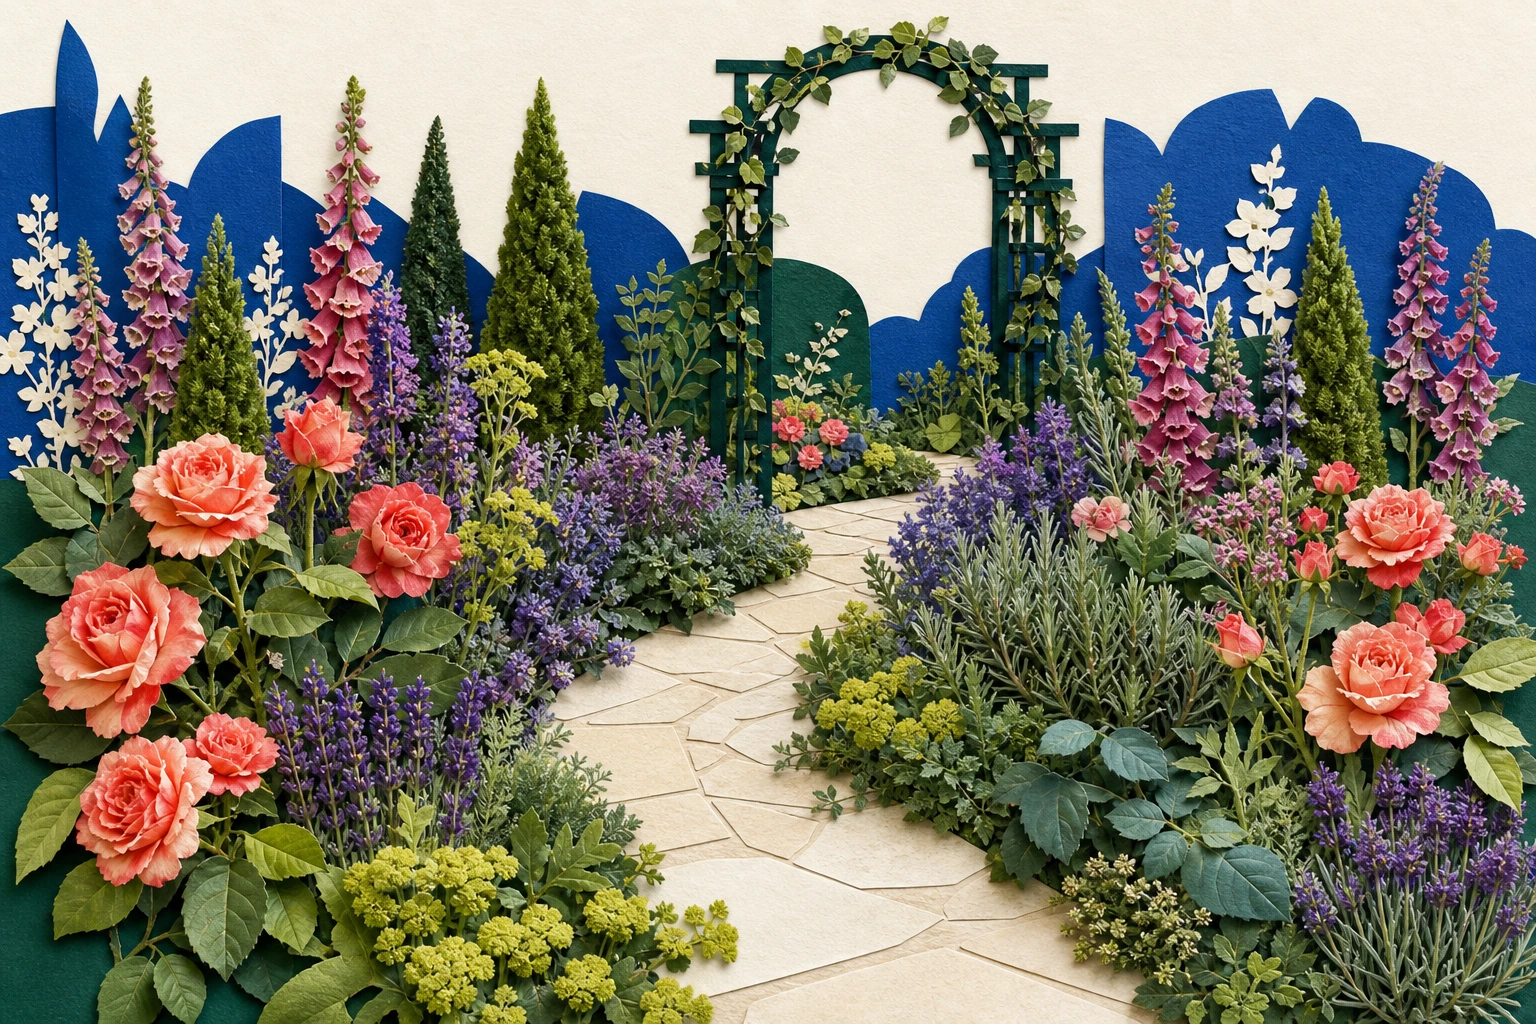
Cottage: layered and informal
Best when you enjoy seasonal change and regular editing.
Use a legible path, repeated flower masses, and a few permanent anchors. Informality should come from overlap and variation, not blocked routes.
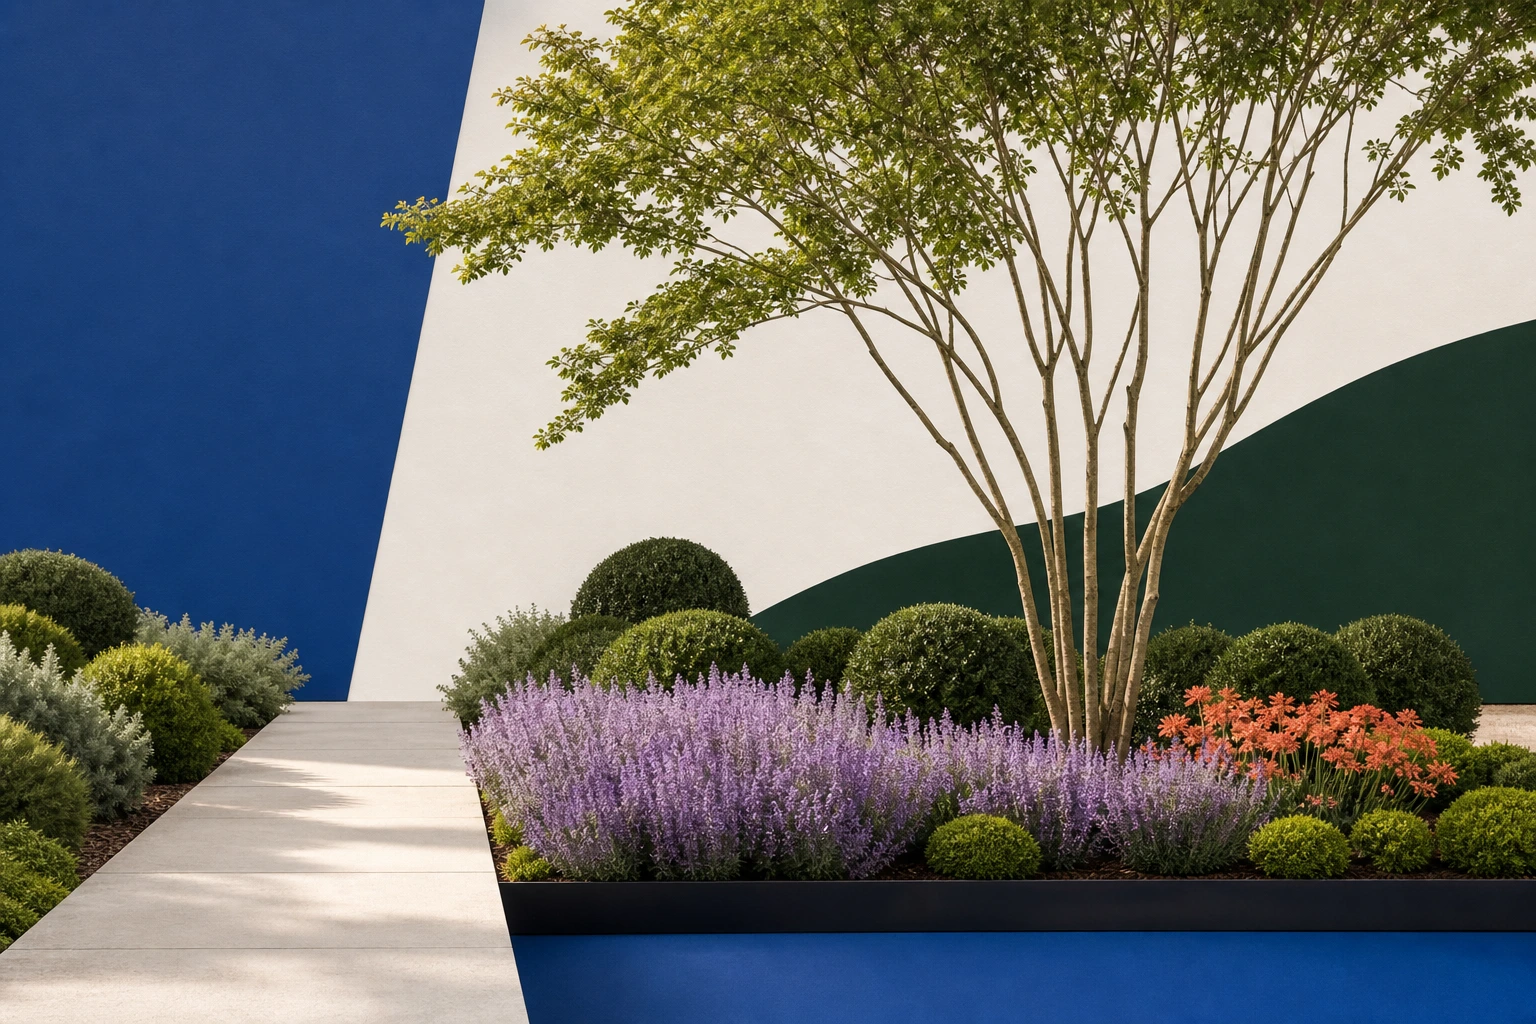
Modern: restrained and structural
Best when you prefer a quieter palette and visible order.
Use simple bed geometry, fewer plant types, stronger repetition, and materials that reinforce the main lines.

Mediterranean: dry-climate structure
Best where heat, drought, and outdoor living shape the plan.
Combine shade, durable paving, aromatic or silver foliage, and water-wise masses suited to the actual climate and soil.

Japanese-inspired: calm and edited
Best when the garden will be experienced through a few deliberate views.
Build around asymmetry, framed views, negative space, and a limited material palette. Avoid reducing the tradition to ornaments.
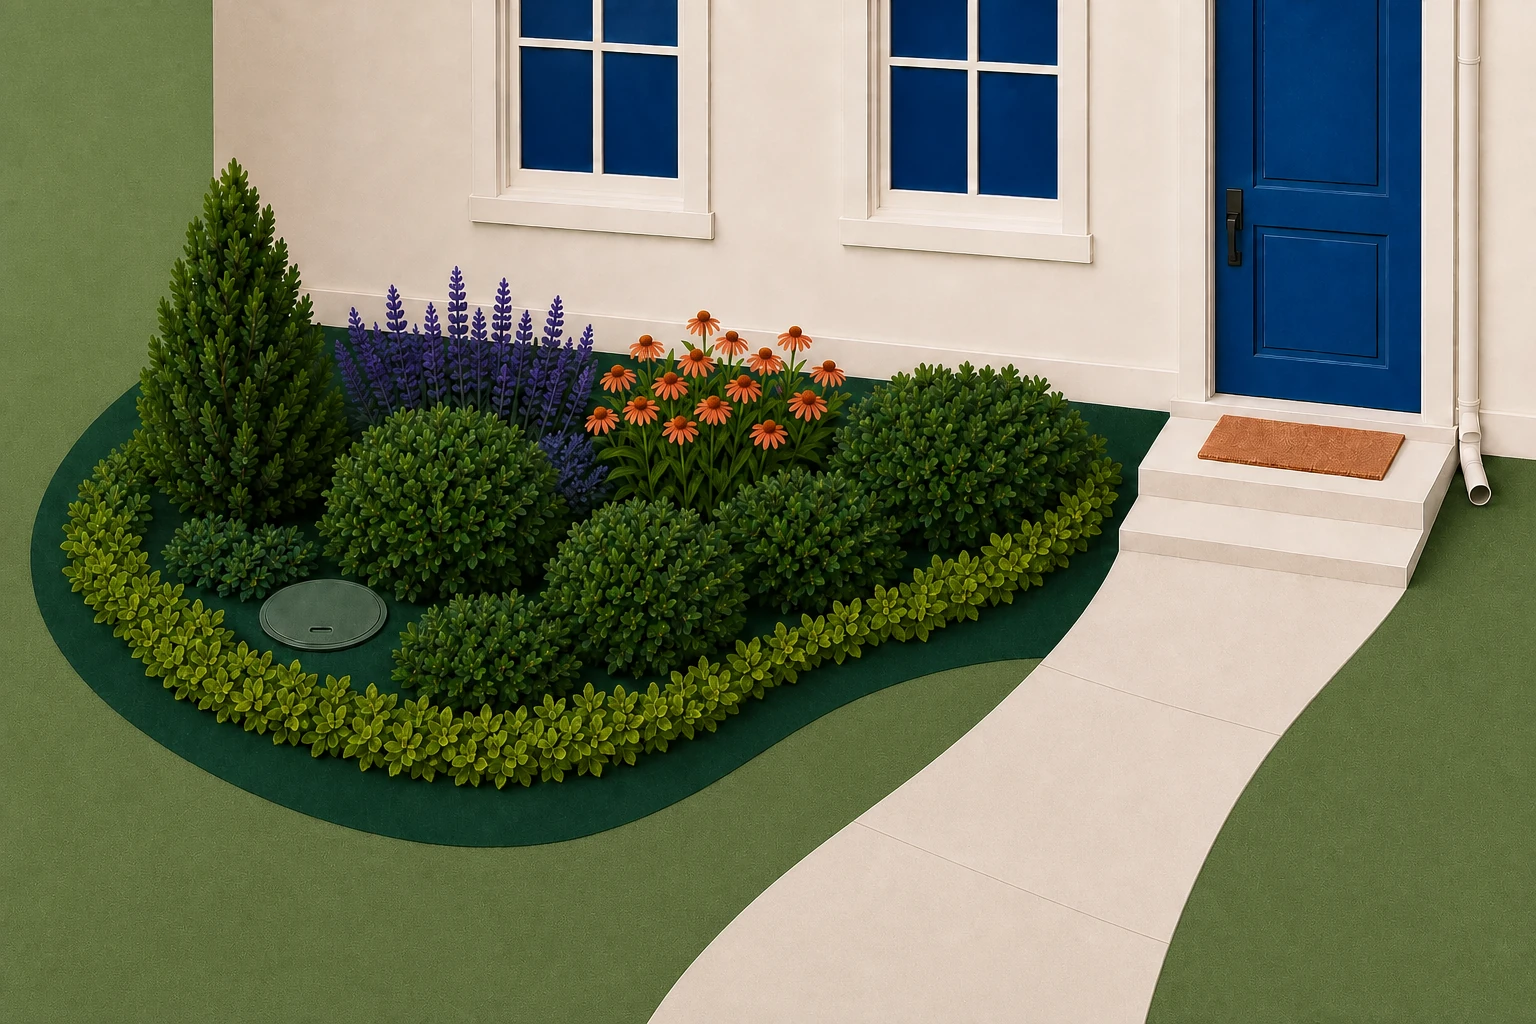
Plan an entry bed below a window
This example is a layout exercise. Replace every plant role with a locally suitable species after checking the site.
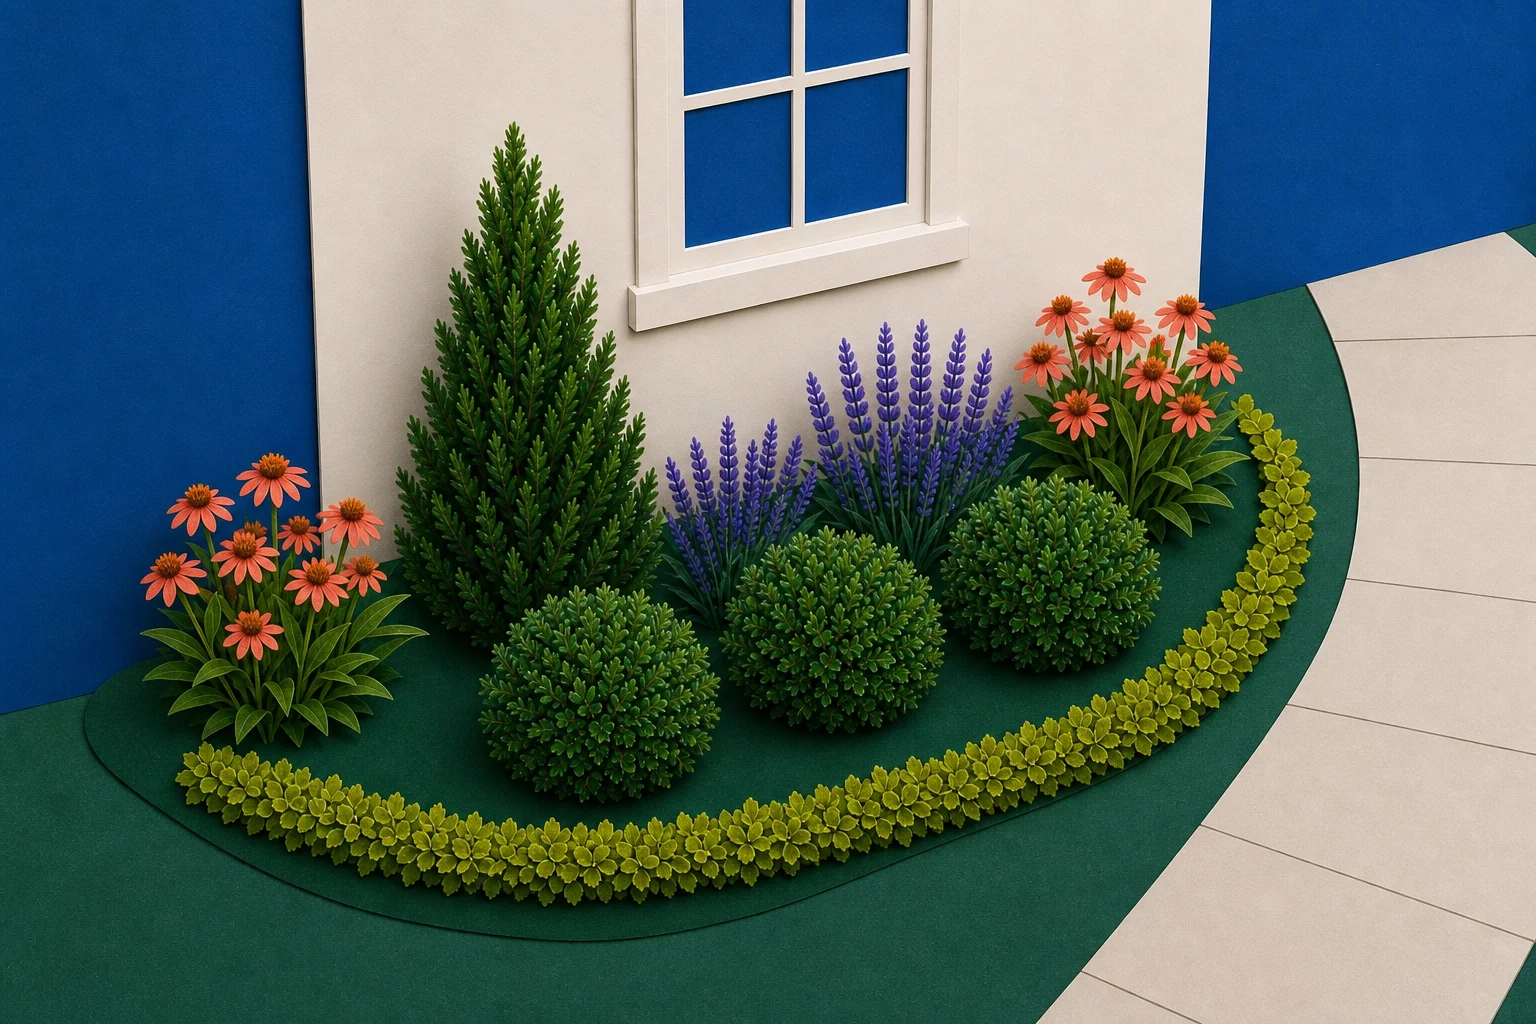
Morning sun, one window, and a path along the right edge
The bed needs year-round structure without covering the window. The path must keep its full usable width.
See the plan notes
Keep the back line below the window
Reserve enough wall and sill clearance for the mature width and height of every structure plant.
Repeat compact shrubs across the middle
Repeat one shrub type across the middle, using a broader group opposite the path so the bed has structure without becoming a hedge.
Add two flowering groups
Repeat the same flower in two uneven groups. Let the mature spread and the actual bed curve determine how many plants each group needs.
Finish only the visible path edge
Use a low repeated plant where it clarifies the entrance, then stop before it outlines every side.
The plan is ready for plant names when the path, window, plant heights, and repeated masses still make sense as plain shapes.
Check the plan before buying
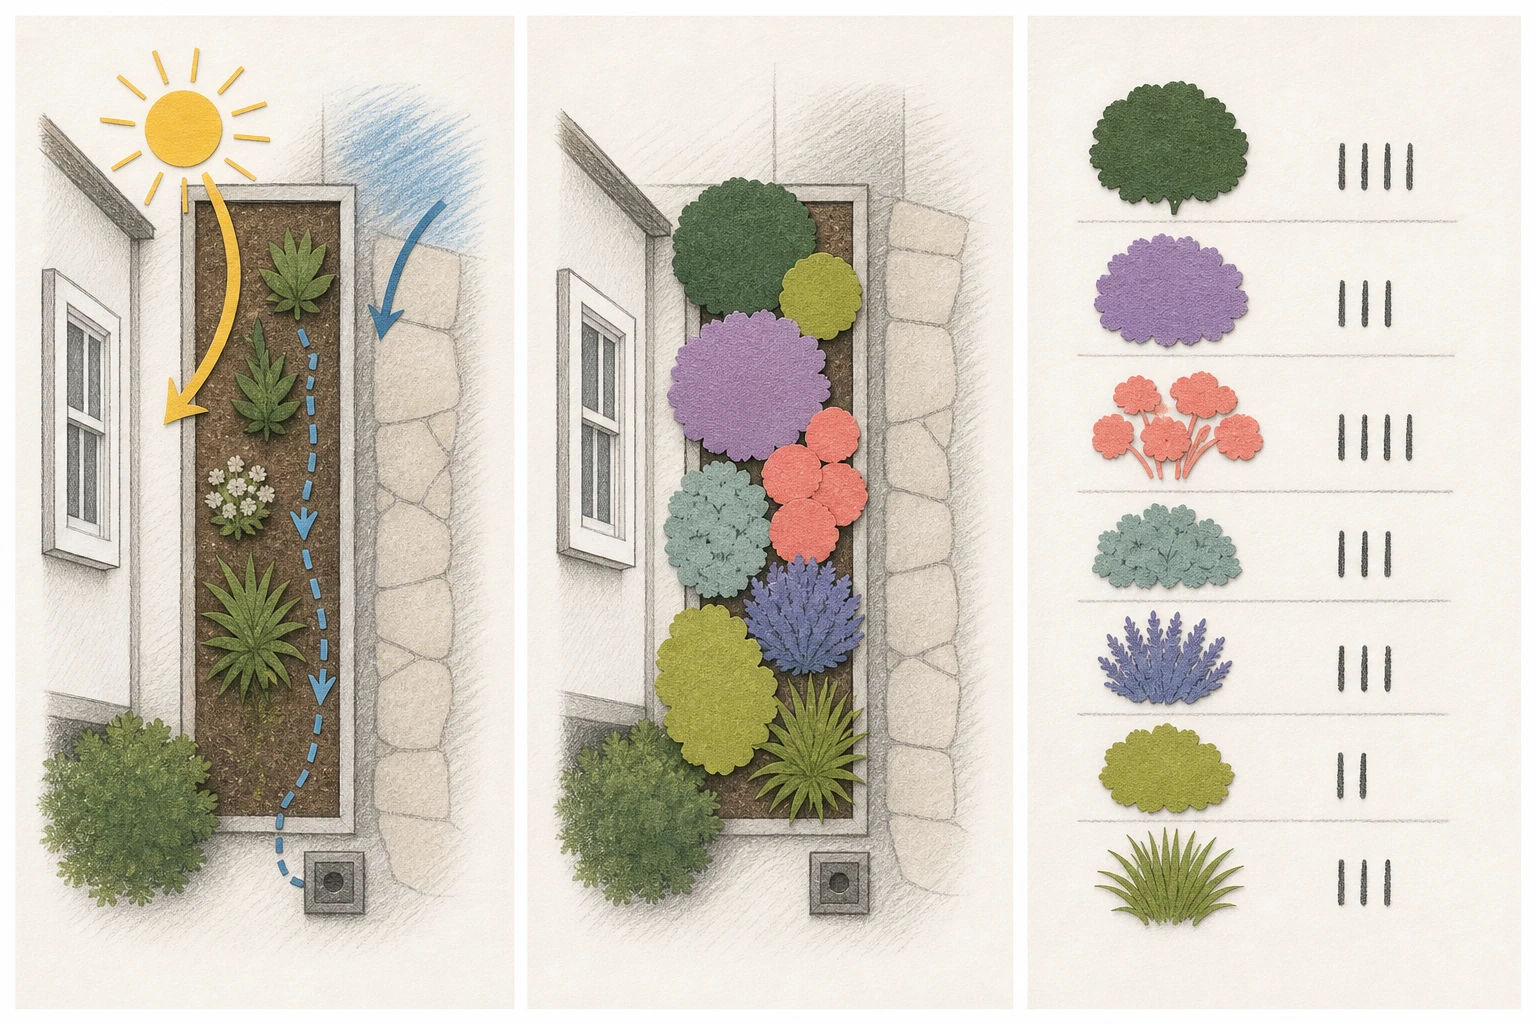
A good first plan passes three checks even when the finished rendering is hidden.
1
The site facts are visible
The project job, fixed features, light, moisture, roots, drainage, and utilities are recorded rather than guessed.
2
The layout works at mature size
Routes remain usable, open space has a purpose, and every plant mass fits the wall, window, and path clearances.
3
The shopping list comes from the drawing
Each group has a role, and its quantity comes from the measured zone and the exact plant's mature spacing.
If the plan still depends on many unrelated plant names, return to the broad shapes and remove one idea.
Frequently asked questions
What should a beginner plan first in a garden?
Plan the project's job, fixed features, routes, sun, water, and open areas before choosing plants. Those constraints determine the layout and reduce the plant list.
Do I need a scaled drawing?
Use rough shapes for early thinking, but add real measurements before calculating plants or placing anything near structures, property lines, utilities, or mature trees.
Should I choose a garden style before plants?
A style can guide shape and mood, but the site and layout come first. Then choose locally suitable plants that express the style within the available space.
Can I design the garden from one photo?
A photo is useful for composition and preservation. It cannot confirm year-round light, drainage, underground utilities, soil, or local plant fit, so record those separately.
I'm a total beginner. Is there an app that just tells me what to plant?
Gardenful is built for exactly that starting point: photograph the yard, mark the area to change, and it suggests climate-aware plants with roles and quantities. Still work through the site steps in this guide first, because sun, drainage, and space decide whether those suggestions will actually thrive.
What are the basic rules of garden design?
Start with the use and routes, record fixed features and site conditions, preserve useful open space, repeat a small number of plant roles, and check every plant at mature size. These rules keep the design coherent and easier to maintain.
How do I design a landscape as a beginner?
Choose one bounded project, make a rough base map, observe light and water, place paths and open areas, draw mature plant masses, then choose locally suitable plants and quantities. Expand to the whole yard only when the decisions cross the first boundary.
 Gardenful
Start with one yard photo and one clear project.
Use Gardenful to select the area you want to change, explore a planting direction, and turn it into a locally checked plan.
Gardenful for iPhone
Download the app free and start with a photo of your yard.

Sources(4)
- [1]
- [2]
- [3]
- [4]Site Measurements and Base Maps
University of Florida IFAS Extensionhttps://ask.ifas.ufl.edu/publication/EP427