Planted border design
How to design a garden border that holds together all year
The short answer
A garden border needs a visible structure that outlasts any one flush of flowers. Decide whether it is viewed from one side, both sides, or along a path; draw a shape that fits the route; then place a durable structural layer, repeated middle groups, a calm front edge, and a limited number of seasonal accents at mature spacing.
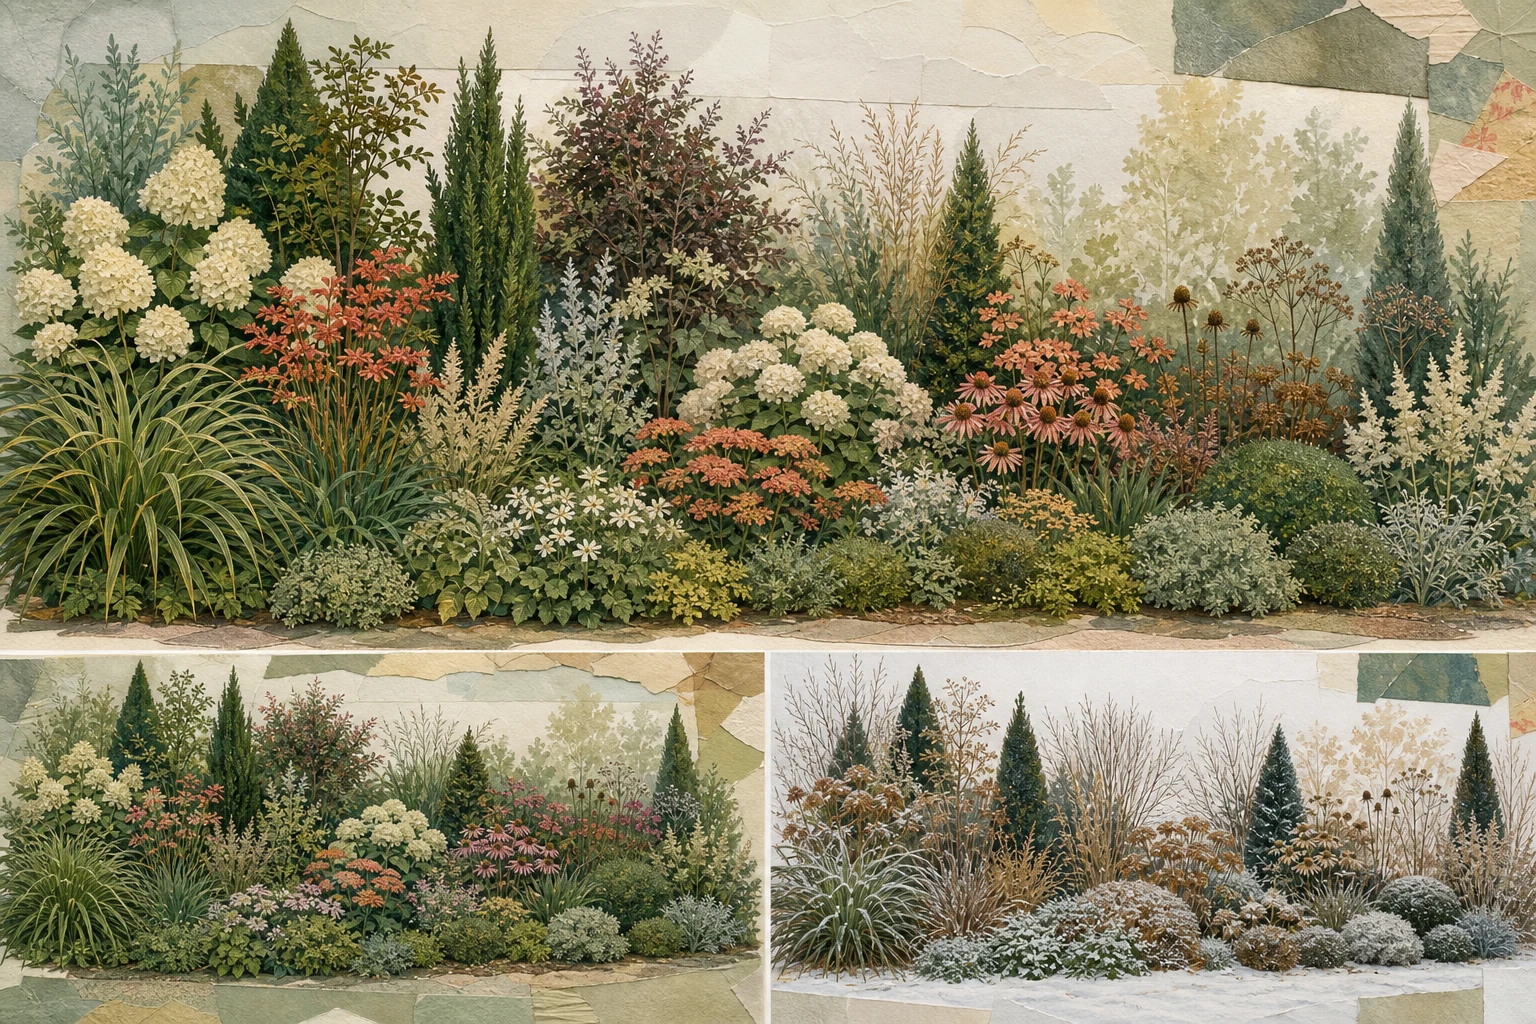
Set the viewing side before deciding where tall plants go
The familiar tall-back, short-front rule only fits a border seen mainly from one side. Other border shapes need different height placement.
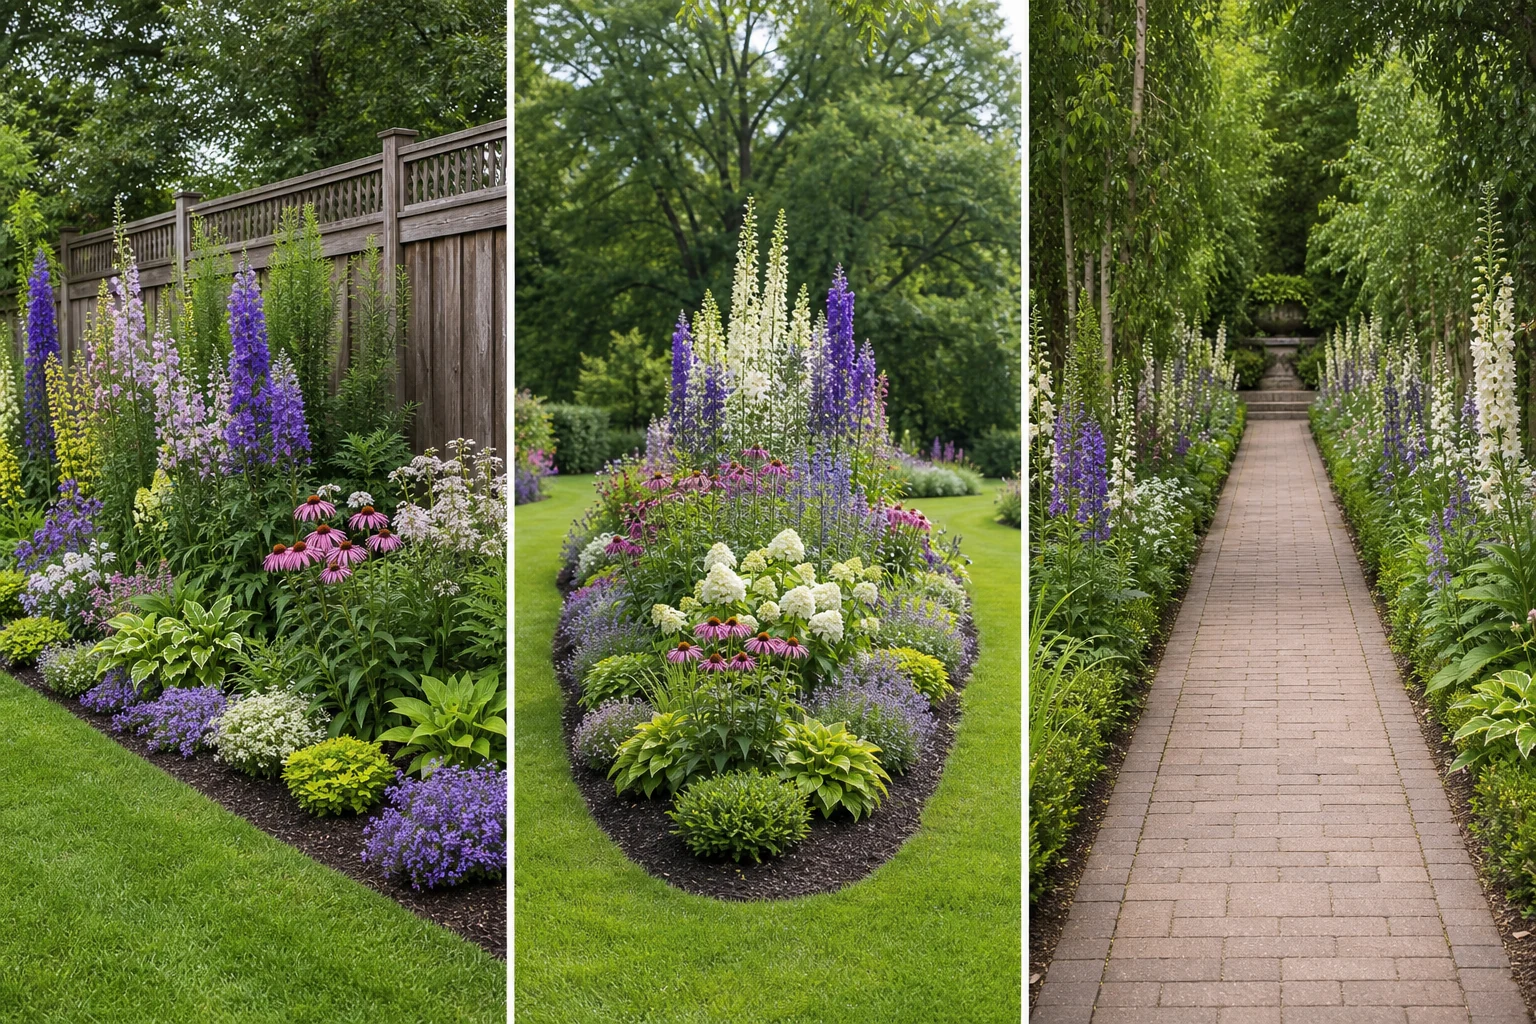
One-sided boundary border
Place most tall structure toward the boundary, then bring occasional height forward so the layers do not look like rigid steps.
Island or two-sided border
Keep the tallest mass near the center line and taper toward the edges people approach from either side.
Narrow path border
Use restrained upright forms and a low, durable edge so mature plants do not consume the route.
Sources: Royal Horticultural Society
Build the garden border from four visible layers
Layers are jobs, not strict horizontal bands. Let them overlap so the border feels planted while each role remains easy to read.
Use a calm edge to hold the line, repeat the middle, place durable structure first, and let airy accents rise through the composition.
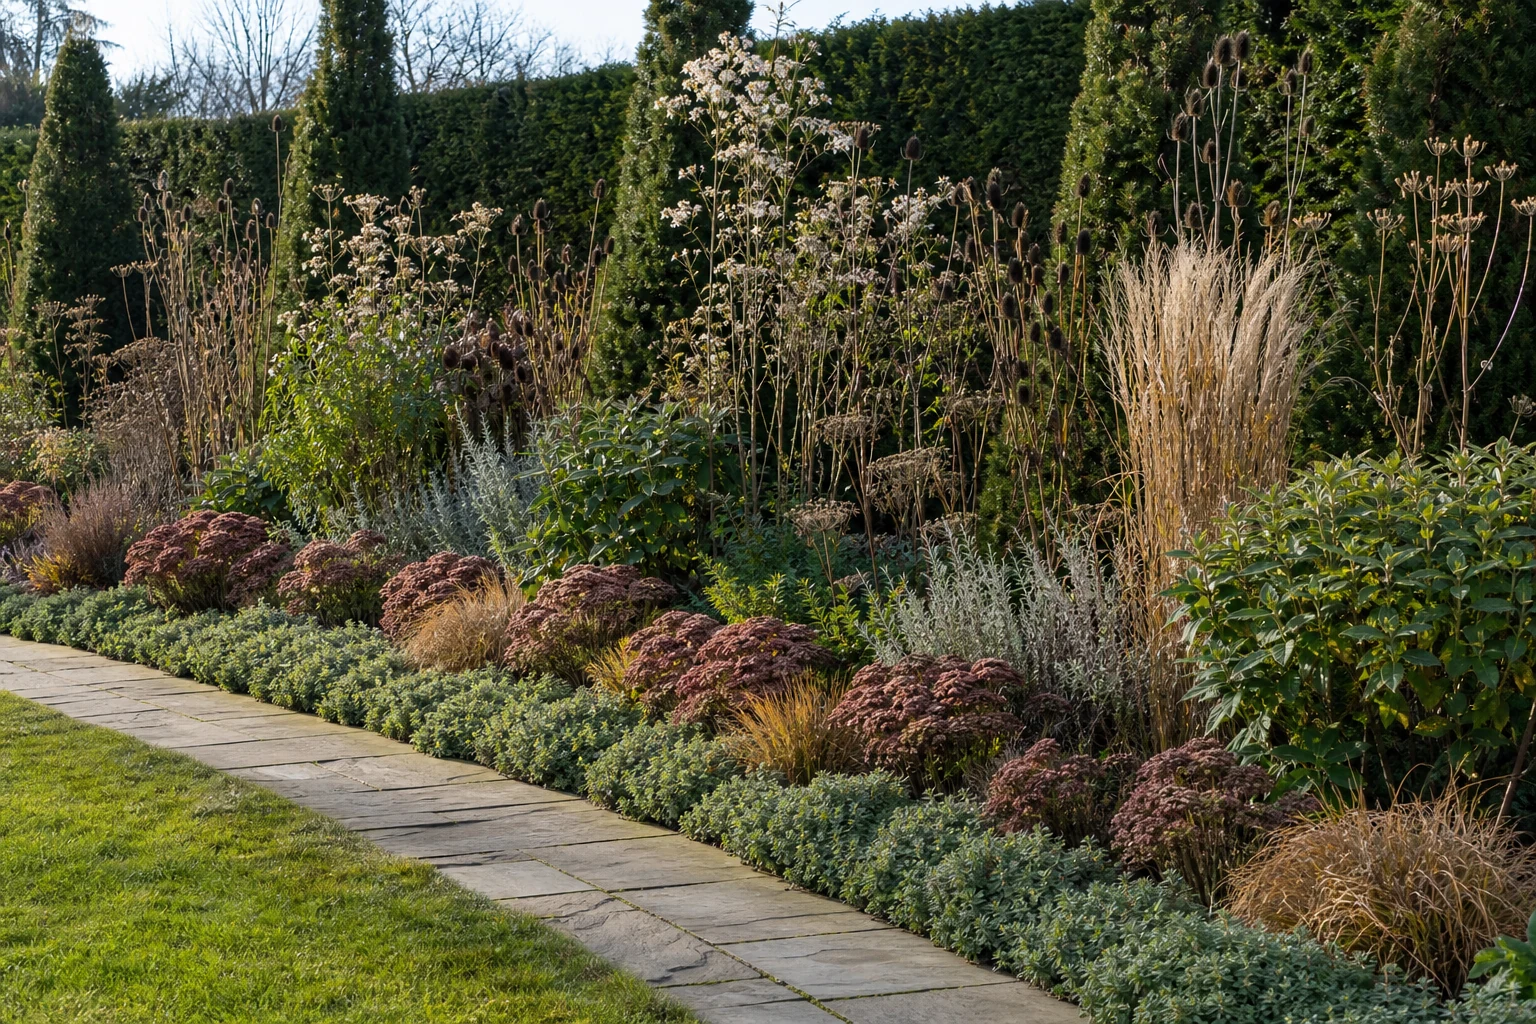
- 1
Calm front edge
A low repeated plant or visible mulch line keeps the route legible and gives the more varied planting behind it a boundary.
- 2
Repeated middle mass
Rounded or upright groups create the main rhythm. Repeat fewer plants in larger groups instead of scattering one of everything.
- 3
Durable structure
Shrubs, evergreen forms, sturdy grasses, or persistent stems carry the border when flowering plants are between seasons.
- 4
Airy seasonal accent
Taller flowers and seedheads can rise through the other layers without forming a solid wall across the back.
Sources: Royal Horticultural Society, University of Florida IFAS Extension
Repeat plants without turning the border into stripes
Repetition creates recognition. Variation in group size and overlap keeps that recognition from becoming mechanical.
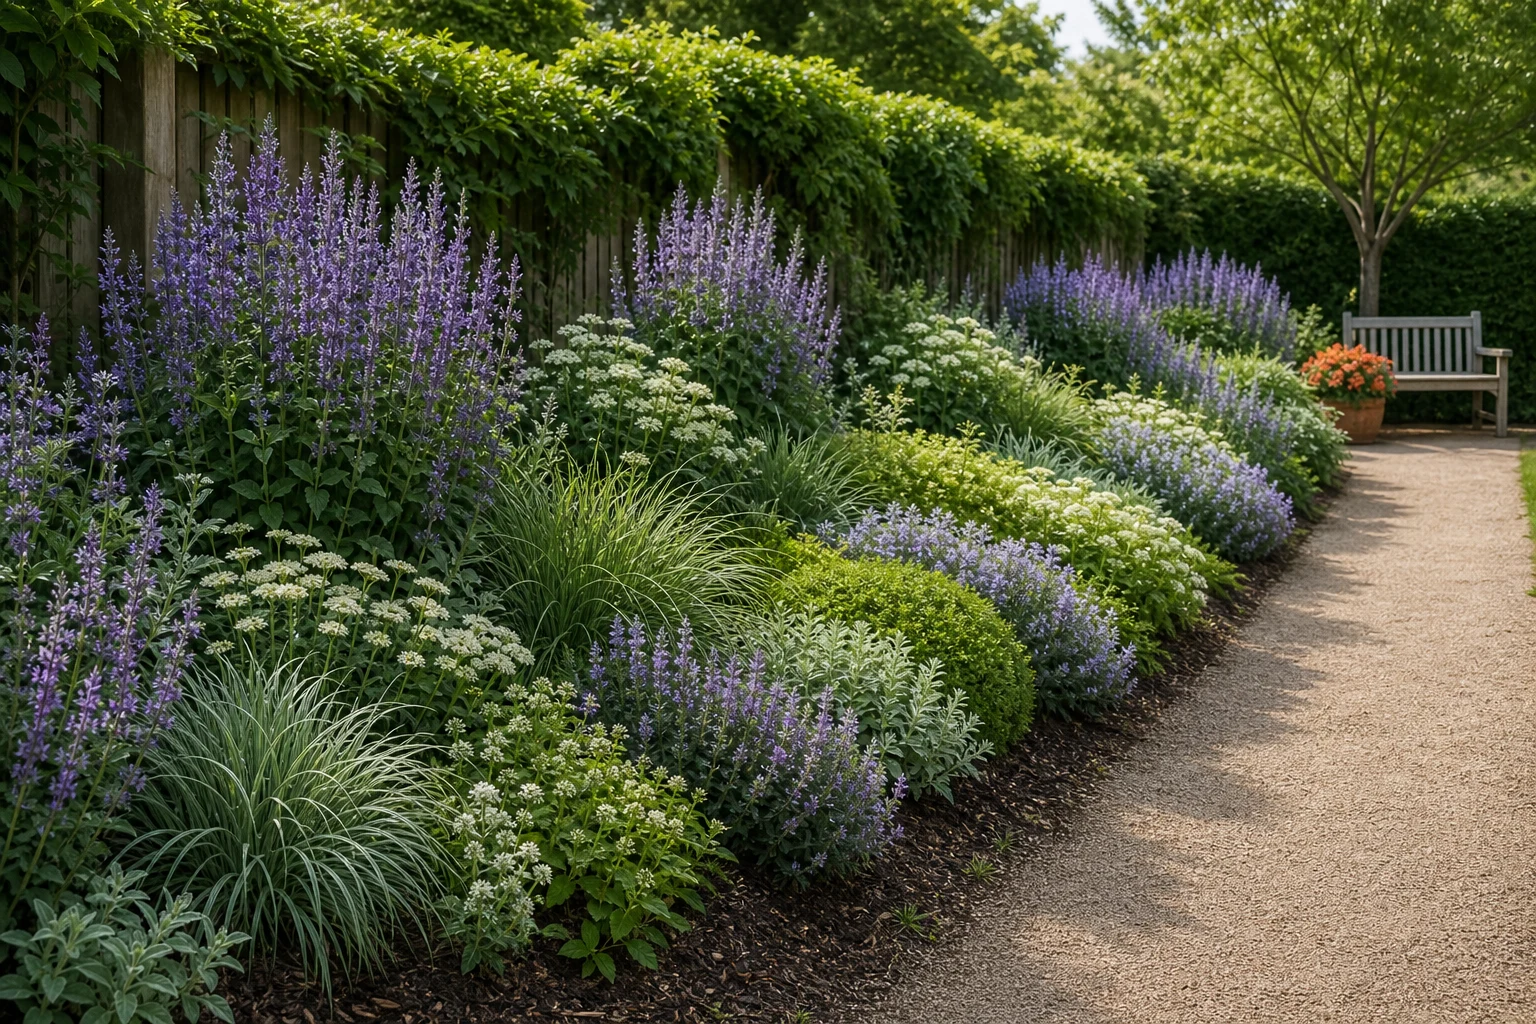
- 1
Choose two main repeat plants
Give most of the middle layer to two reliable forms that suit the site and remain useful beyond bloom.
- 2
Repeat them at uneven intervals
Let one group be larger and another smaller while keeping the plant recognizable across the full length.
- 3
Cross the layer boundary
Bring an occasional middle plant toward the edge or a low plant behind a mound so the composition does not read as parallel bands.
- 4
Limit one-off accents
Reserve unique plants for a turn, entrance, bench, or terminal view where a focal point has a reason to exist.
Move from the border sketch to plants in the ground
The design becomes buildable when every group has a mature envelope, a quantity, and a practical establishment plan.
- 1
Mark the shape at full scale
Use a hose or rope and walk the route from both directions. Check mowing, gates, utilities, downspouts, and access before removing turf.
- 2
Prepare for the actual soil
Use a soil test and local guidance rather than adding the same amendment to every site.
- 3
Stage pots at mature spacing
Set every plant in place, step back to the main view, and adjust groups while preserving the exact variety's mature spread.
- 4
Water and mulch for establishment
Plan access to water, keep mulch off stems and trunks, and monitor the young border before filling every apparent gap.
Frequently asked questions
How do I design a garden border?
Start with the viewing side, route, and border shape. Then place durable structure, repeated middle groups, a calm lower edge, and limited seasonal accents at mature spacing.
Should tall plants always go at the back of a border?
Only when the border is viewed mainly from one side. In an island border, the tallest forms usually sit nearer the center. Along a path, restrained upright forms protect the route.
How many different plants should be in a garden border?
There is no universal number. A readable beginner border usually benefits from fewer plants repeated in larger groups, with a limited number of one-off accents at meaningful locations.
What is the difference between a garden border and landscape edging?
A garden border is a planted composition. Landscape edging is the physical or cut boundary that controls grass, mulch, mowing, or a small level change.
 Gardenful
Turn the border layers into a planting direction
Use a photo to test the large masses and repeats, then confirm exact plants, mature spacing, quantities, and local site fit.
Gardenful for iPhone
Download the app free and start with a photo of your yard.

Sources(4)
- [1]How to Plan a Border
Royal Horticultural Societyhttps://www.rhs.org.uk/garden-design/how-to-plan-a-border
- [2]How to Create a Border
Royal Horticultural Societyhttps://www.rhs.org.uk/garden-design/how-to-create-a-border
- [3]Landscape Design with Plants: Creating Outdoor Rooms
University of Florida IFAS Extensionhttps://ask.ifas.ufl.edu/publication/EP449
- [4]811 Before You Dig
Common Ground Alliancehttps://call811.com/