Gardenful field guide
How to design a rain garden
The short answer
A rain garden is a shallow planted area that receives runoff and lets it soak into suitable soil. Map where water enters, where it can spread, and where excess water can leave safely. Confirm the site drains within the time required by local guidance, then choose different plants for the wetter bottom, sloped sides, and drier rim.
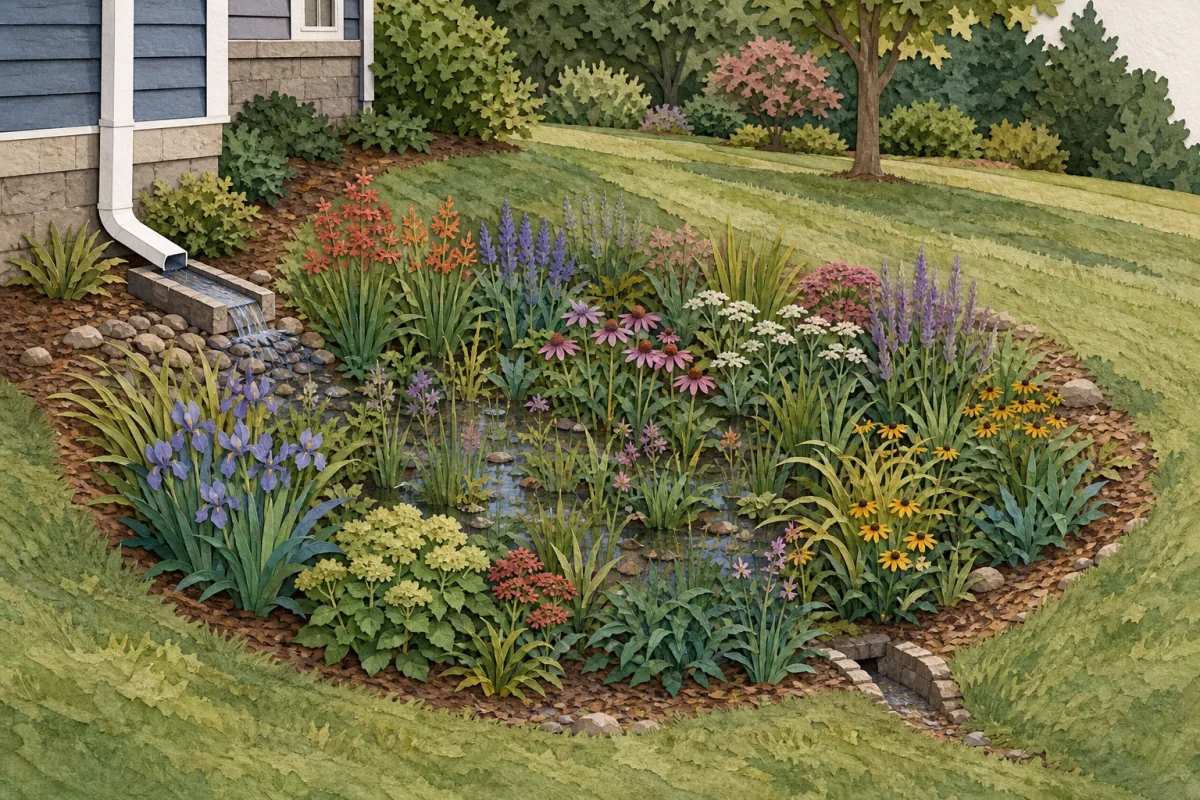
Confirm that the site can function as a rain garden
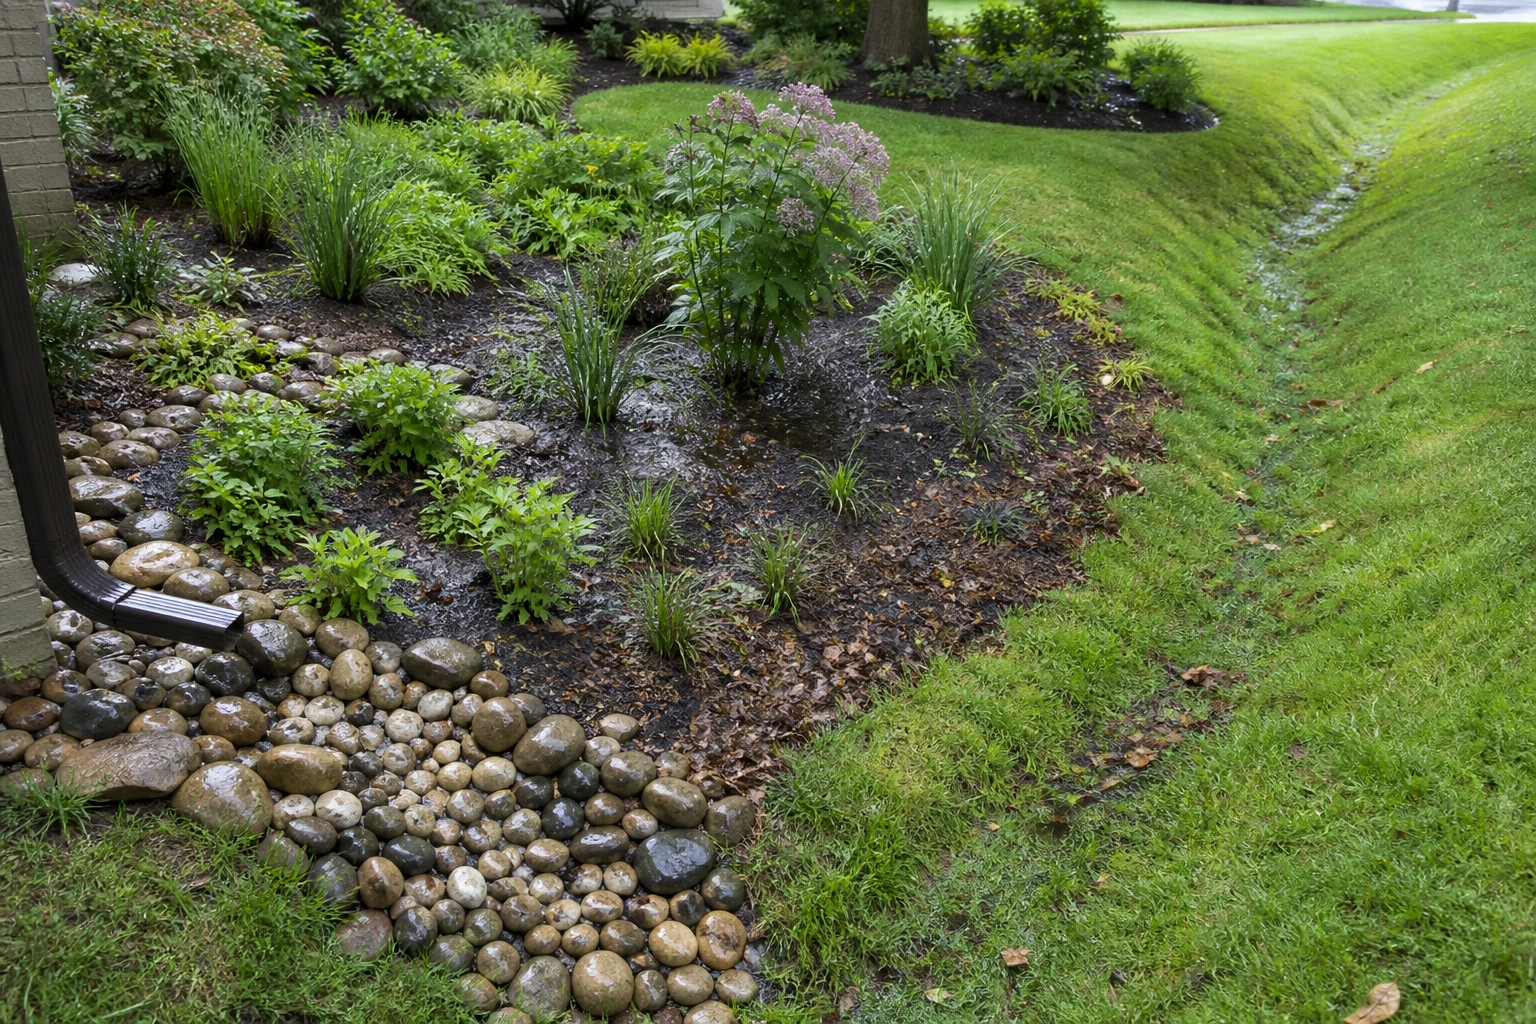
A rain garden is a shallow planted basin that receives runoff, holds it briefly, and lets suitable soil absorb it. Before drawing the planting, confirm that the runoff source, soil, separation, and overflow route can support that job. Your city, county, watershed district, or extension office may publish a rain-garden guide with setback, soil, infiltration, sizing, and utility requirements; use that local source for site decisions while this article focuses on the planning logic.
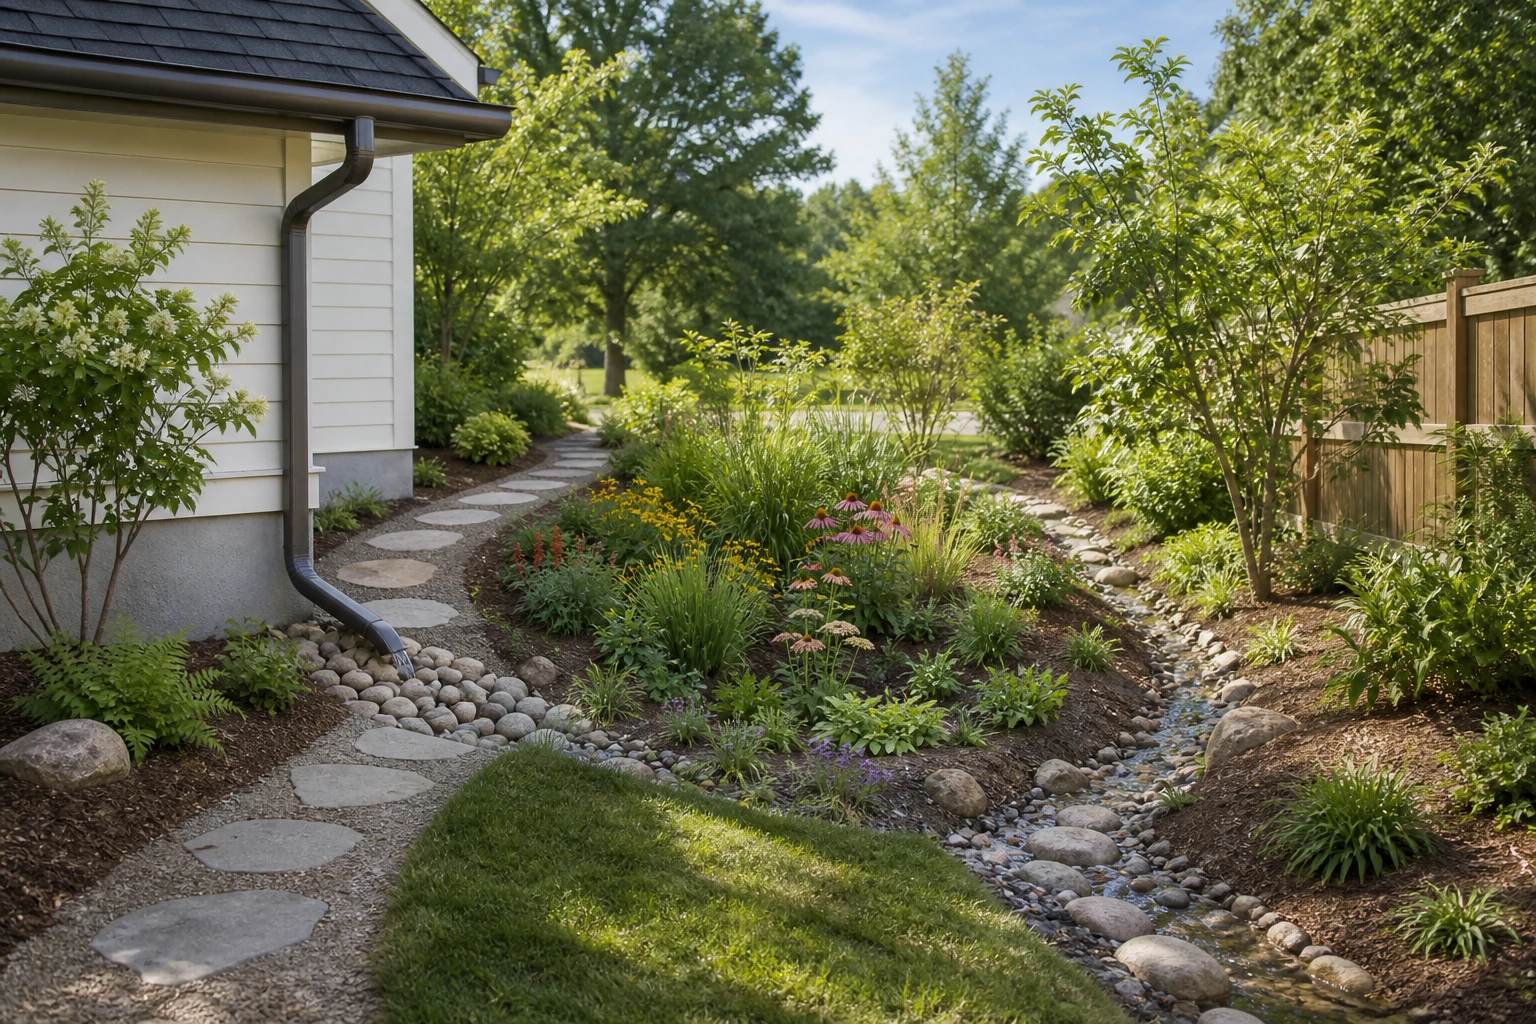
Identify the runoff source: Measure or estimate the roof, driveway, or other surface that will drain toward the garden. Do not redirect water from an unknown or contaminated source into a planting bed.
Observe the existing drainage: A rain garden is not a way to hide an existing wet area, high water table, failing drain, or water against a foundation. Get appropriate local help when the cause is unclear.
Check soil and infiltration: Use the drainage test and threshold specified by that local source. Soil texture, compaction, and seasonal groundwater can change whether the site is suitable.
Protect structures and utilities: Confirm required distances from foundations, septic systems, wells, property lines, slopes, and buried utilities before excavation.
Plan a safe overflow: Know where water goes when the basin is full. Overflow should not create erosion, cross a walking route, or send water toward a building or neighboring property.
A planting guide cannot determine drainage engineering, basin dimensions, excavation depth, or local compliance. Use a local rain-garden manual or qualified professional for those decisions.
Draw the complete water route
A clear diagram should explain what happens from an ordinary rain through a larger storm. If one part is missing, the planting cannot solve it.
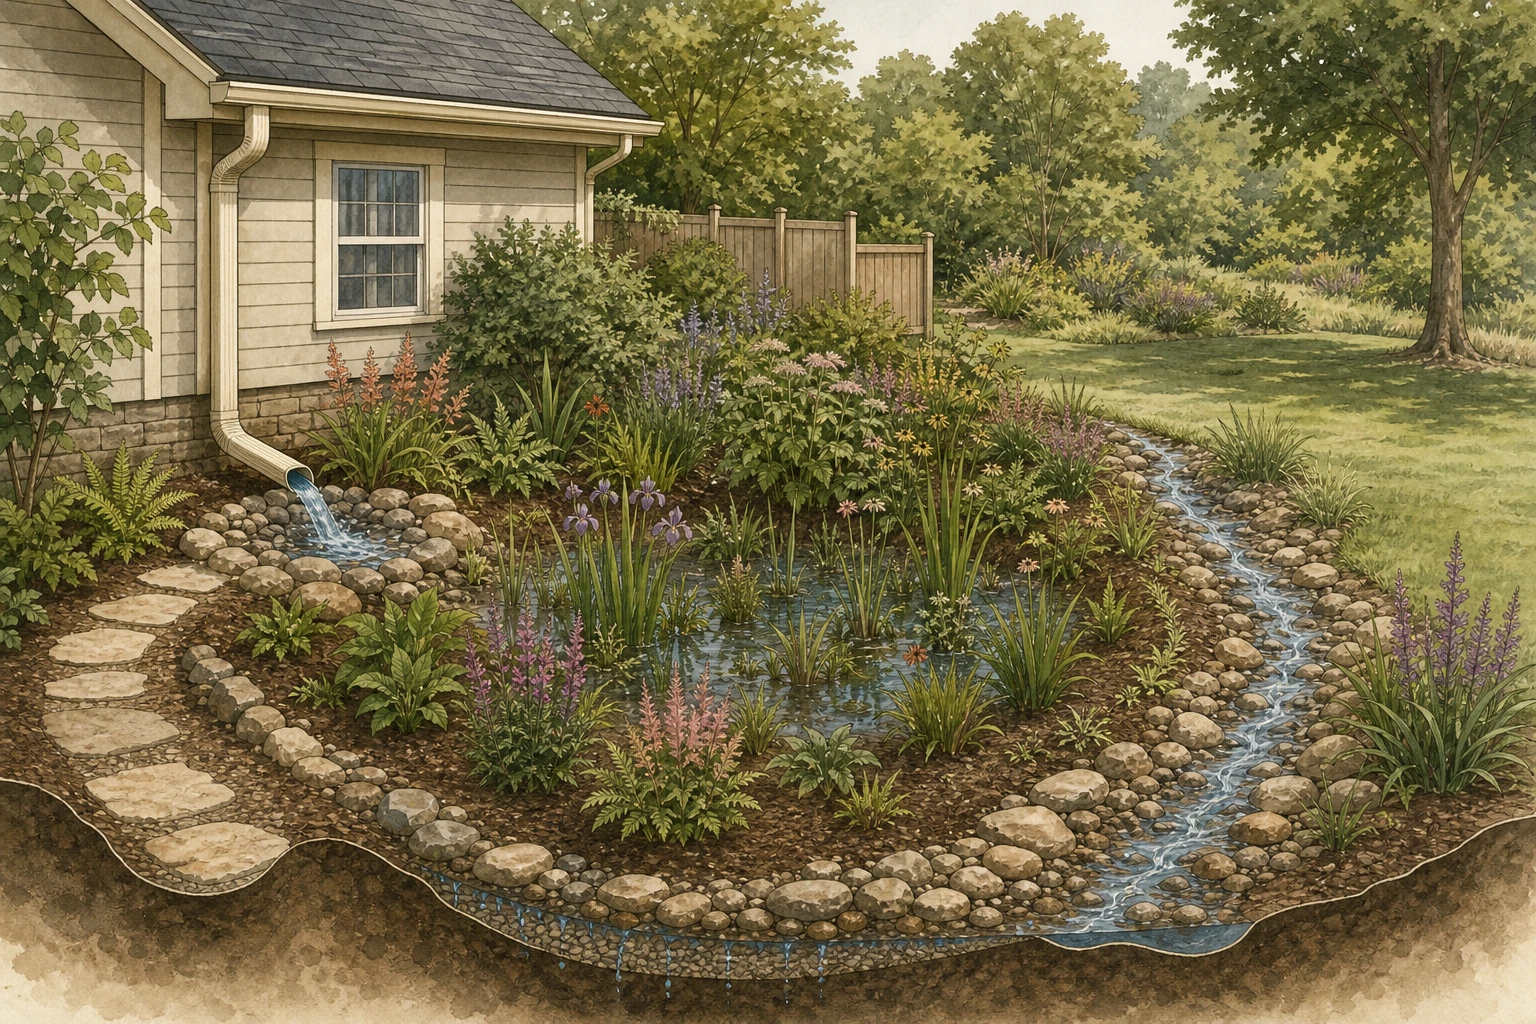
- 1
Pass 1
Source
Known runoff area
- 2
Pass 2
Inlet
Slowed, stable entry
- 3
Pass 3
Basin
Temporary storage and infiltration
- 4
Pass 4
Overflow
Safe route for larger storms
Result
A complete water route to verify locally
The plan shows the source, inlet, basin, and overflow before planting begins.
What to mark on the plan
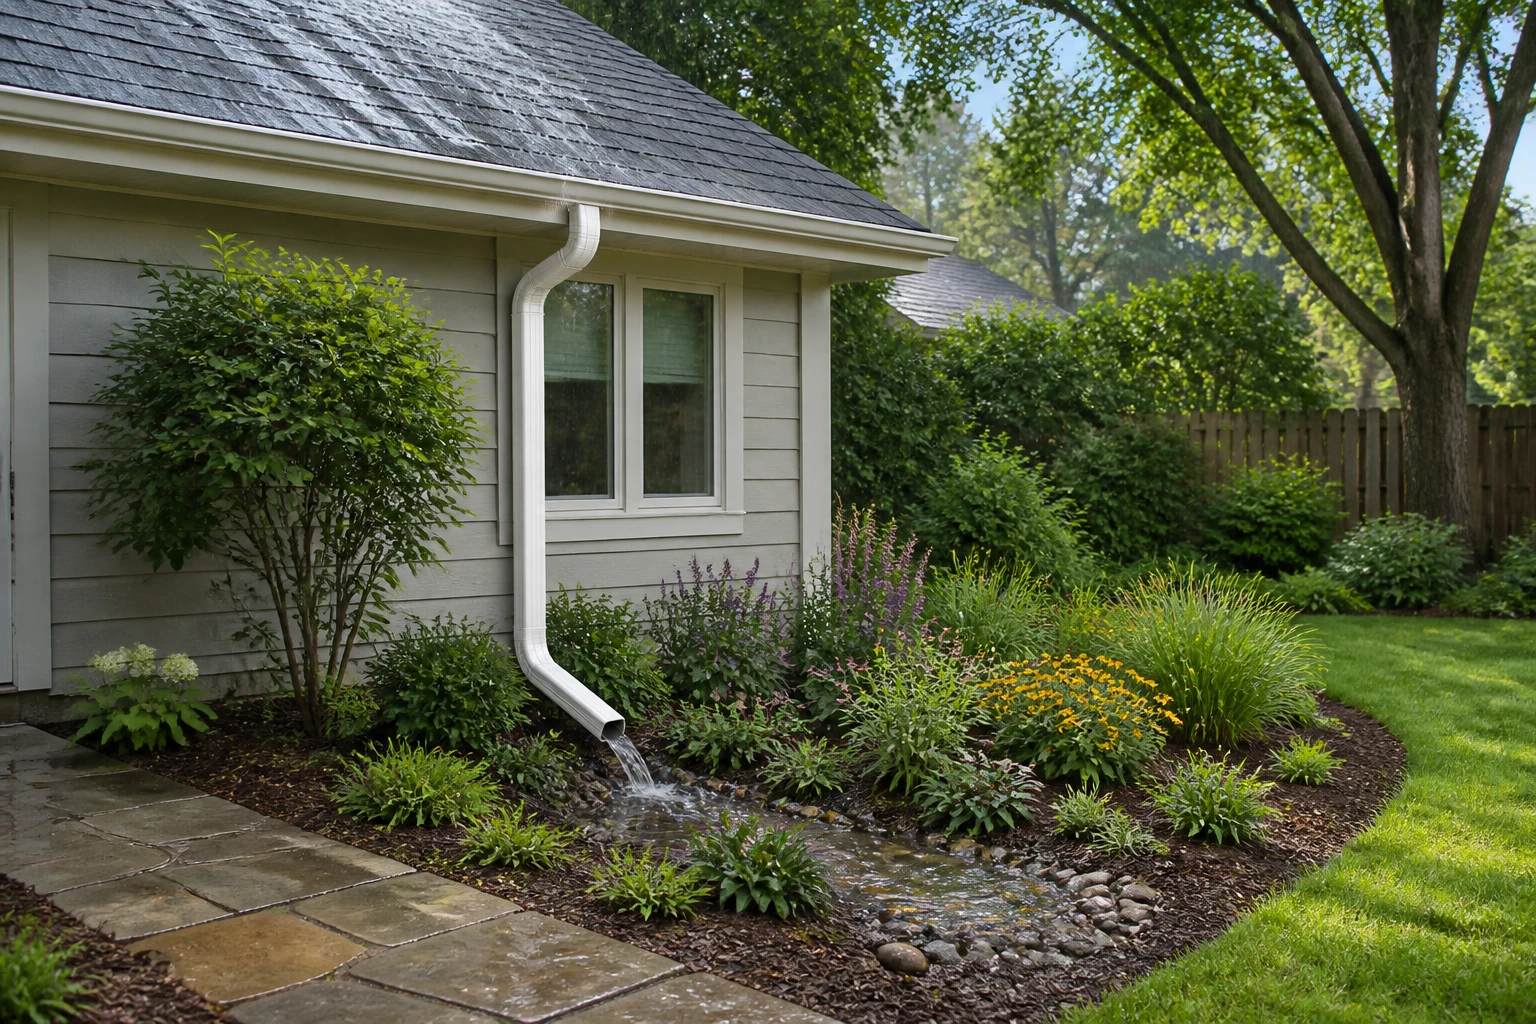
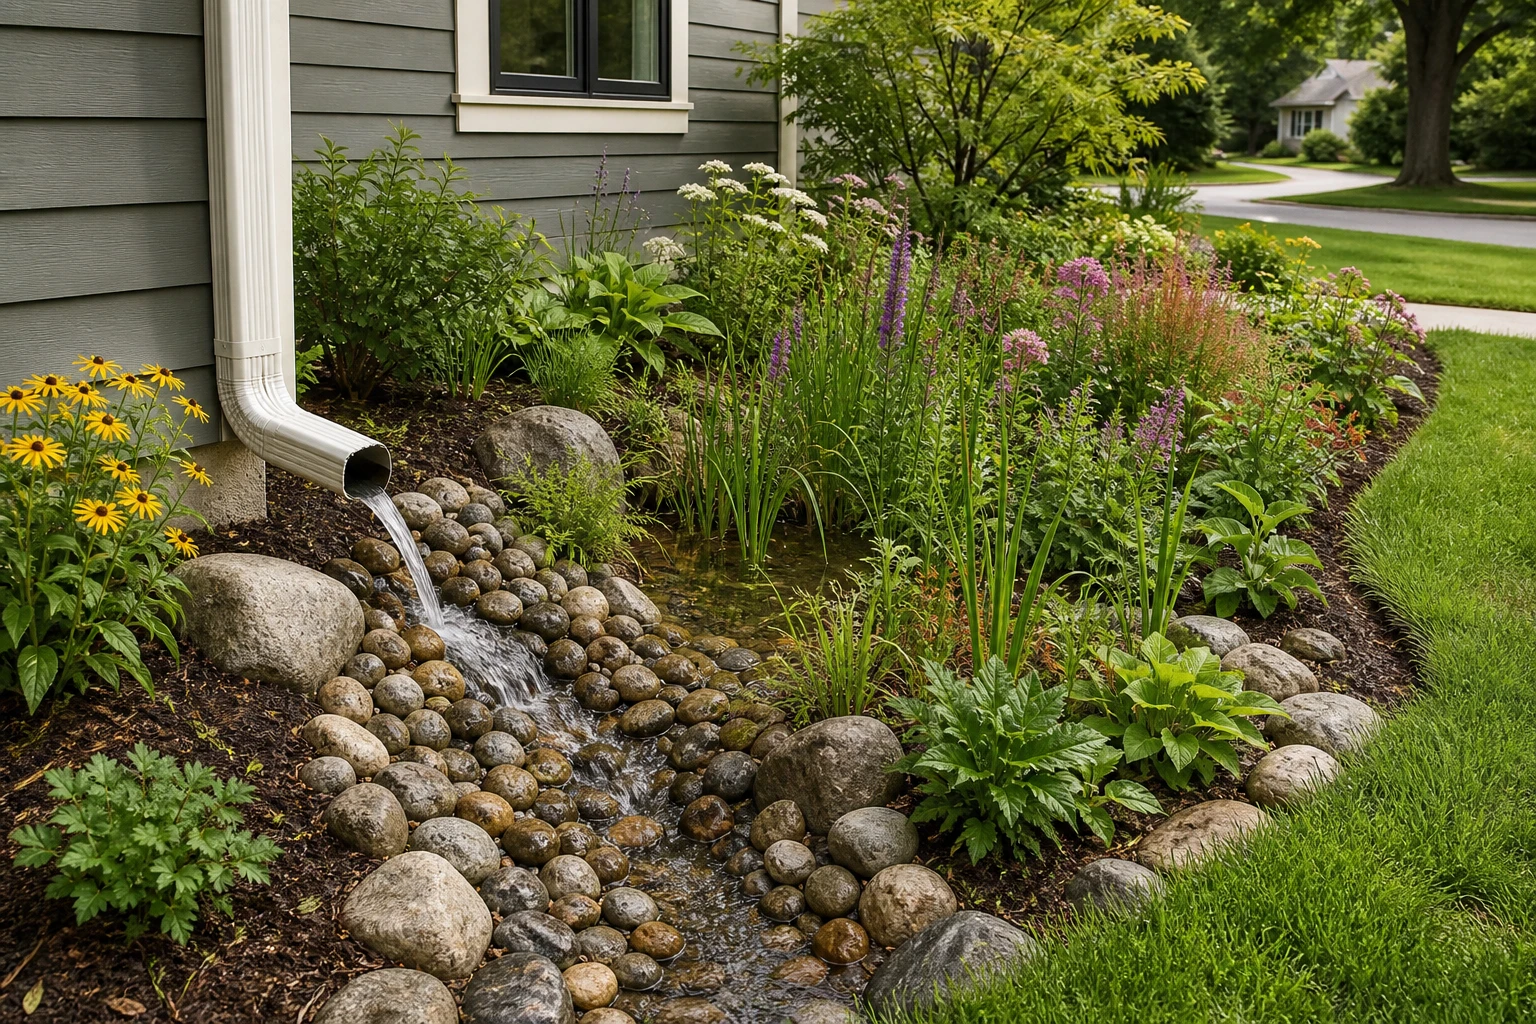
Measure the runoff source
Mark the roof or paved area producing runoff and the specific downspout, swale, or sheet-flow edge that carries it.
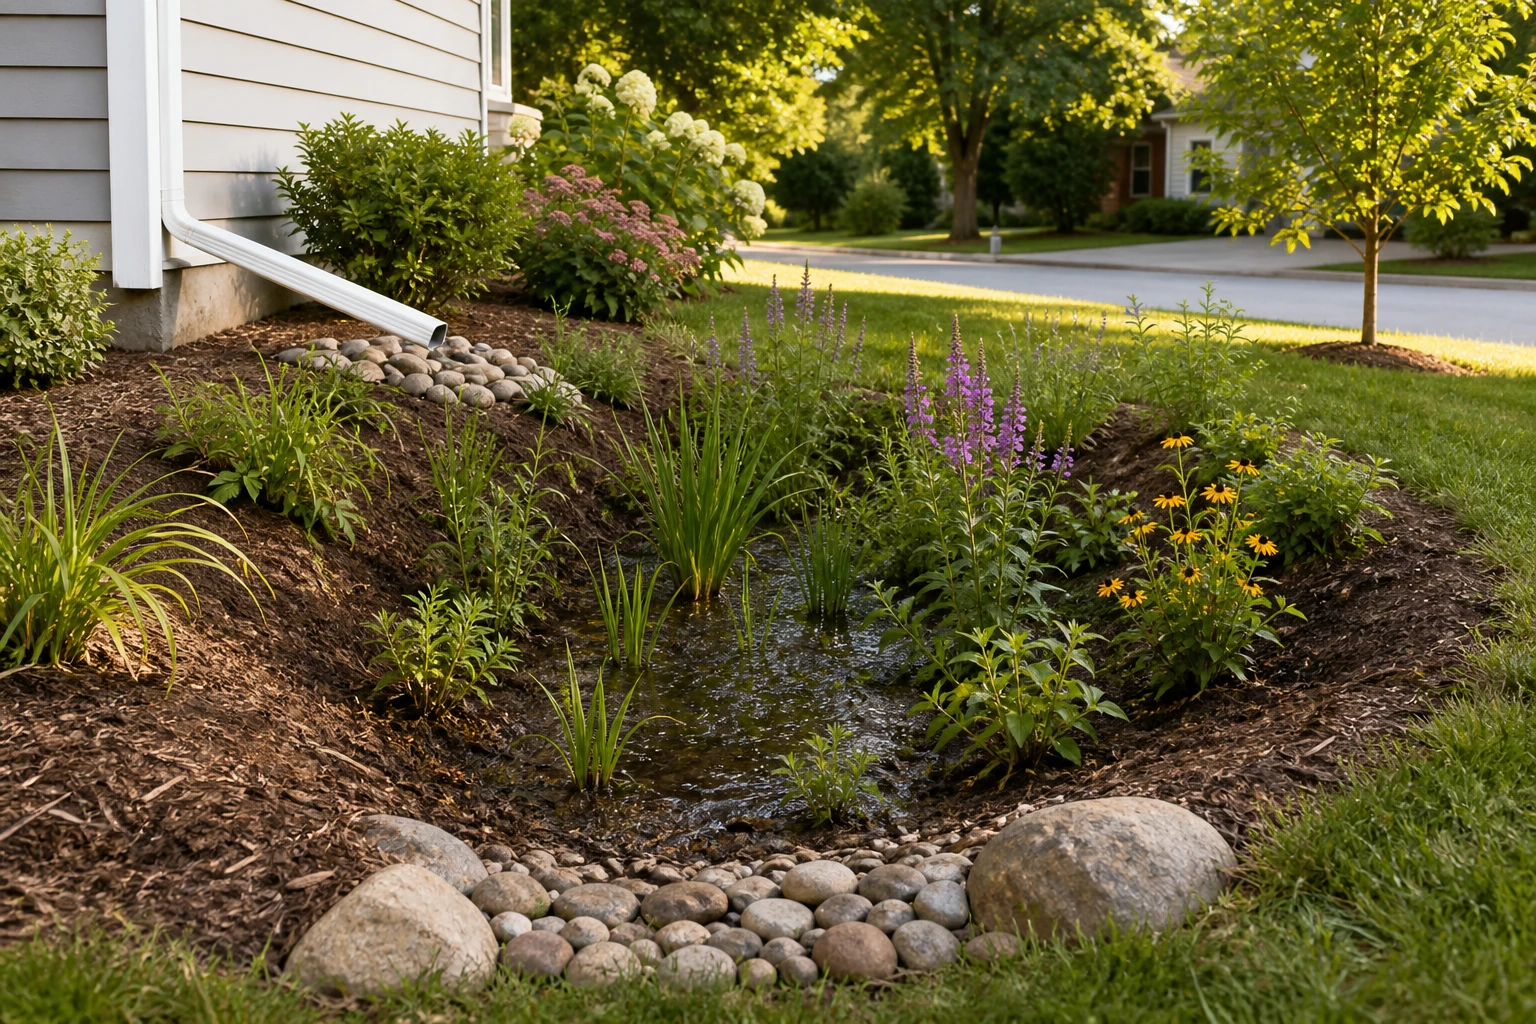
Slow the inlet
Slow and spread incoming water so it does not cut a channel through the soil or bury plants in sediment.
Size the basin locally
Keep the bottom broad and shallow enough for the locally calculated volume, with stable side slopes and room for maintenance.
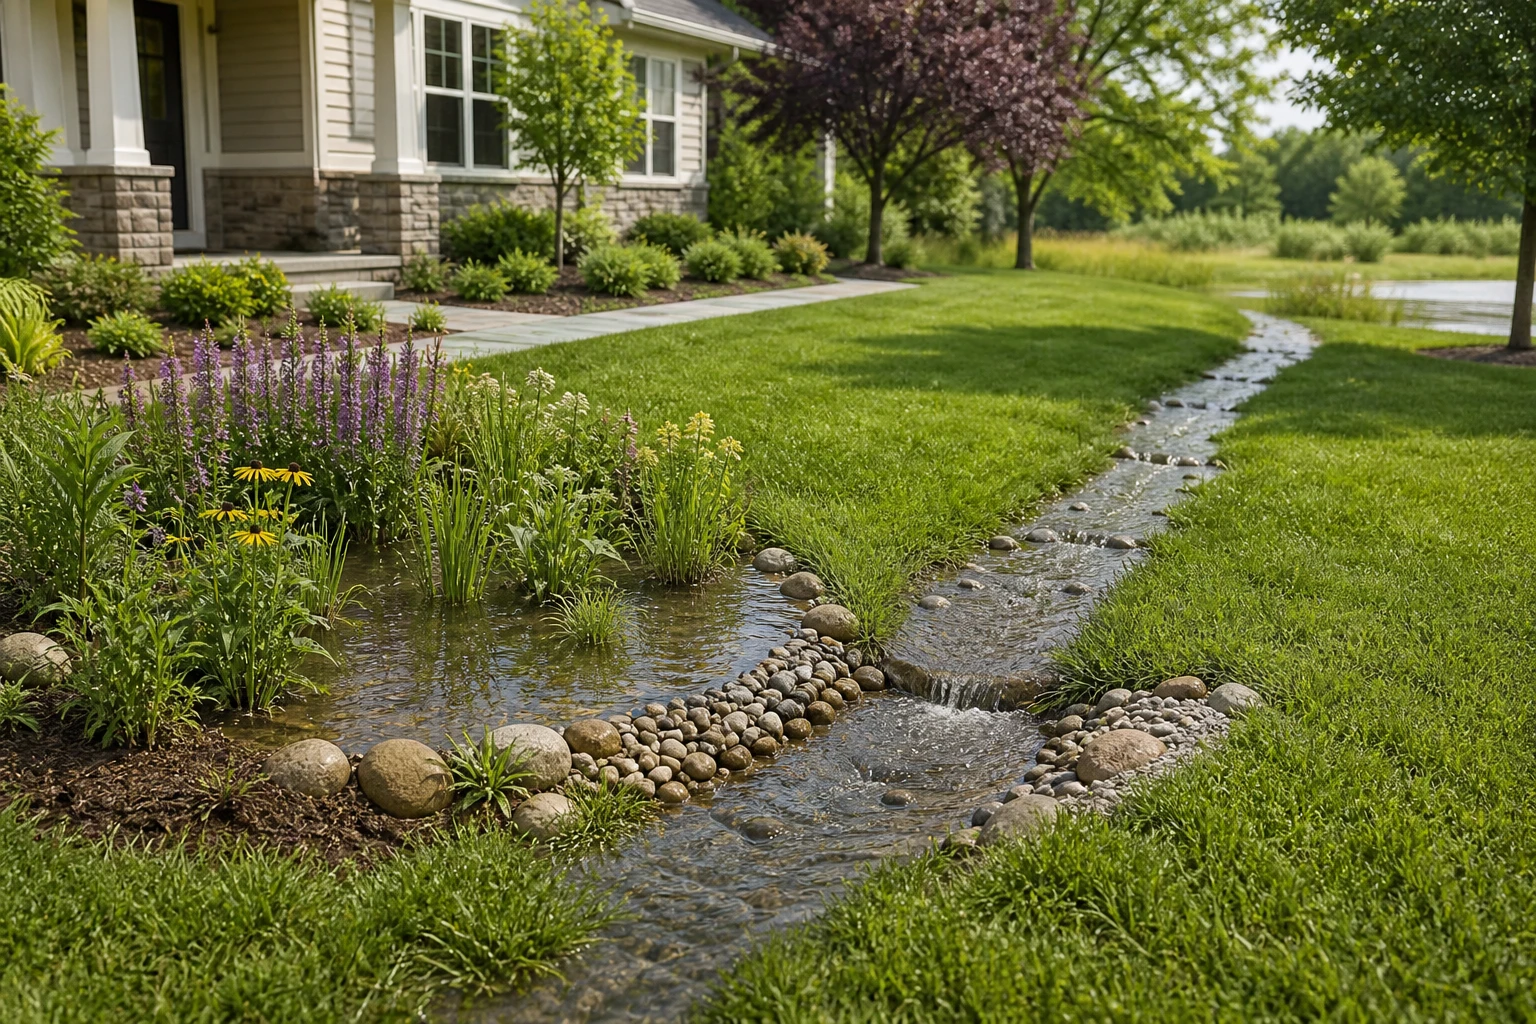
Confirm the overflow destination
Give excess water a deliberate, erosion-resistant route to an approved receiving area.
Plant the bottom, slopes, and rim as different zones
Rain-garden plants experience both wet and dry periods. The lowest point usually stays wet longest, while the rim may resemble the surrounding yard.
Basin bottom
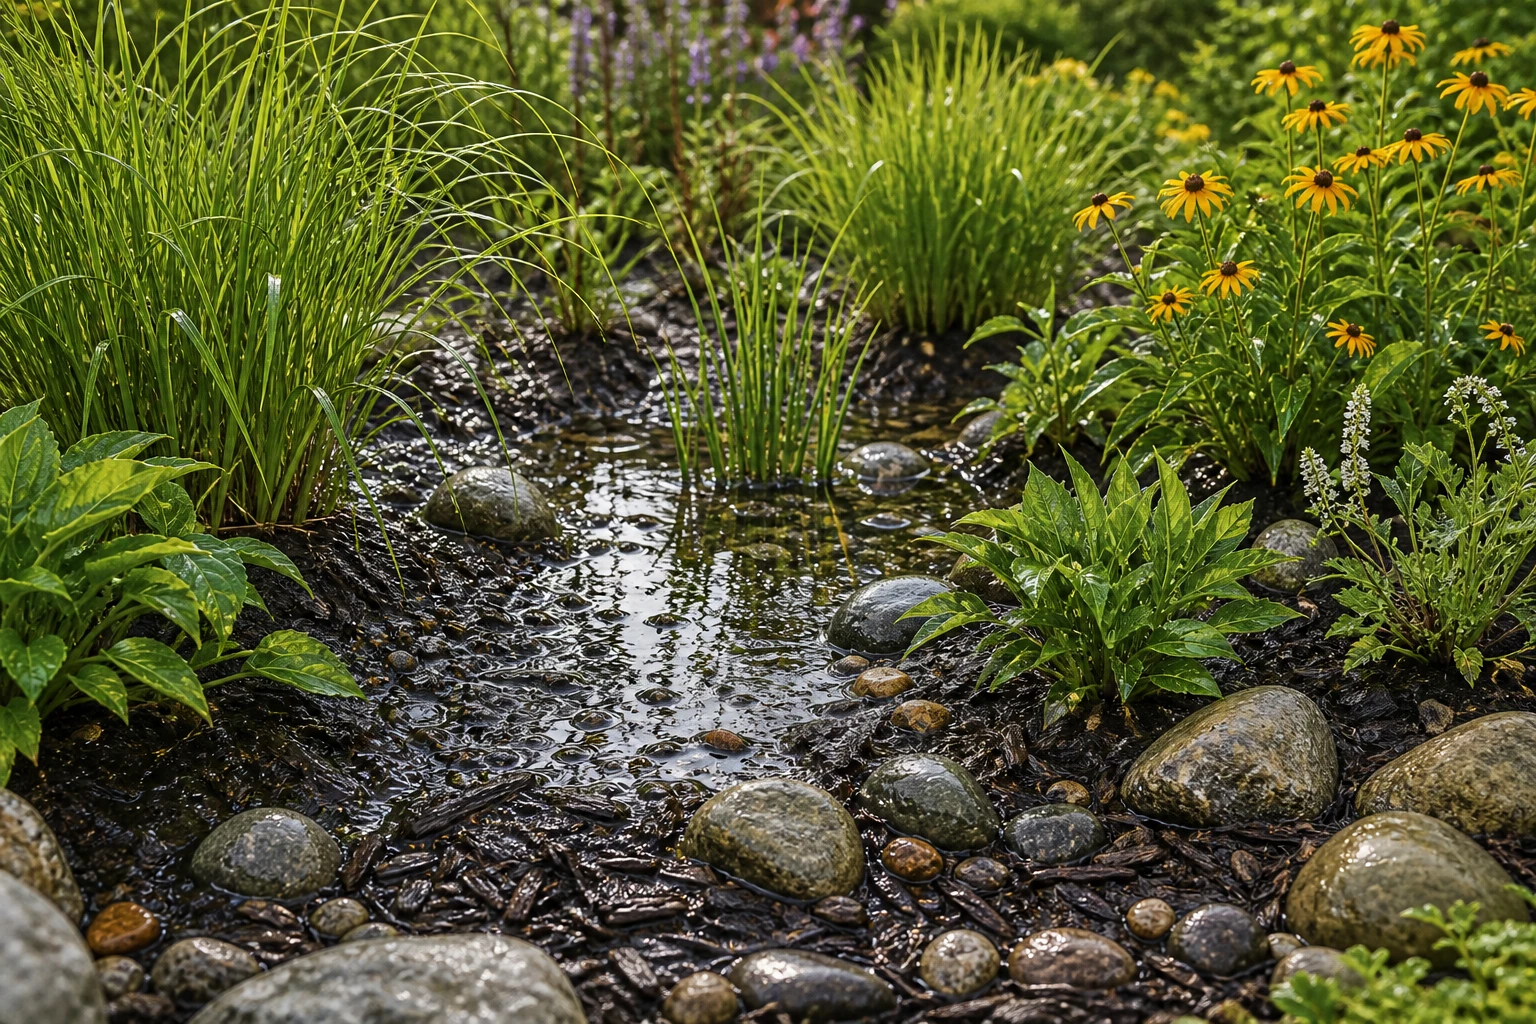
- Plant direction: Plants suited to periodic inundation followed by drying, not permanent aquatic plants.
- Design role: Dense roots help cover soil, but leaves and stems must not block the inlet or inspection.
- Check locally: Expected ponding duration, sun, soil, winter cold, and local plant guidance.
Side slopes
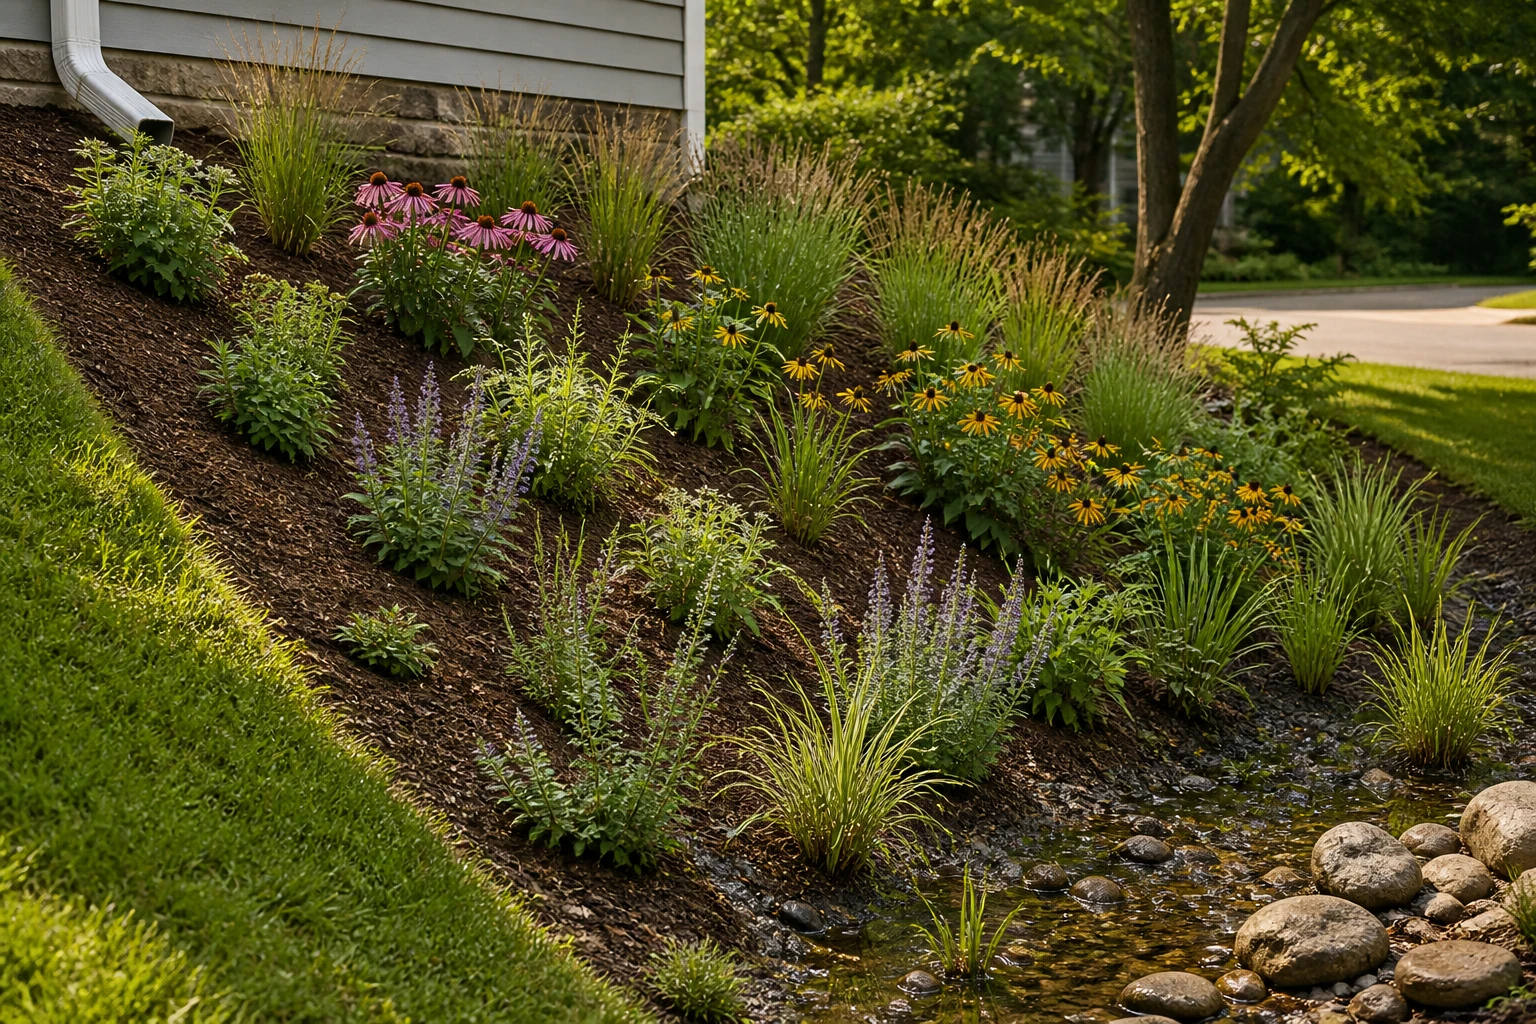
- Plant direction: Plants tolerant of fluctuating moisture with roots that help hold the planted slope.
- Design role: Repeated masses make the basin shape readable and easier to weed.
- Check locally: Slope stability, establishment water, and mature width.
Upper rim
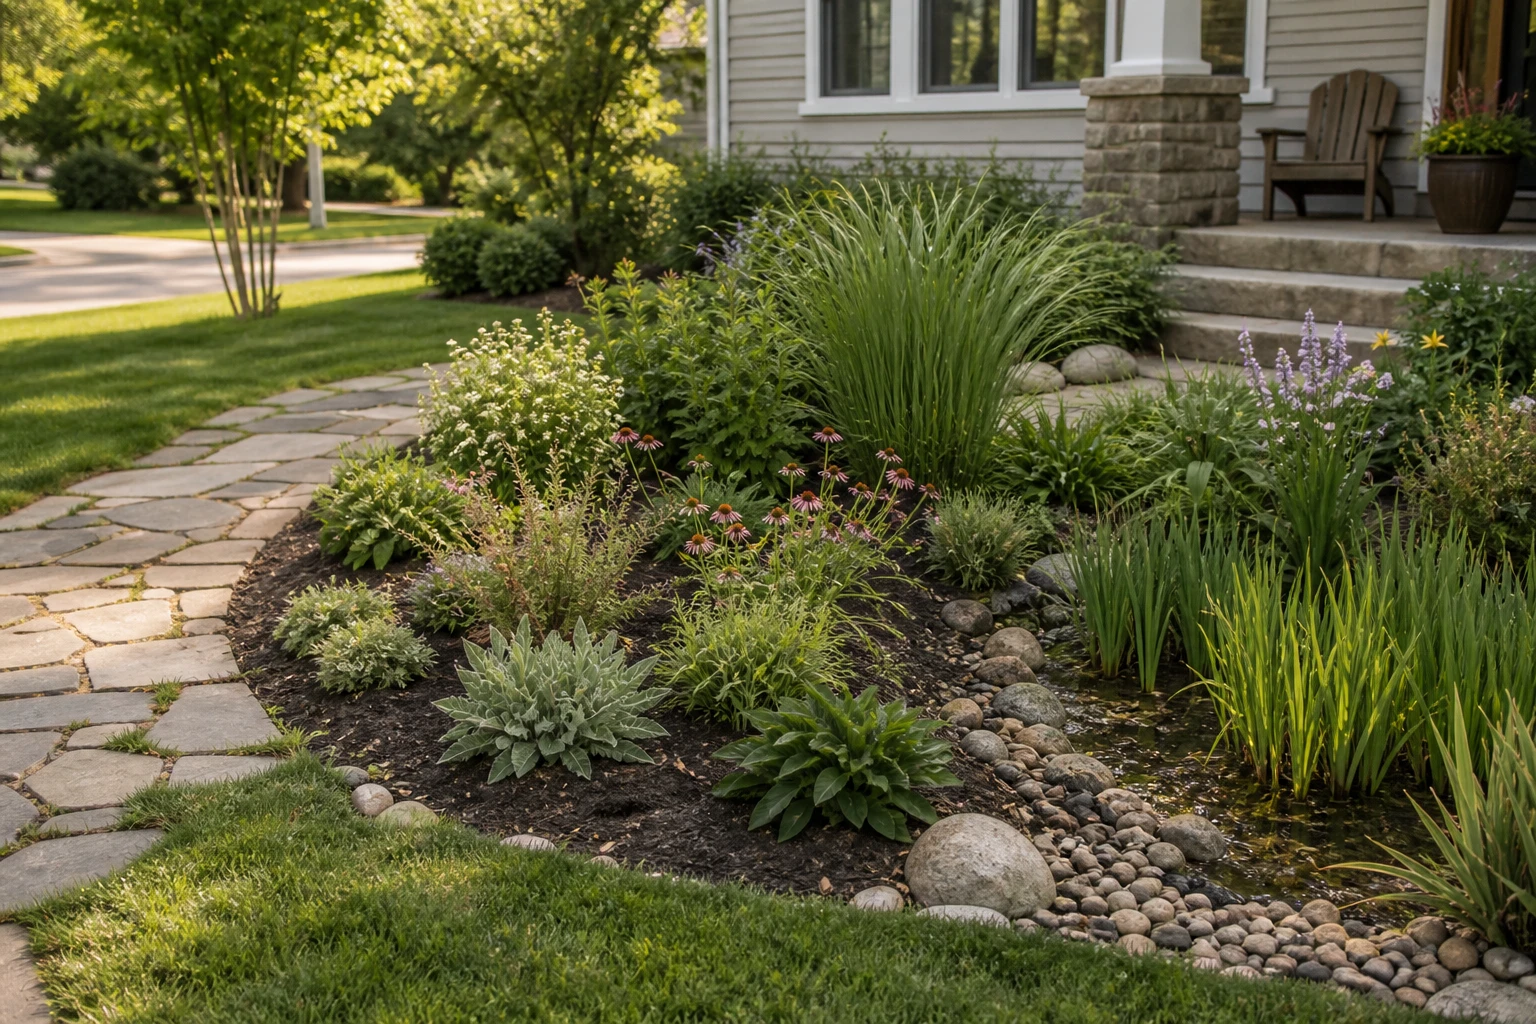
- Plant direction: Plants matched to the surrounding site's more typical or drier conditions.
- Design role: Use structure here to connect the rain garden to the wider landscape.
- Check locally: Whether roof overhang, pavement heat, or existing irrigation changes the zone.
Regional rain-garden plant lists are useful only after the water conditions, light, climate, and local invasive guidance are known.
Sources: Penn State Extension, US Environmental Protection Agency
Establish the planting and keep the route inspectable
The first seasons determine whether the basin stays a legible planted system or turns into an eroded, weedy low spot. Keep the inlet, basin, and overflow easy to find while the plants are small.
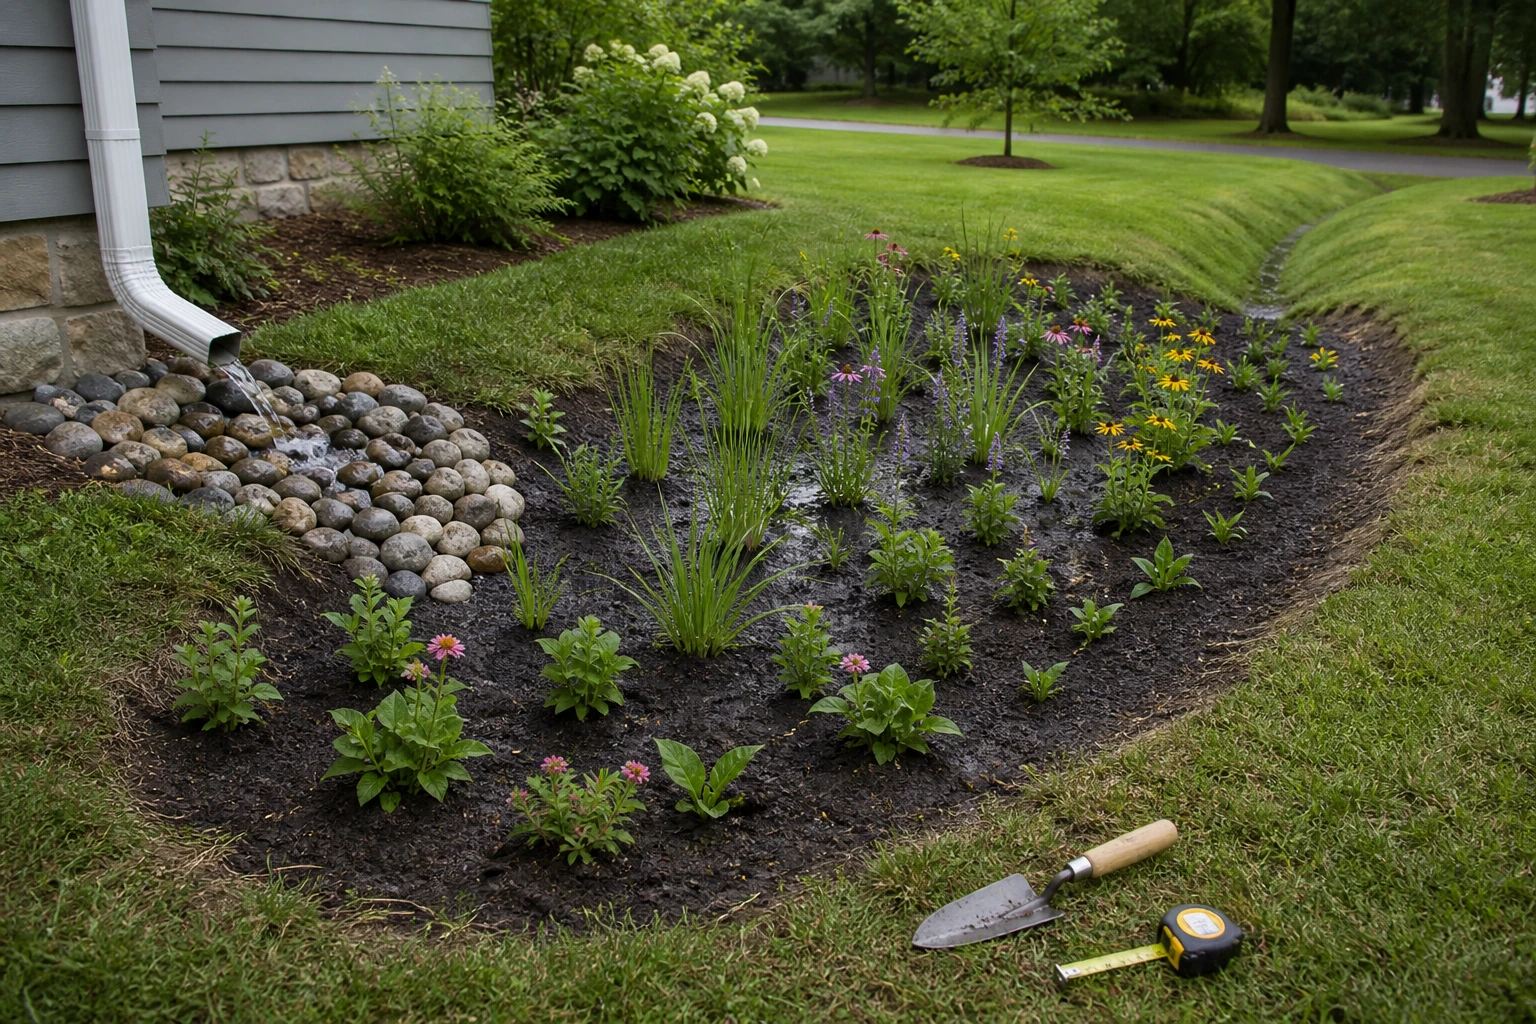
At installation
Protect the soil surface and water route.
Inspect the grades Confirm that the inlet, basin, and overflow match the approved plan before planting obscures them.
Plant by zone Keep labels or a simple map so unfamiliar young plants are not mistaken for weeds.
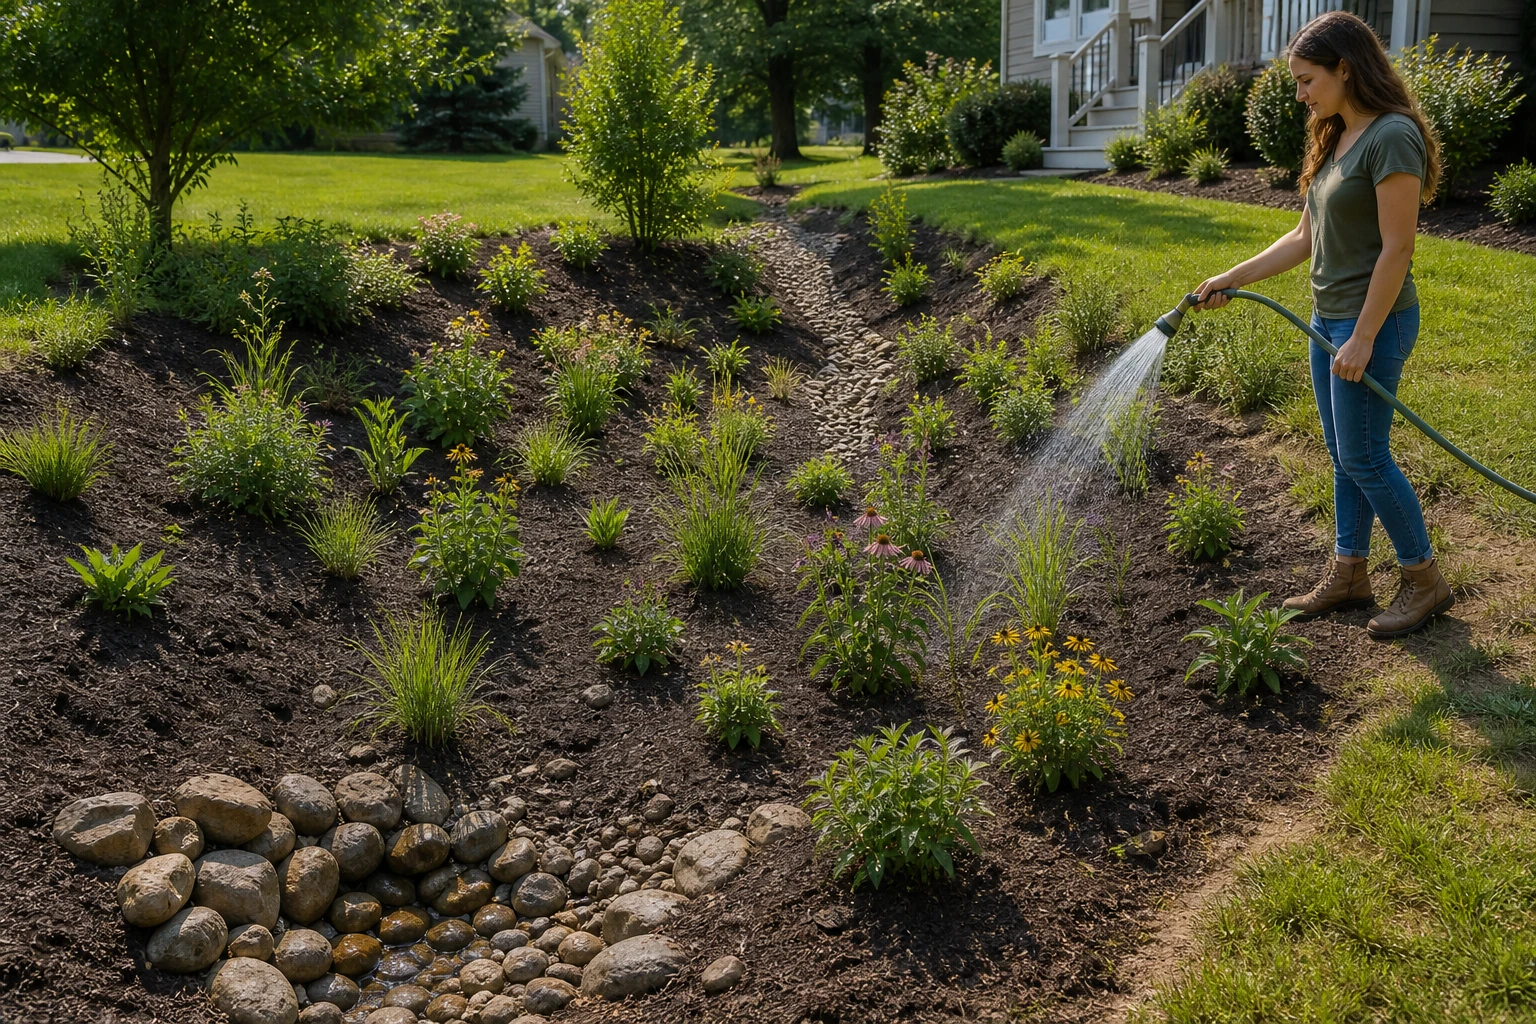
During establishment
Help roots develop without blocking flow.
Water new plants Follow locally appropriate establishment guidance; rainfall alone may not be enough while roots are small.
Remove weeds early Weed before seed set and repair bare or eroding soil with the method recommended by the local design.
After storms
Check function, not only flowers.
Look for erosion or sediment Clear accumulated debris and address concentrated flow rather than covering the symptom with plants.
Confirm drainage and overflow If water persists beyond local guidance or leaves by an unintended route, seek local technical advice.
Keep the inlet, overflow, and inspection access identifiable. A rain garden should remain understandable as water infrastructure as well as planting.
Frequently asked questions
Is a rain garden supposed to hold water all the time?
No. A rain garden temporarily holds runoff and should drain within the period specified by local guidance. Persistent water can indicate unsuitable soil, groundwater, sizing, or another drainage problem that needs local evaluation.
Can I put a rain garden in an already wet part of my yard?
Not automatically. An existing wet spot may reflect groundwater, compacted soil, drainage failure, or water moving toward a structure. Identify the cause and use a local rain-garden method before excavating.
What plants go in a rain garden?
Choose plants by zone. The bottom needs plants that tolerate temporary wetness and later drying, the slopes face fluctuating moisture, and the rim is often drier. Verify exact plants with a regional list and your site's light, soil, and climate.
How far should a rain garden be from the house?
Required or recommended setbacks vary with foundations, basements, slopes, soil, utilities, wells, septic systems, and local requirements. Follow the guidance for your jurisdiction or work with a qualified local professional.
Can Gardenful design the drainage for a rain garden?
No. Gardenful can help visualize planting after the basin and water route have been established. It does not size stormwater systems, test soil, locate utilities, set grades, or replace local engineering and permitting guidance.
 Gardenful
Visualize planting after the water plan is sound.
Keep the full basin, inlet, and overflow in the photo so the planting direction supports a rain garden that remains easy to understand and maintain.
Gardenful for iPhone
Download the app free and start with a photo of your yard.

Sources(4)
- [1]Rain Gardens
University of Minnesota Extensionhttps://extension.umn.edu/landscape-design/rain-gardens
- [2]
- [3]
- [4]Soak Up the Rain: Rain Gardens
US Environmental Protection Agencyhttps://www.epa.gov/soakuptherain/soak-rain-rain-gardens