Planting around walls
Retaining wall landscaping ideas that keep the wall inspectable
The short answer
Planting can soften a retaining wall, but it must not hide drainage, movement, or structural warning signs. Treat the wall as infrastructure before treating it as a garden feature. If it leans, bulges, cracks, shifts, drains poorly, or holds a newly unstable slope, stop and get qualified local advice. Around an existing stable wall, keep drainage and inspection open, then choose different plant behaviors for the drier top, exposed face, and receiving area at the base.
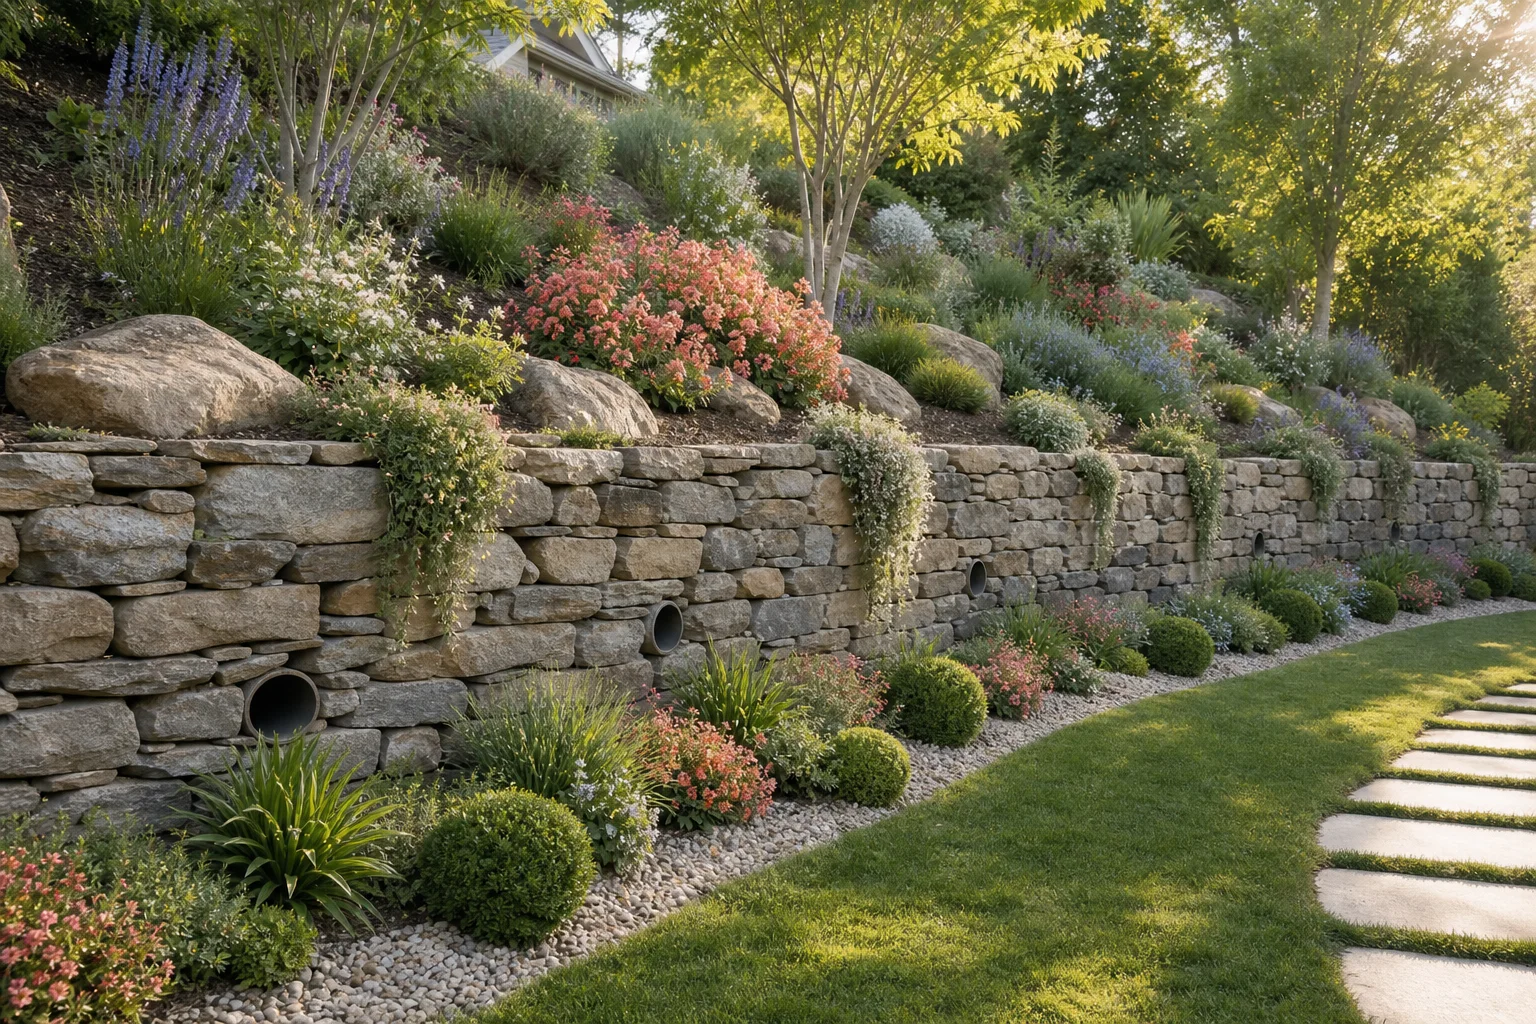
Confirm that the wall and slope are stable before planting
This guide is about landscaping around an existing stable wall. It is not a wall-design, repair, grading, or drainage specification.
Inspect the wall after wet weather. Look for new leaning, bulging, displaced blocks, open cracks, soil washing through, blocked outlets, standing water, erosion above or below, and changes in the slope. When those conditions are present or uncertain, pause planting and use qualified local engineering, geotechnical, landscape, or code guidance.3,2
Locate utilities, easements, property lines, irrigation, and drainage before digging. Confirm local permits and restrictions for any work that changes the wall, load, grade, or water movement.
Do not hide a problem behind shrubs. Plants cannot repair structural movement, replace drainage, or stabilize every slope.
Separate a planting opportunity from a wall problem
The garden decision begins only after the infrastructure passes a local safety and drainage review.
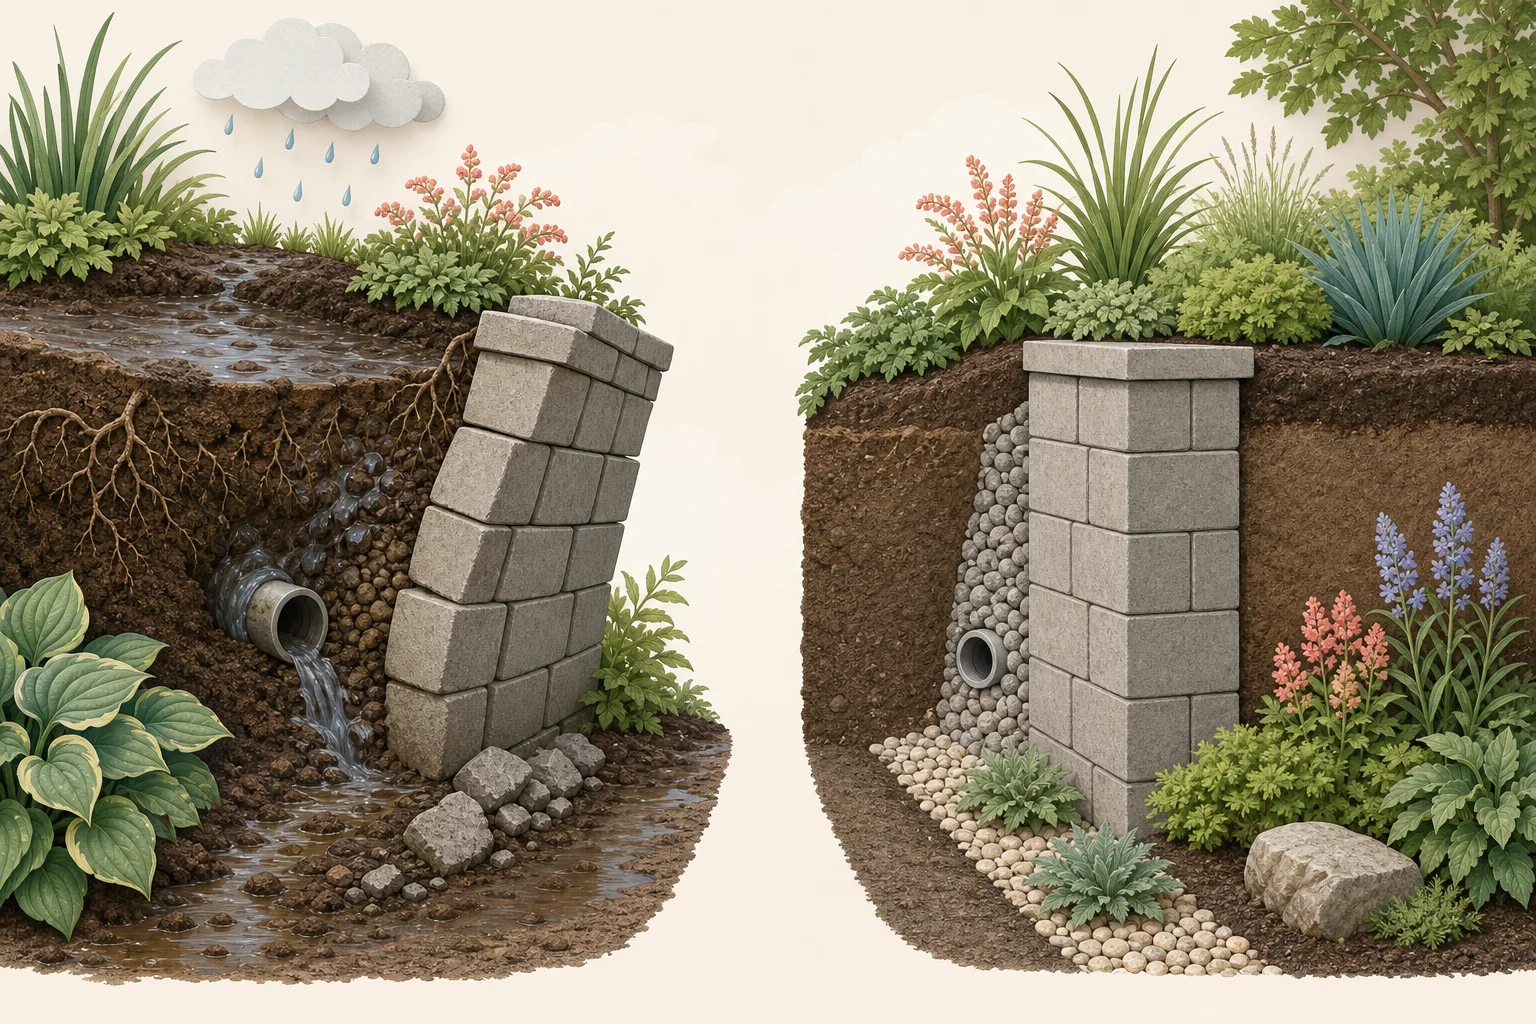
- Stop and assess
- Plant around a stable wall
On the warning side, wall movement, trapped water, and erosion are the primary job. Adding roots, irrigation, soil, or visual cover can make diagnosis and access harder.
On the plantable side, the wall line is straight, drainage remains open, and a person can inspect both the top and base. Planting is set back from outlets and does not rely on the wall face as hidden support.
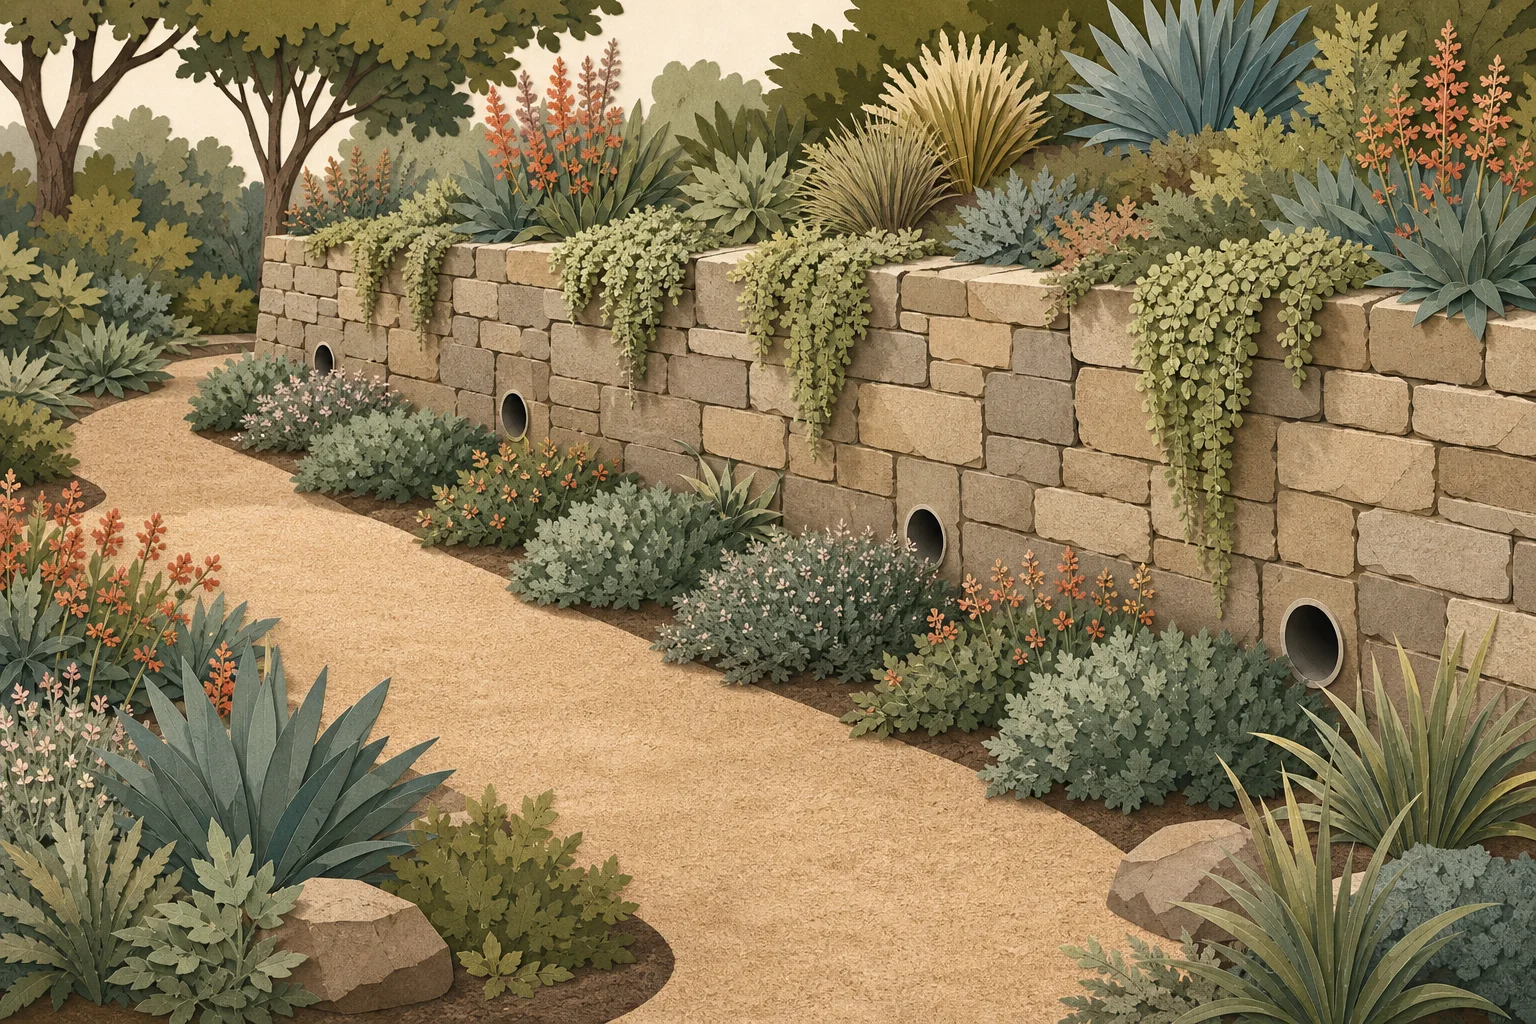
Plan planting around the top, face, and base
One wall can contain sharp changes in heat, wind, drainage, soil depth, and access. Choose plants for the actual zone rather than repeating one species everywhere.
Keep the wall face and drainage legible, use restrained plants at the top, and set the base layer where it will not trap moisture or block inspection.
- 1
Top zone
Use restrained, locally suitable forms
Often more exposed and quick to dry, but exact moisture depends on the drainage assembly, irrigation, soil, and slope above.
- 2
Face zone
Prioritize inspection
Keep the wall, joints, outlets, caps, and movement visible. Do not assume every wall can support pockets or attached plants.
- 3
Base zone
Keep outlets and access clear
Observe where water arrives and where maintenance occurs before placing roots, mulch, or spreading foliage.
- 4
Connect the zones
Creates visual continuity
Repeat one form or foliage quality above and below so the planting connects without covering the infrastructure.
Sources: NC State Extension, University of Georgia Extension
Choose plants by root, water, and growth behavior
A beautiful plant can be a poor wall neighbor when it needs frequent irrigation, hides movement, invades joints, or grows too large for access.
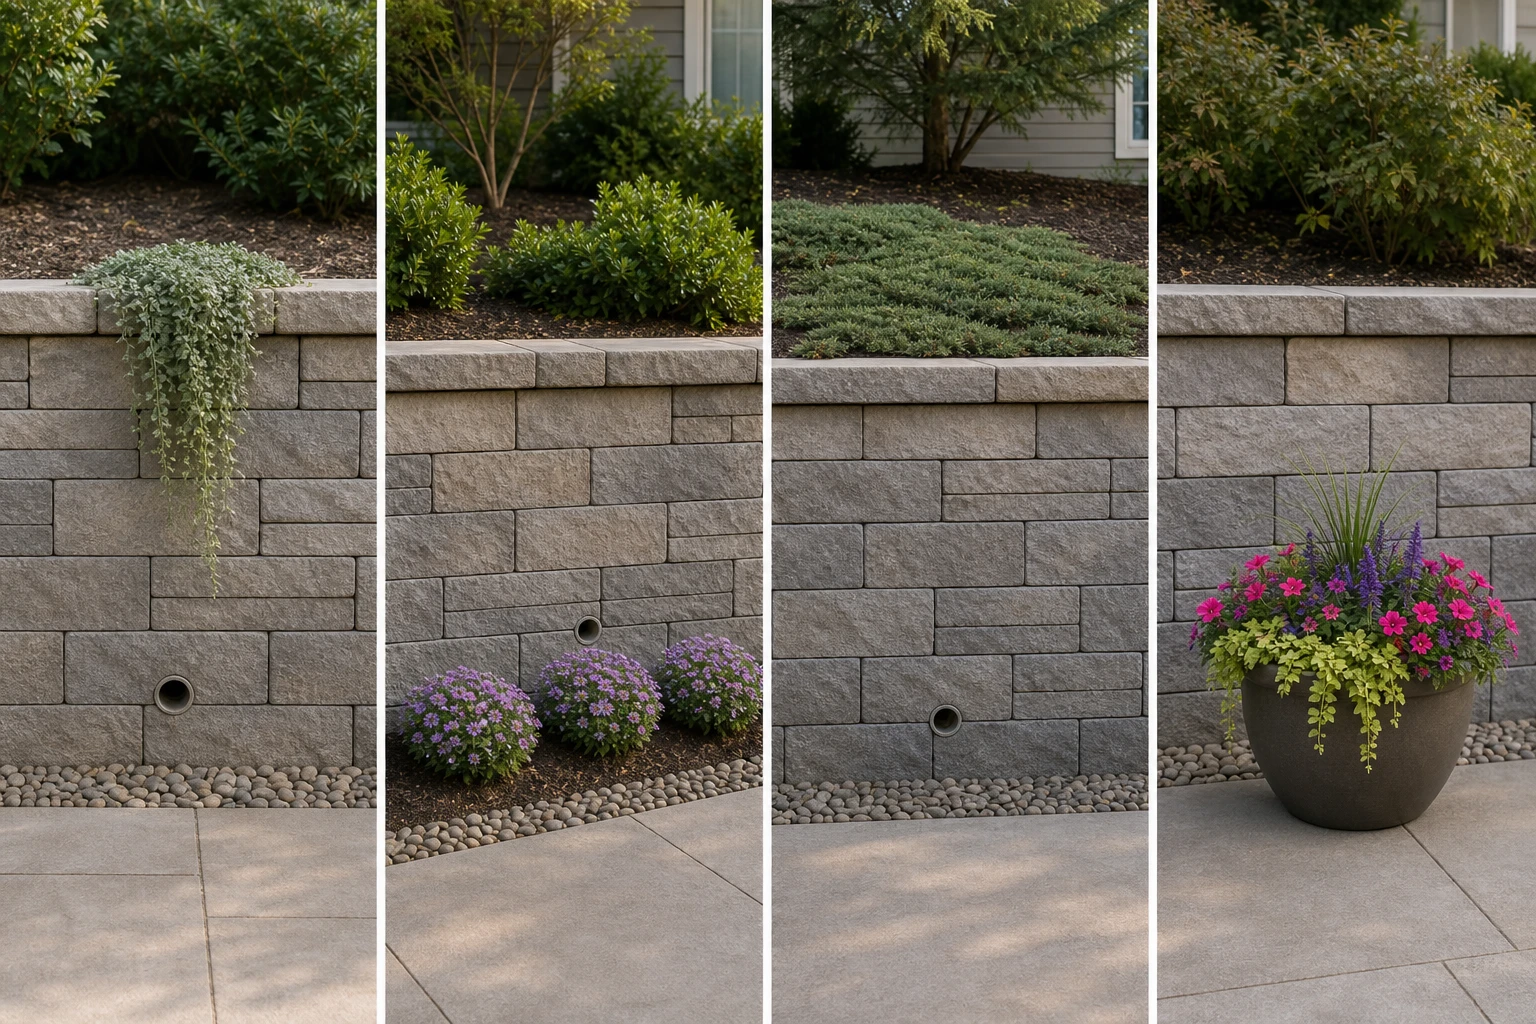
Restrained trailer
Use sparingly at the top
Use a locally appropriate plant that can soften selected top edges without masking the entire face or invading joints.
Low repeated mound
Connects the lower garden
Set a compact base plant outside the drainage and inspection strip, with room for mature spread.
Erosion-conscious upper planting
Supports a broader site plan
Use professional and regional guidance for the slope above. Plant roots are only one part of slope and water management.
Changeable container
Keeps change reversible
Where structure and access allow, a freestanding pot can add seasonal color without changing the wall or soil load.
Verify plant roots, mature size, irrigation, invasive status, fire guidance, and compatibility with the actual wall and drainage system locally.
Keep water, inspection, and maintenance visible
The planting succeeds only if the wall can keep doing its job and warning signs remain easy to see.
Drainage outlets stay open: Foliage, roots, mulch, soil, and decorative stone do not block or conceal the intended discharge points.
Irrigation avoids the structure: Do not add water against the wall or slope without advice specific to the wall's drainage and site conditions.
The full wall can be inspected: Caps, joints, face, ends, top grade, and base remain reachable and visible through the seasons.
The plant palette can be edited: Avoid aggressive plants that become difficult to remove from joints, stone, steep ground, or drainage areas.
Storm changes trigger a recheck: After unusual rain, flooding, freeze and thaw, or slope movement, inspect before assuming the planting is the only thing that changed.
Frequently asked questions
What can I plant around a retaining wall?
Choose plants only after the wall and drainage are confirmed stable. Match exact plants to the top, face, or base conditions, and screen them for mature size, roots, water needs, growth behavior, invasive status, and access.
Can plants damage a retaining wall?
Plant effects depend on species, root behavior, mature size, irrigation, wall type, condition, drainage, and placement. Do not plant into joints or near a questionable wall without qualified advice specific to the structure.
How do I hide an ugly retaining wall?
Do not hide movement, drainage, or deterioration. After the wall is assessed as stable, soften selected areas with restrained top planting, a repeated base layer outside the inspection strip, or a reversible freestanding element while keeping the face visible.
 Gardenful
Keep the wall as infrastructure and design the planting around it.
Use Gardenful to explore planting only after the existing wall and slope are confirmed stable. Keep the full wall, drainage, and access in the photo so the visual plan respects the structure.
Gardenful for iPhone
Download the app free and start with a photo of your yard.

Sources(3)
- [1]
- [2]
- [3]Mitigating Landslides Post-Hurricane Helene
NC State Extension, Henderson County Centerhttps://henderson.ces.ncsu.edu/news/mitigating-landslides-post-hurricane-helene/