Photo-to-plan garden design
How to design a garden from a photo
The short answer
A yard photo is a strong starting point for garden design when you use it to preserve context, not to guess measurements. Photograph the view you actually care about, mark the area that can change, record fixed features and site observations, then translate the image into broad plant roles. Verify dimensions, drainage, utilities, sunlight, mature size, and local plant fit before buying or building.
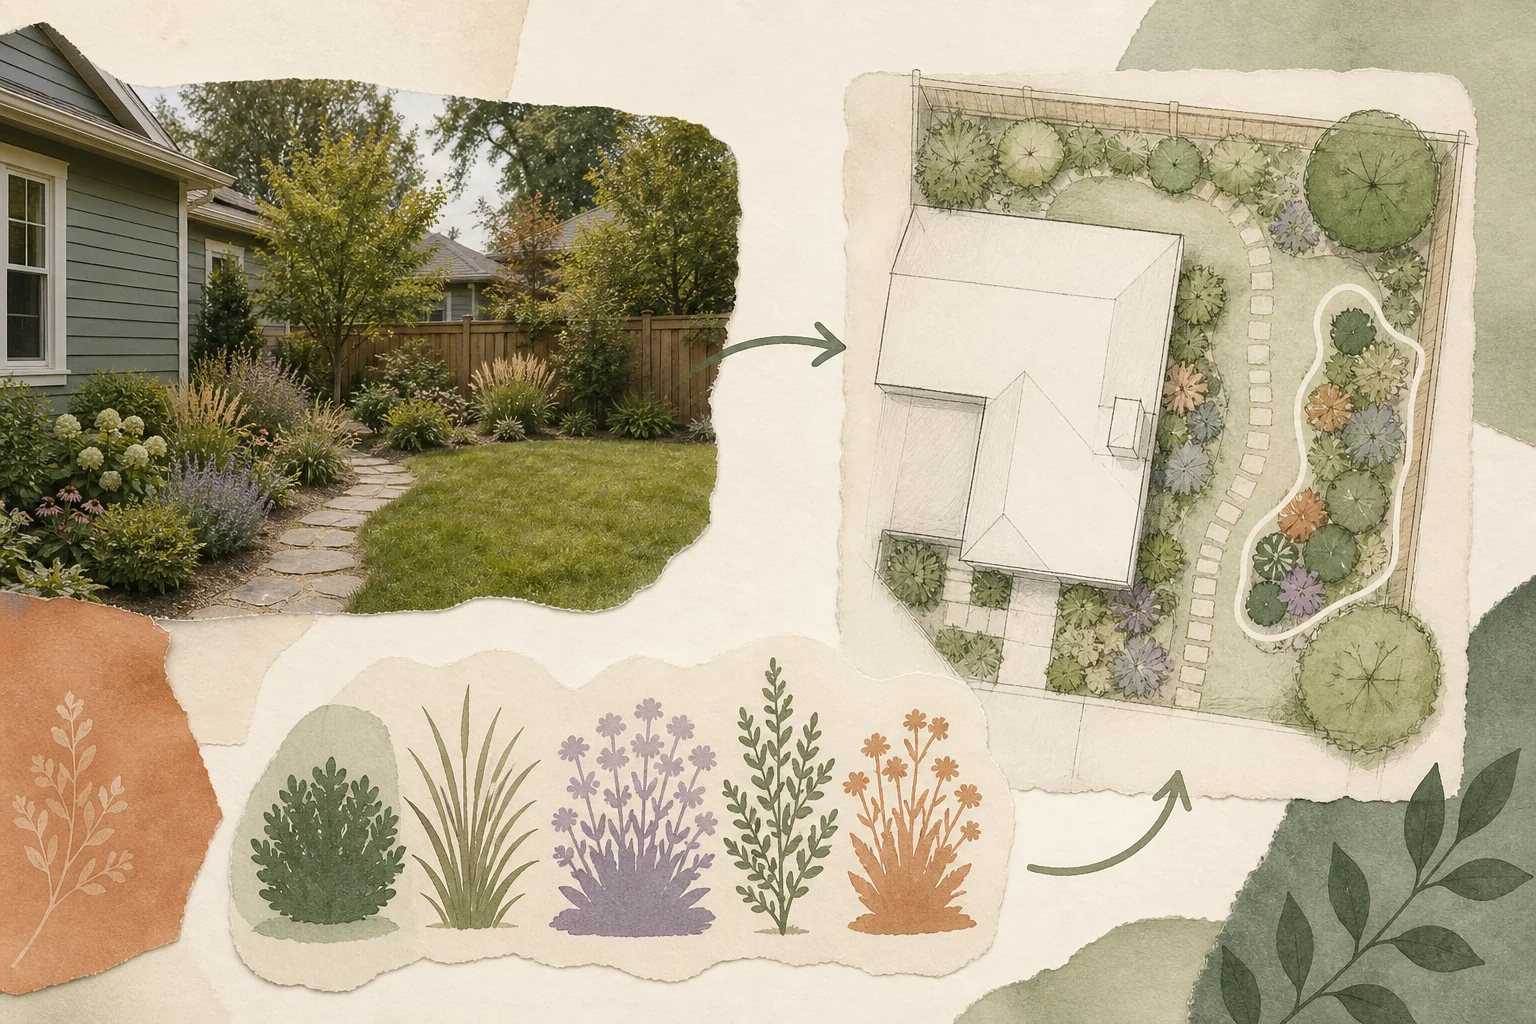
Start with a visual direction, then make it measurable
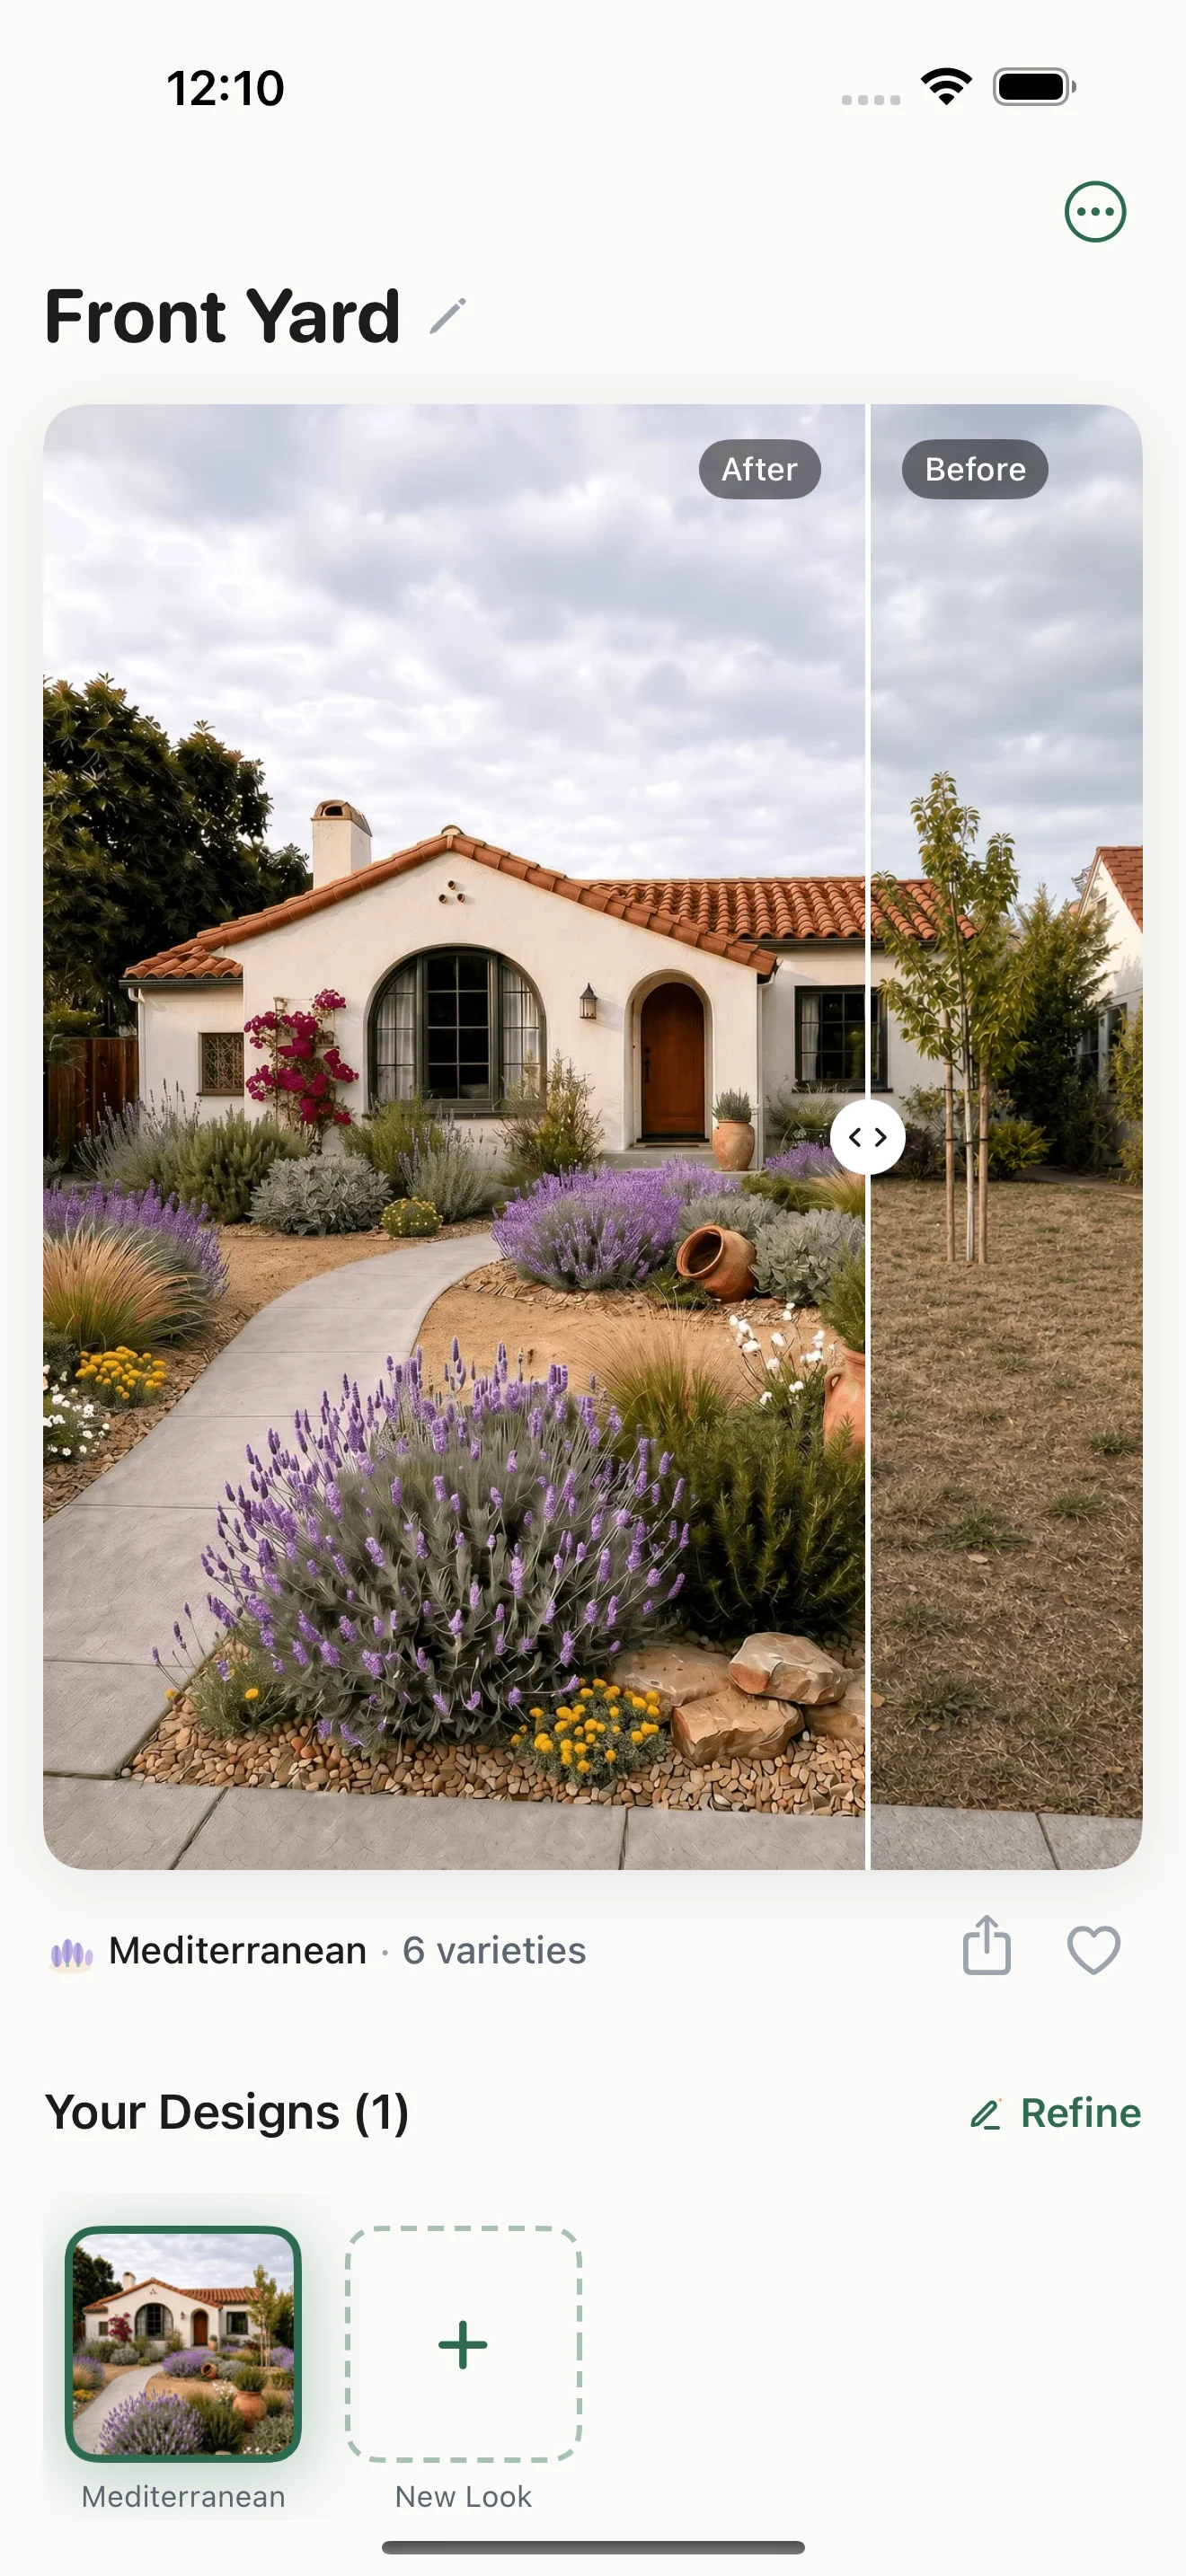
A yard photo gives you a shared view of the problem. Gardenful helps you test the planting direction on that view before you spend money or start digging.
 Gardenful app · visual direction
 Gardenful app · plant list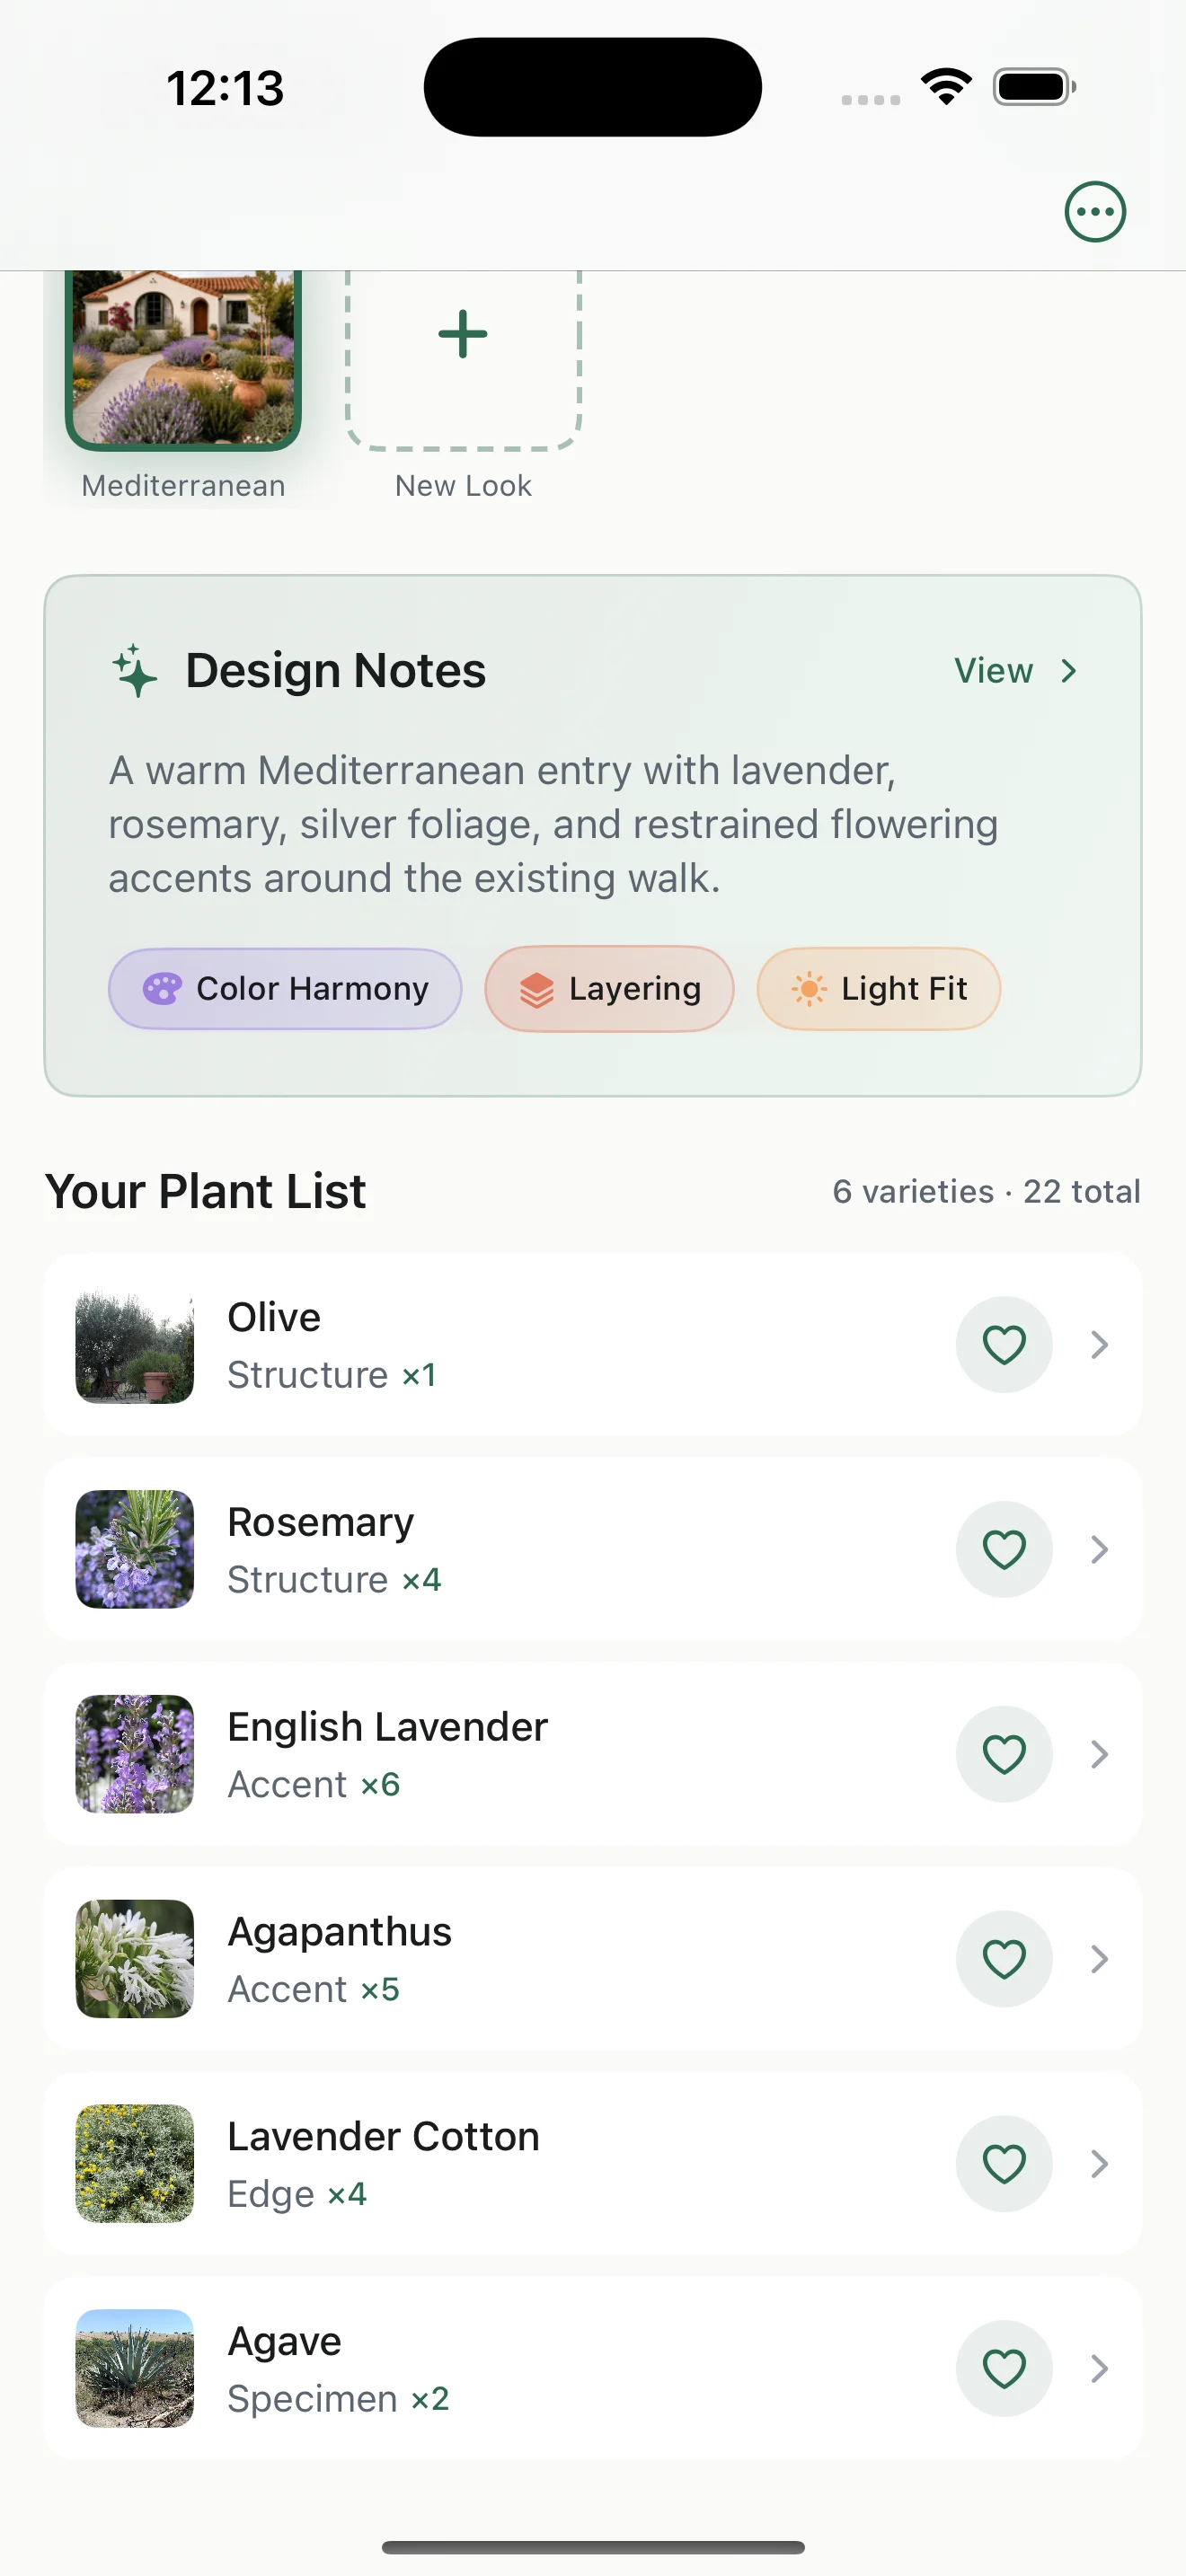
Use Gardenful to explore how the photographed area could read with a clear structure plant, a repeated middle layer, seasonal contrast, and an edge that meets the path or lawn. Seeing those roles together makes the design question easier to answer than a list of plant names on its own.
Treat the transformed photo as a visual hypothesis, not a survey. Once the direction feels right, verify the real dimensions, light, drainage, utilities, mature clearances, and local plant fit that the image cannot prove.
Choose a photo that can answer a design question
A beautiful angle is not always the useful angle. The photo you would text a friend to say ‘this is the part I cannot figure out’ is often the better starting point.
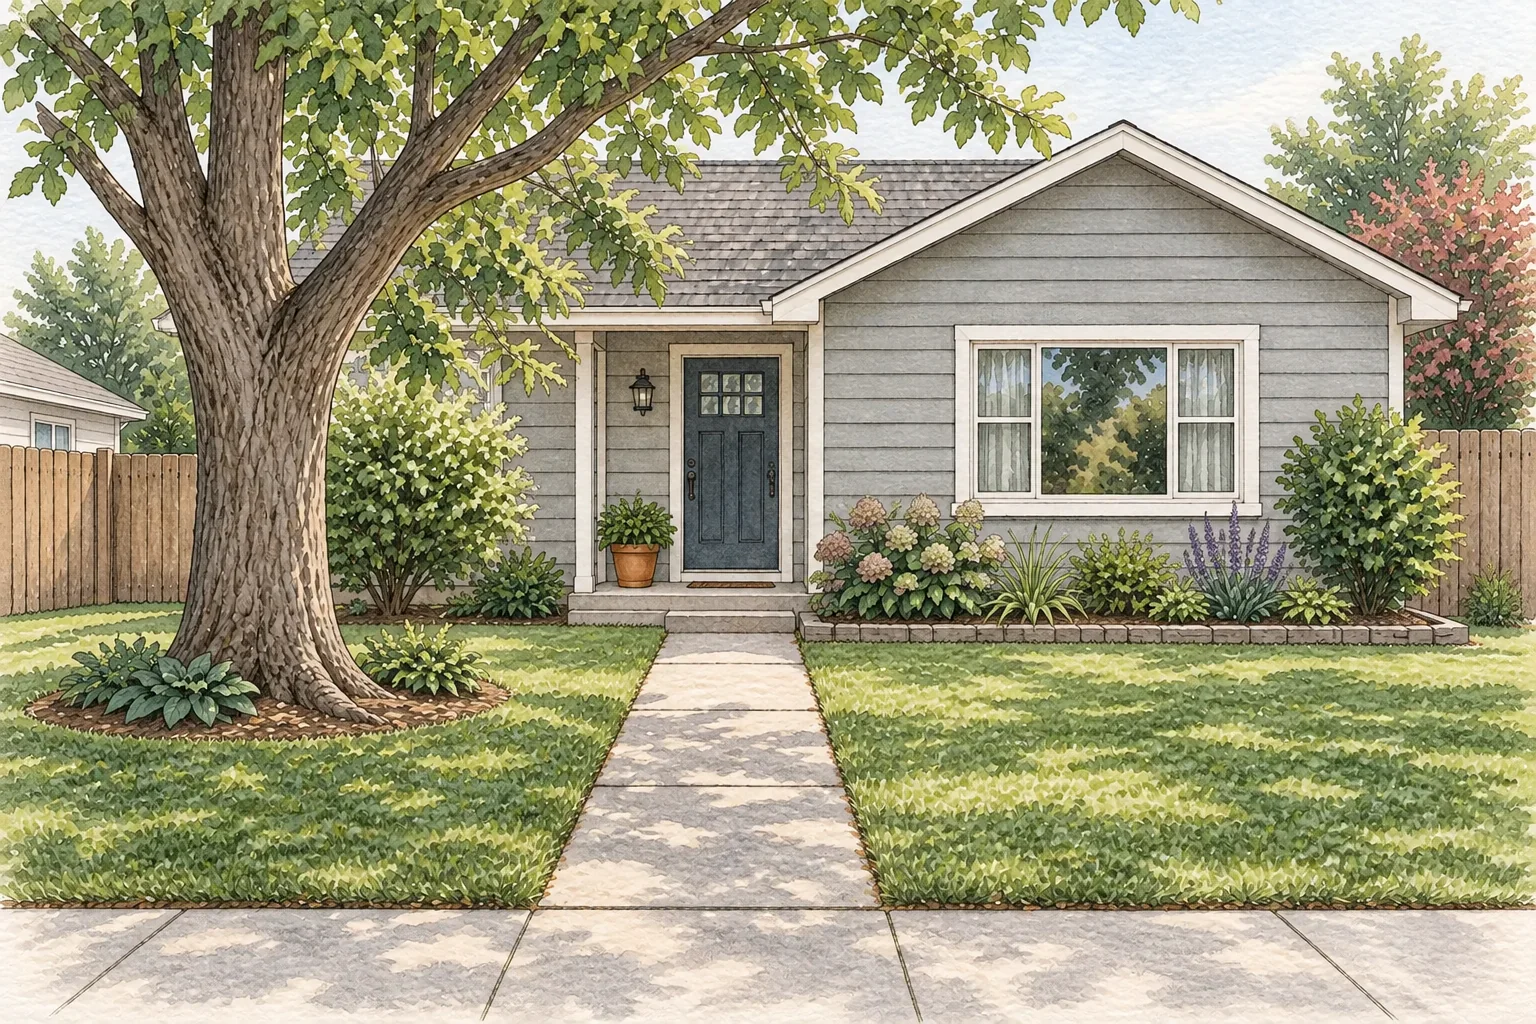
Take one broad photo from the main viewing point and a second photo from the route you use most. Keep the house, walk, fence, mature tree, patio, gate, and service features in frame. Avoid a close crop that makes an attractive planting bed look detached from the place it needs to serve.1,3
If the goal is a front entry, photograph the approach from the street as well as the planting bed. If the goal is a backyard, include the door, patio, open area, fence, and the route to the gate or hose. The picture should help you decide what to preserve, what to soften, and what the planting must not block.2
Use the same view for every visual comparison. Changing the camera angle can make a modest design change look like a new yard.
Mark what stays before you imagine what changes
The best photo-based concepts make the change area clear while keeping the rest of the yard recognizable.
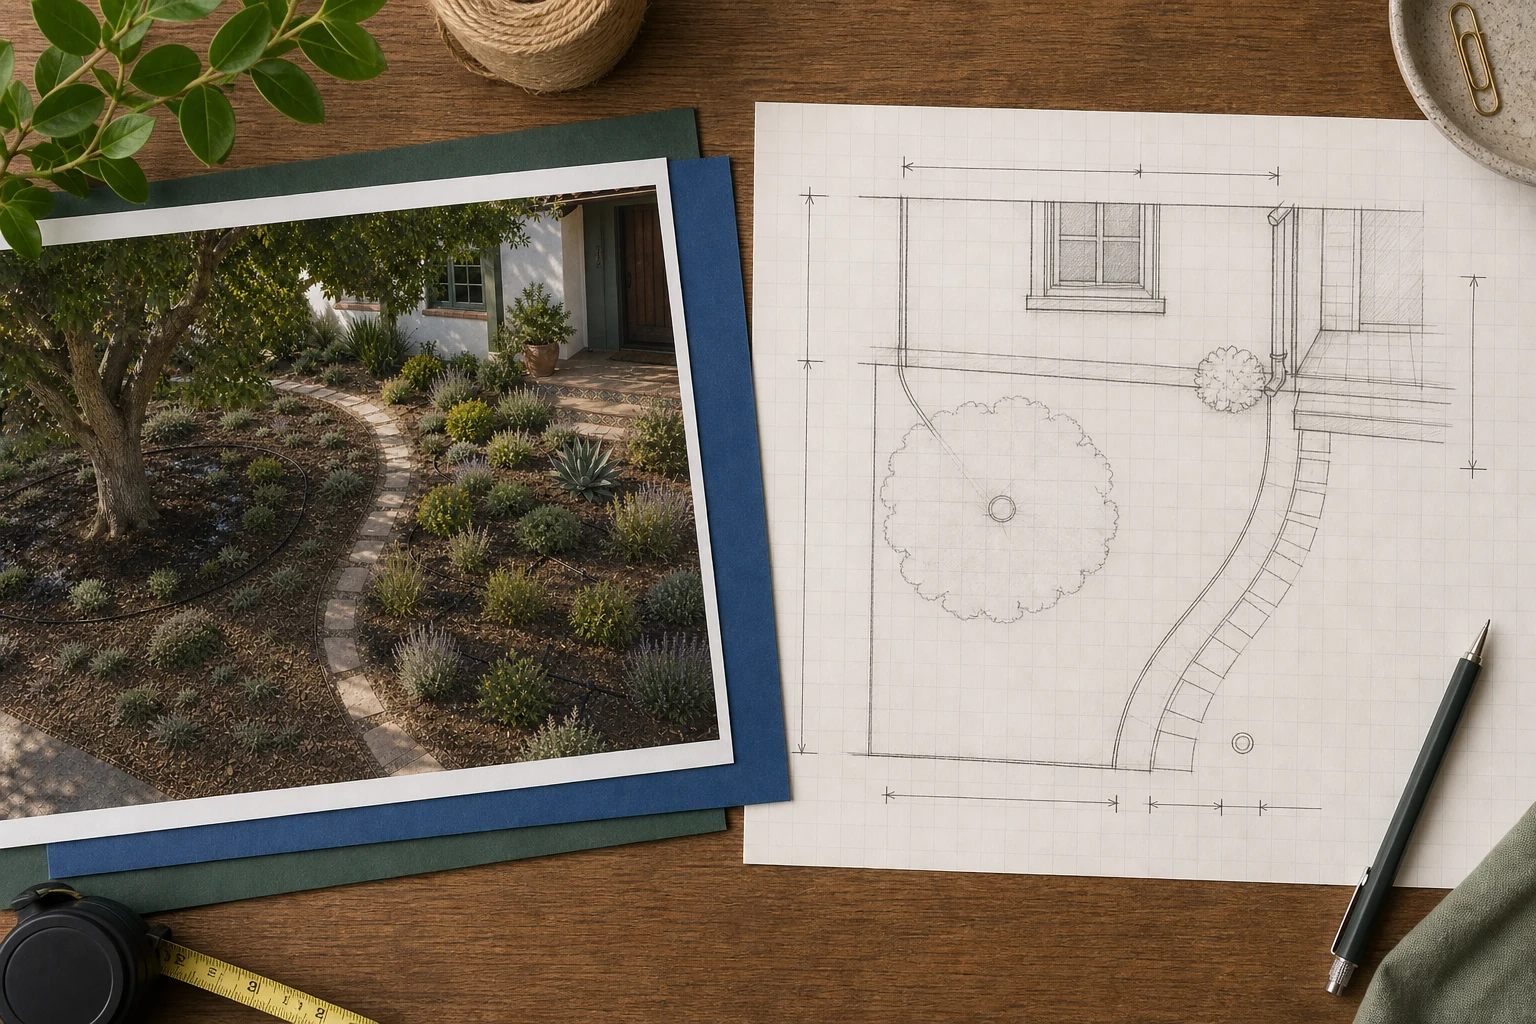
- 1
Keep the fixed structure
Outline the house, doors, windows, patio, fence, driveway, steps, and any healthy mature tree or shrub.
- 2
Keep the daily routes
Trace the path to the door, gate, bins, shed, hose, grill, parking, or any place that needs reliable access.
- 3
Name the change area
Circle one bed, lawn patch, border, or backyard edge. A bounded first project produces a more useful design than an undefined whole-yard makeover.
- 4
Add separate site notes
Record sun, shade, wet or dry spots, slope, wind, roots, and utilities rather than asking the photo to prove them.
If the photo hides the grade, utility location, or property boundary, pause the construction decision and collect that information separately.
Translate the photo into four planting roles
A plantable direction starts with broad jobs. Exact species come after the shape, mature space, and site fit are known.
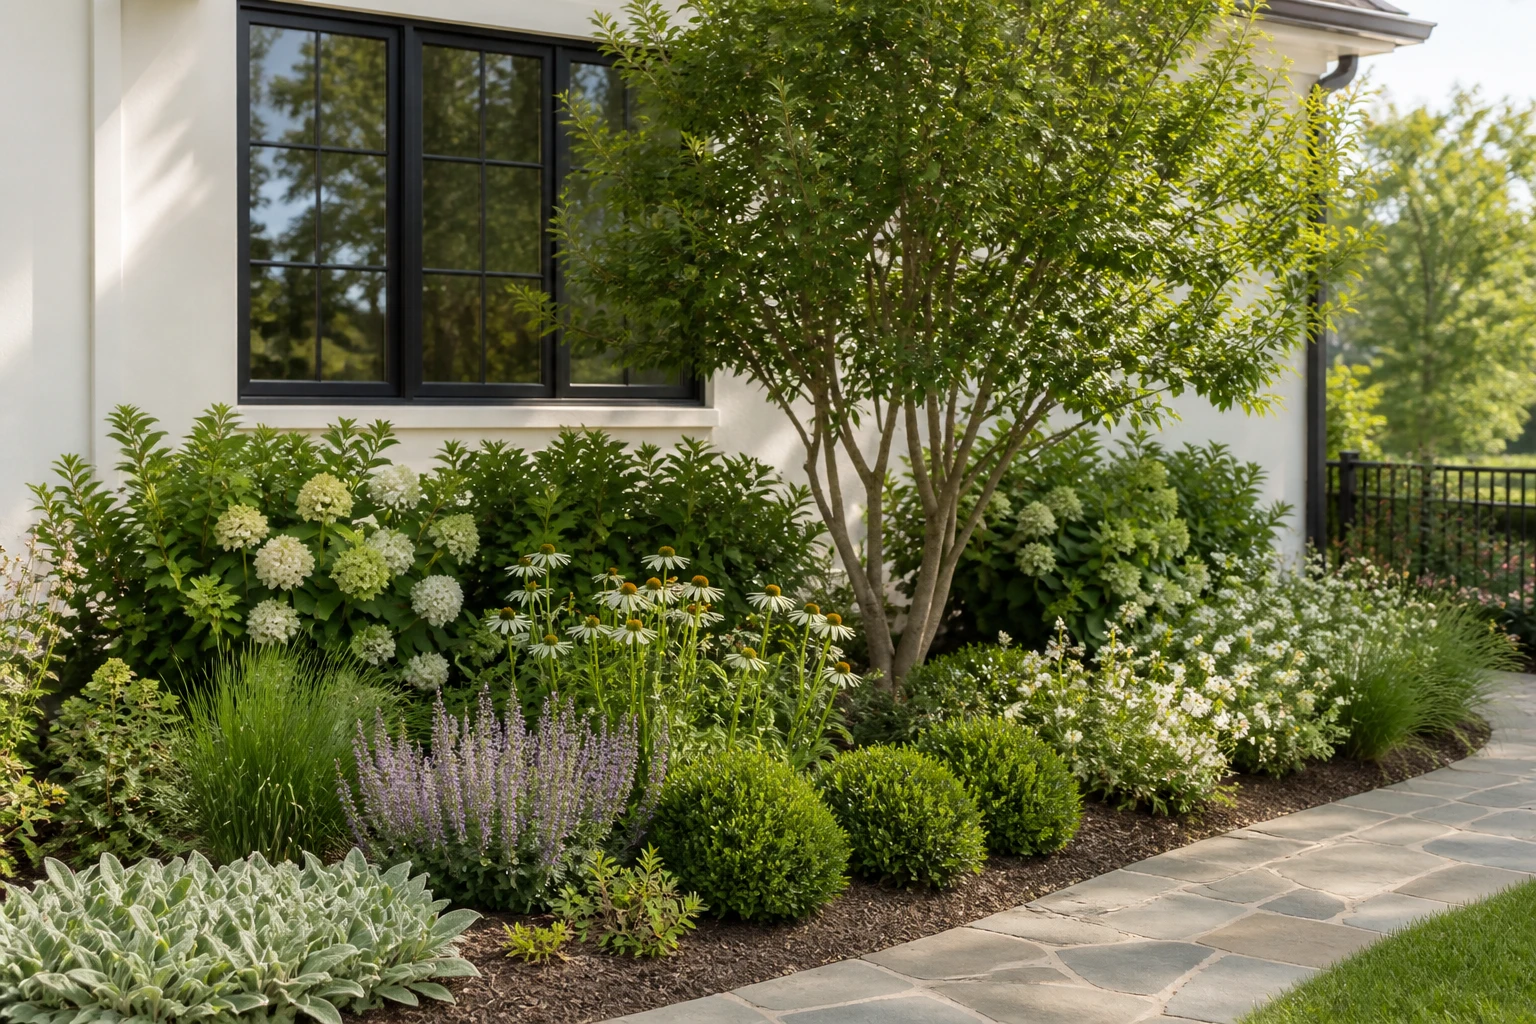
Structure
Keeps the composition readable when flowers fade.
A durable tree, shrub, or long-lived form that gives the view a clear anchor beyond one flowering season.
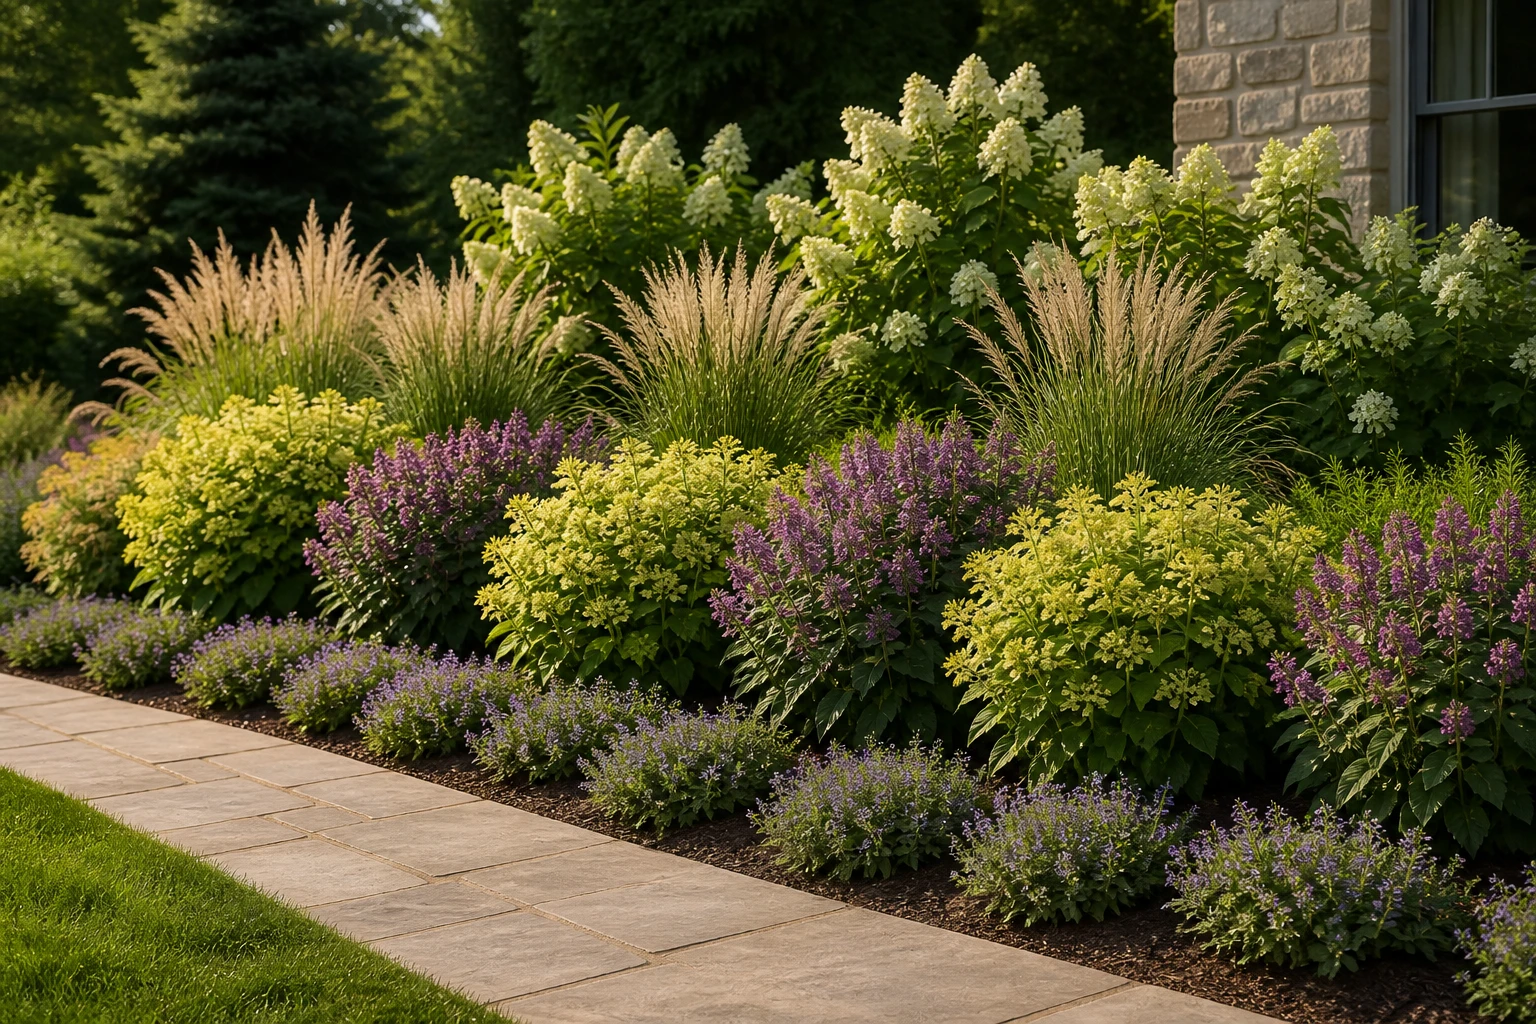
Repeated middle
Creates rhythm across the change area.
One or two compatible plants repeated in groups so the bed feels connected rather than like a collection of singles.
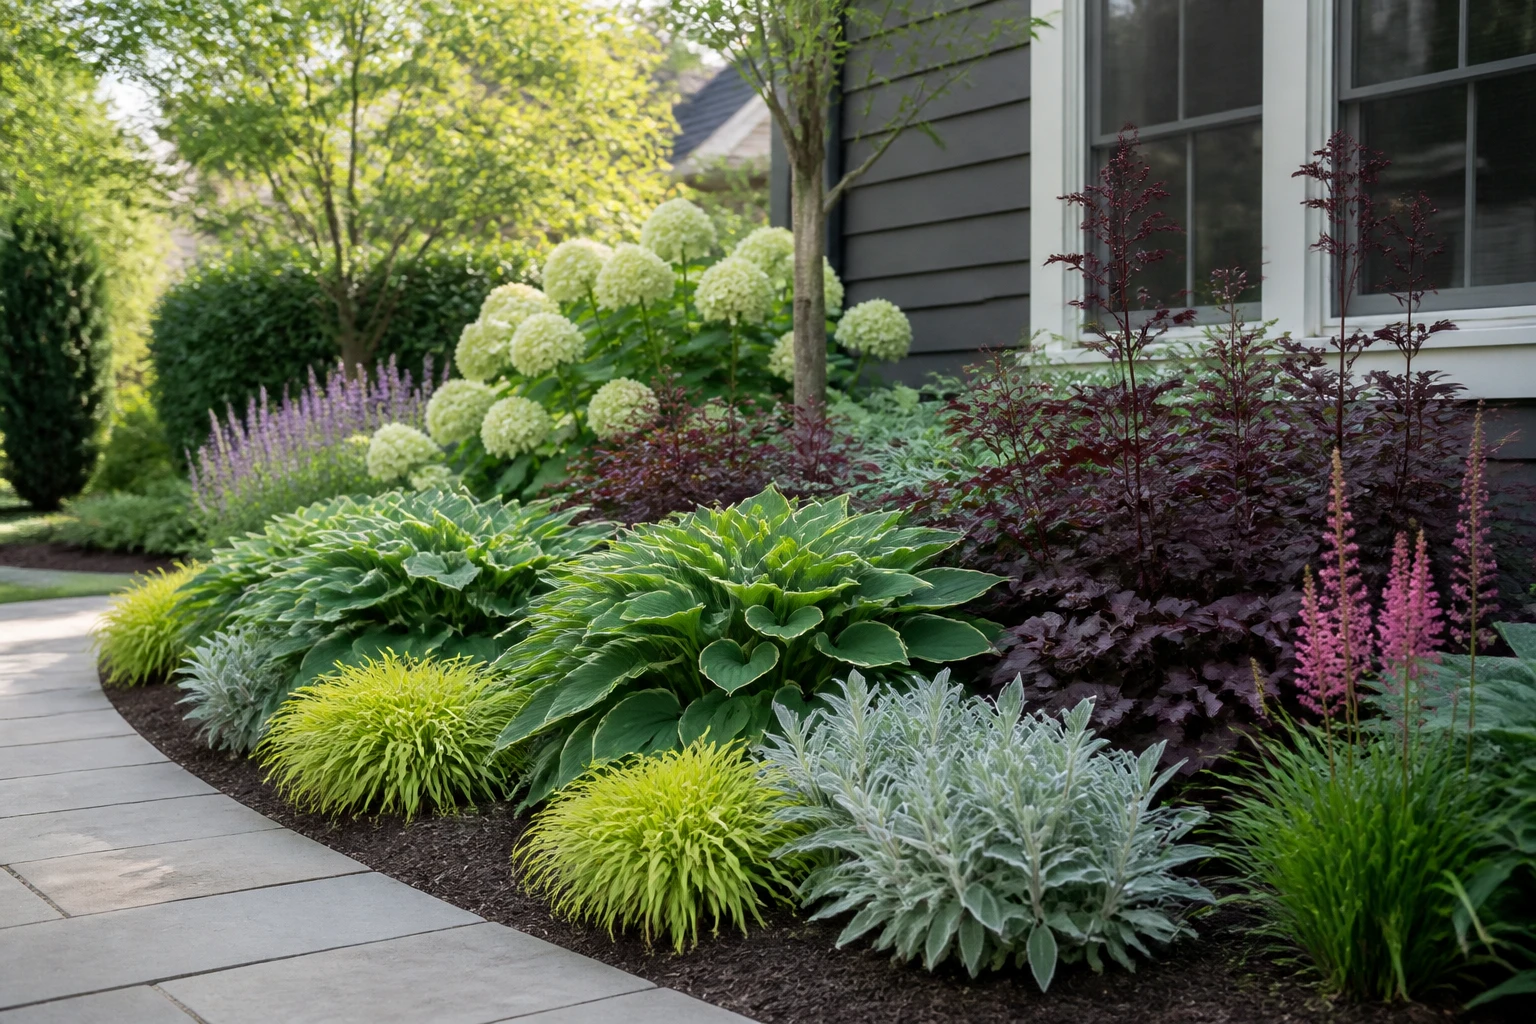
Foliage or seasonal contrast
Adds interest without adding a new idea everywhere.
A different leaf shape, color, texture, bloom period, or seed-head role that supports the main group.
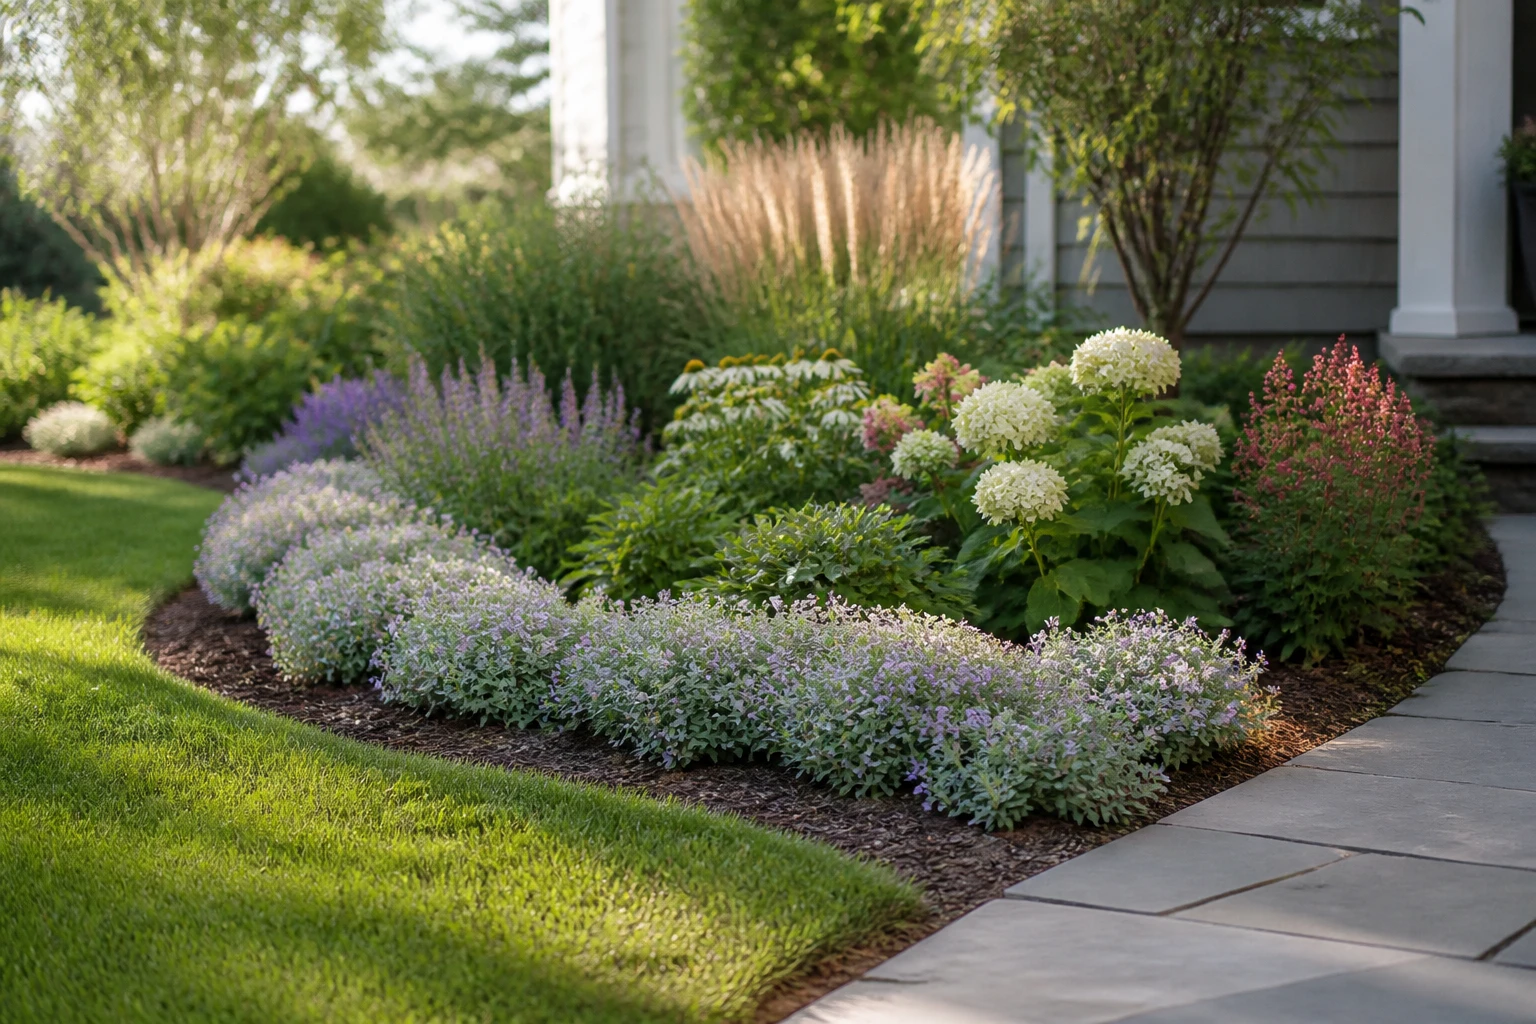
Edge or transition
Finishes the connection to the feature people use.
A low layer, open mulch edge, or simple boundary that clarifies the path, lawn, patio, or wall.
Sources: University of Florida IFAS Extension, University of Florida IFAS Extension
Turn one flower-bed photo into a plan
This example shows the reasoning path. It is not a prescription for the exact plants in every climate.
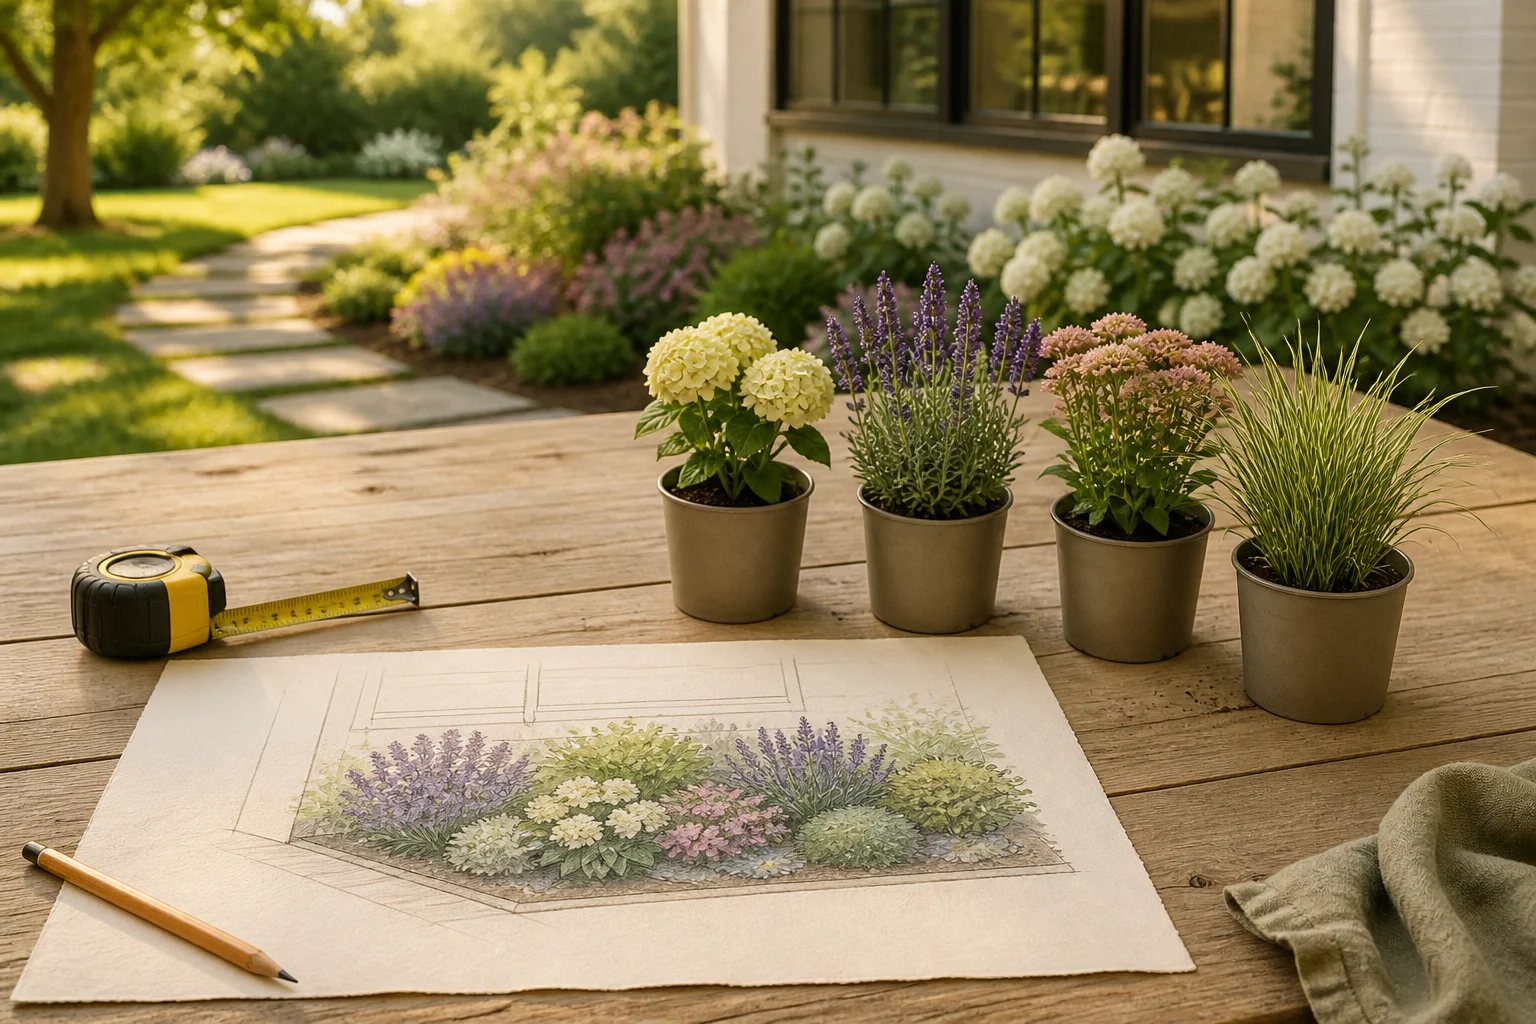
A sunny bed beside a path and a low window
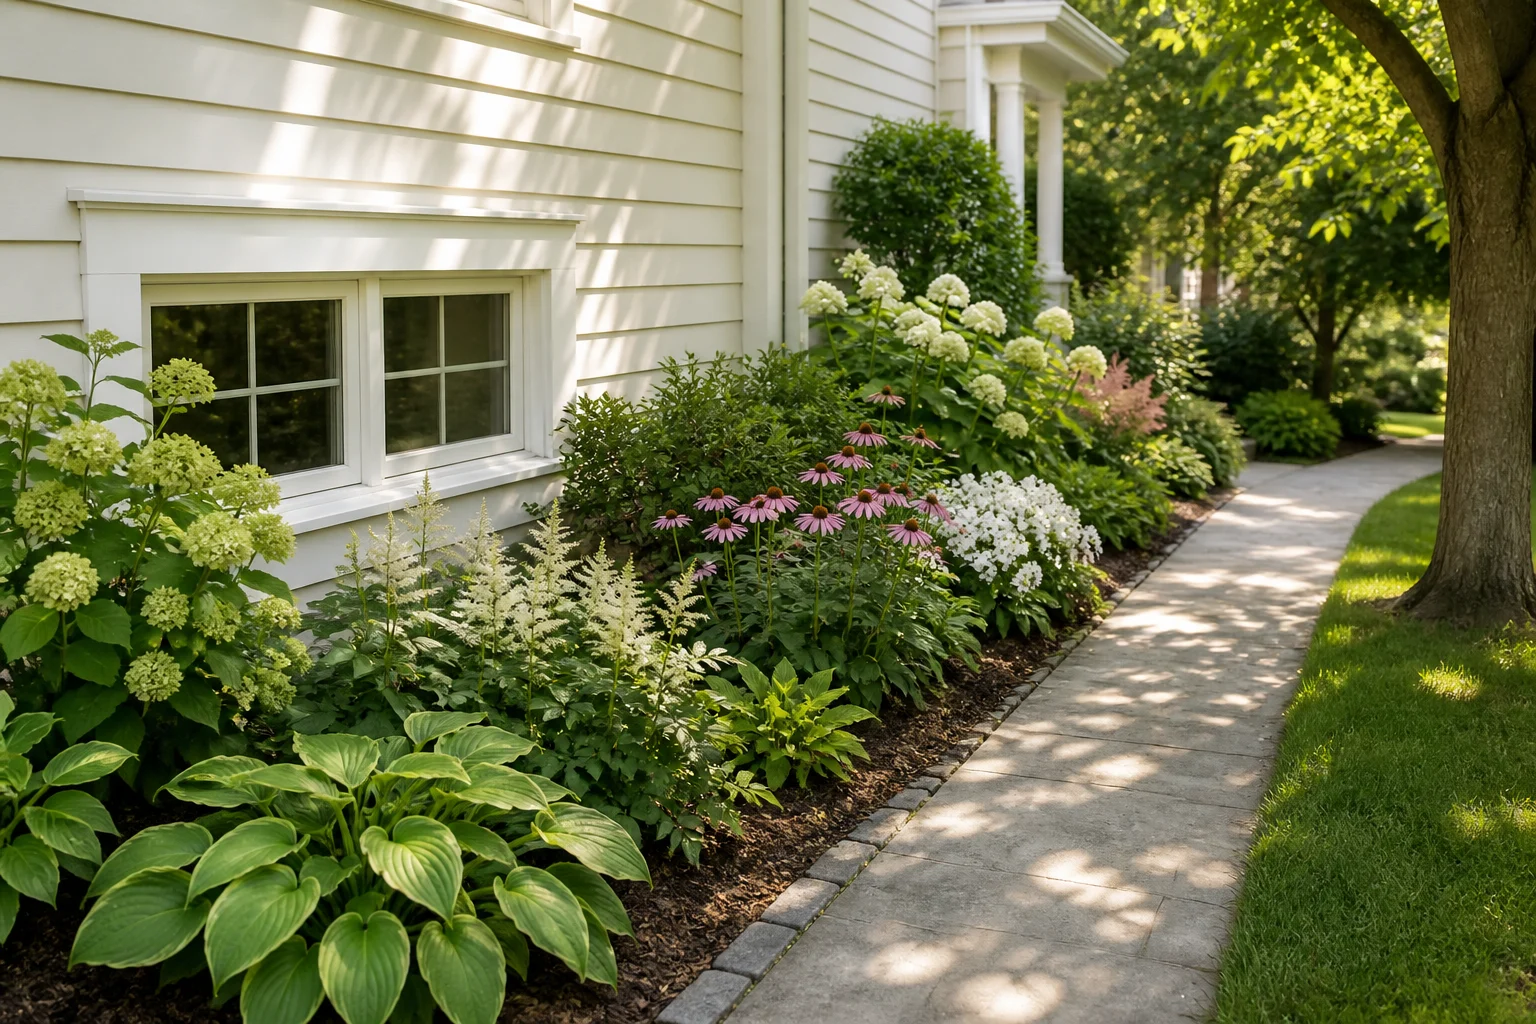
The photo shows a bare bed, a narrow path on the right, one window above the back edge, and a healthy tree outside the frame that casts afternoon shade.
1
Read the context
Keep the window and path visible. The bed cannot grow into the window or reduce the usable route.
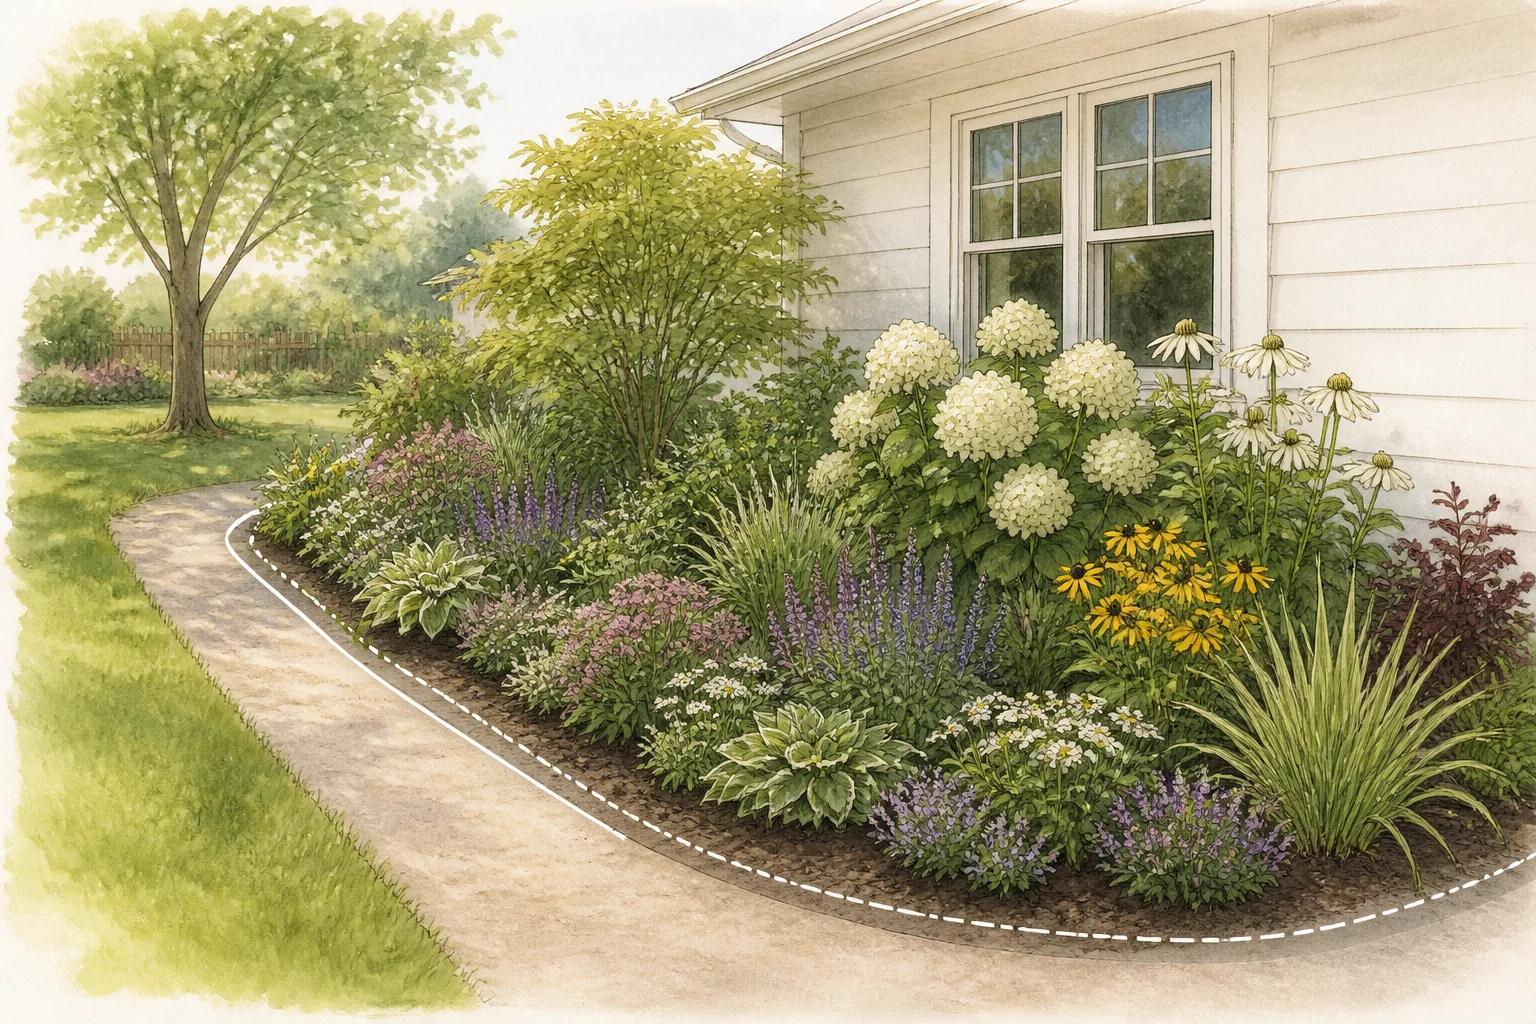
2
Draw the change boundary
Use the existing bed edge as a starting line, then widen only where the mature planting and maintenance access can fit.
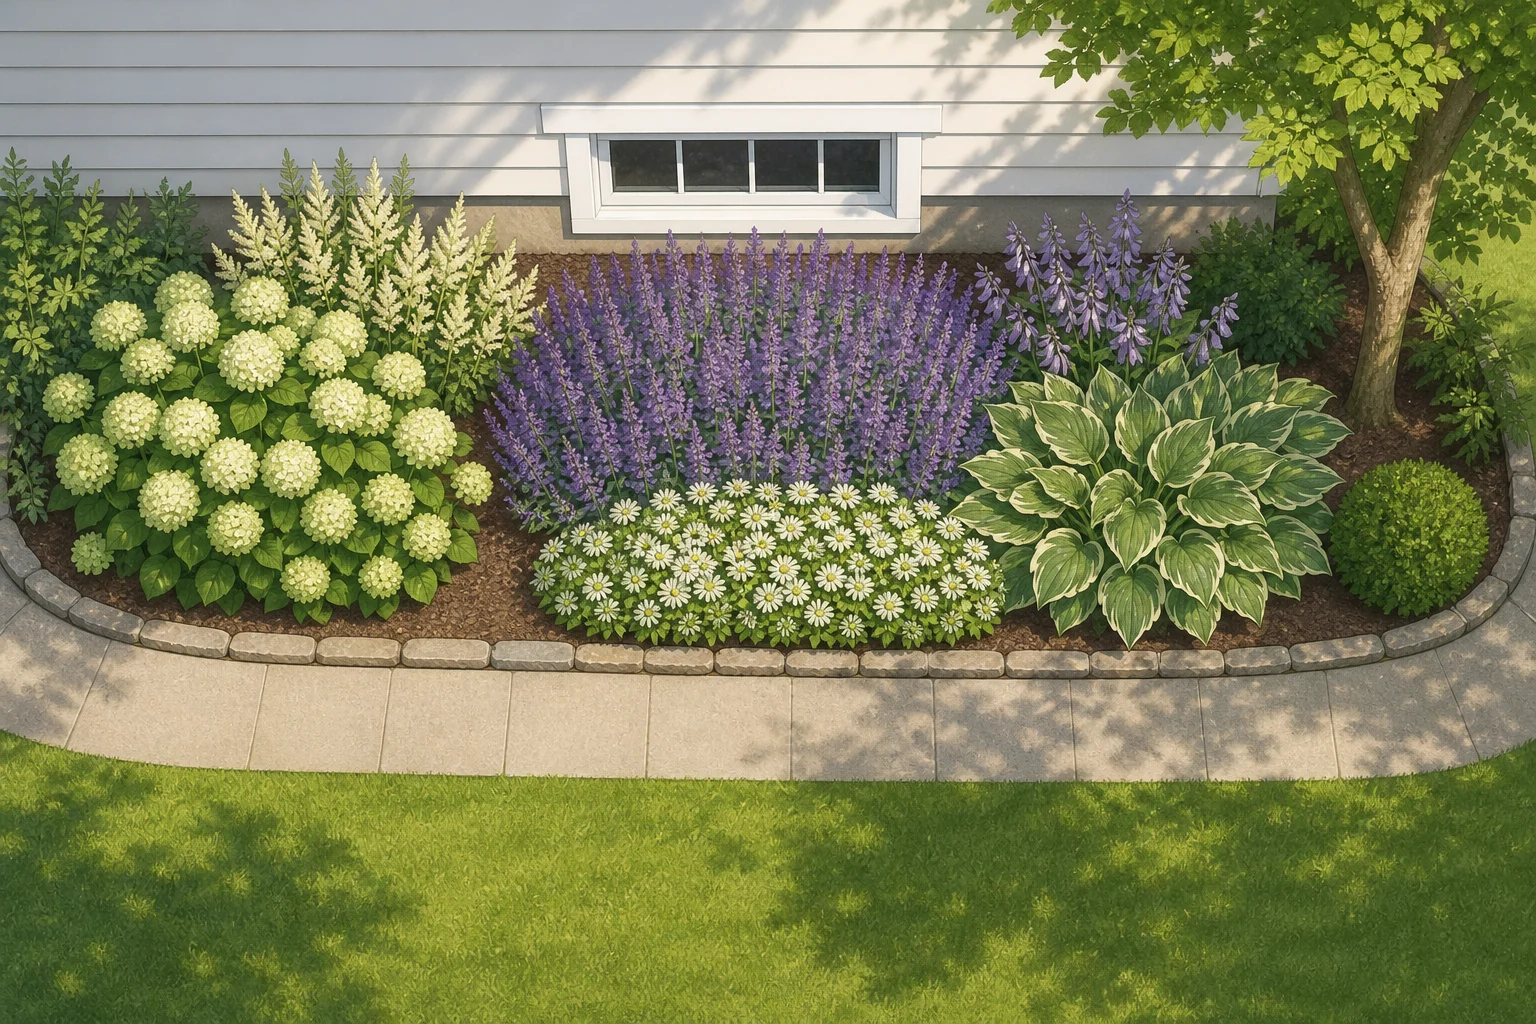
3
Place roles as masses
Reserve the back for structure below the window, repeat a middle group, and use a low transition along the path.
4
Build the shortlist
Filter exact plants by light, moisture, mature width, climate, local behavior, and the care the homeowner will actually provide.
The photo supplies the relationship. The measured drawing and local plant check supply the confidence to buy.
Verify what the photo cannot prove
Before the nursery trip or any digging, run the design through the facts that are invisible or unreliable in one image.
Measure the real space: Check bed depth, path width, window height, mature clearances, and the position of existing plants.
Observe light and water: Watch the area at more than one time of day and season, then note drainage, dry eaves, runoff, and irrigation reach.
Check the exact plant: Confirm mature size, hardiness, moisture, soil, invasive status, pet or household concerns, and local availability.
Separate planting from construction: Use qualified local help for grading, drainage, retaining walls, structures, electrical work, utilities, or permit-sensitive changes.
A convincing rendering is a design direction. It is not proof that a plant will survive, a surface will drain, or a property line is where the photo suggests.
Frequently asked questions
Can I design a garden from one photo?
You can use one photo to compare a planting direction, preserve the visible context, or plan a bounded redesign of part of your yard. Add more views and real measurements before buying plants or making construction decisions.
How do I take a photo for garden design?
Stand where you normally see or enter the space, include the house and fixed features, avoid an extreme wide-angle crop, and take a second view that shows the route or change area.
Can a photo tell me which plants will grow there?
No. A photo can suggest the visual role and visible conditions, but exact plant fit also depends on light over time, soil, moisture, climate, mature size, local behavior, and care.
What should I mark in a garden photo?
Mark the area that may change, plus windows, doors, paths, patios, fences, utilities, healthy mature plants, views to keep, and access routes that planting must not block.
What is the difference between a photo visualization and a landscape plan?
A visualization helps compare how a planting direction could look in the photographed area. A measured landscape plan also locates boundaries, dimensions, utilities, drainage, mature clearances, and construction details.
GardenfulStart with the view you care about most.
Use a yard photo to compare a planting direction, then carry the measured space and local plant checks into the final plan.
Gardenful for iPhone
Download the app free and start with a photo of your yard.

Sources(5)
These sources support the planning and verification process. They do not make an AI visualization a survey, construction document, or guarantee of plant performance.
- [1]Landscape Design: Ten Important Things to Consider
University of Florida IFAS Extensionhttps://ask.ifas.ufl.edu/publication/EP375
- [2]Basic Principles of Landscape Design
University of Florida IFAS Extensionhttps://ask.ifas.ufl.edu/publication/MG086
- [3]
- [4]Landscape Design: Drawing a Planting Plan
University of Florida IFAS Extensionhttps://ask.ifas.ufl.edu/publication/EP456
- [5]Right Plant, Right Place
University of Florida IFAS Extensionhttps://ask.ifas.ufl.edu/publication/EP416