Gardenful field guide
DIY garden design and landscape design: a practical plan for your yard
The short answer
You can design a planting-focused yard yourself when you start with a real yard photo, a clear project boundary, and a short plant brief. Use Gardenful to explore the planting direction from that photo, then verify mature size, light, water, soil, utilities, drainage, and local rules. Keep a simple measured map when the project spans multiple areas or needs a landscaper handoff.
Start with the project you can own
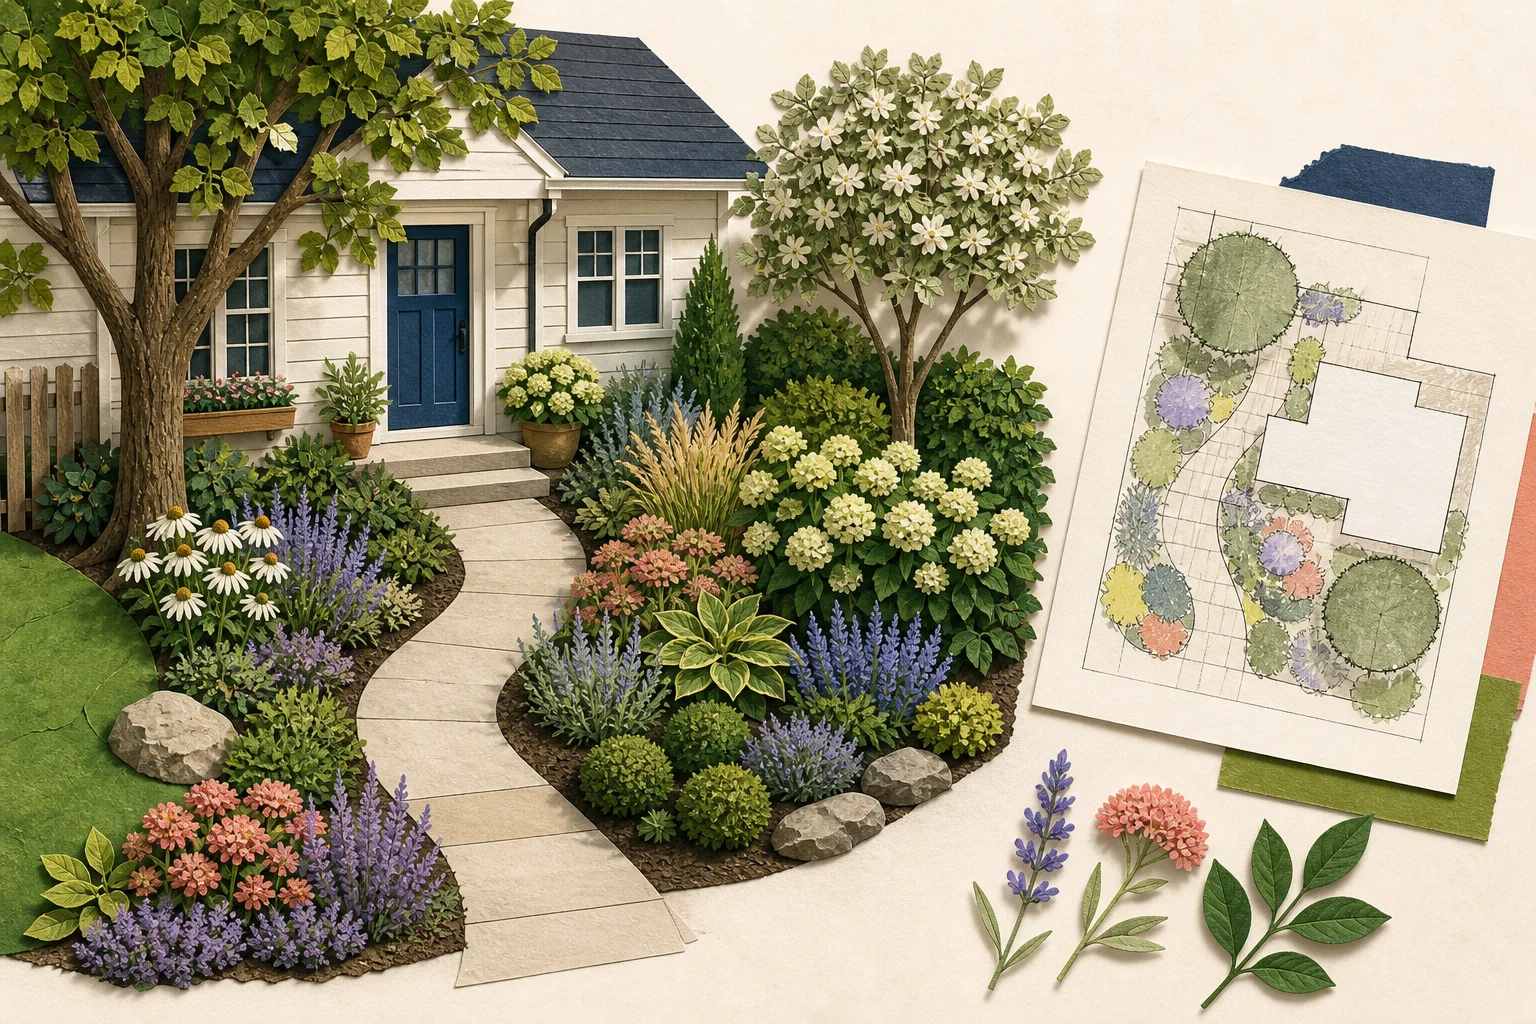
DIY garden design is not a test of whether you know every plant. It is the work of deciding what the yard should do, what must stay, and which parts need local installation help.
Start with one area you can photograph, explain, and eventually measure. Gardenful can design a planting direction from that real view and help you compare options. Site checks decide what can fit and what needs local help.
This guide moves from a manageable project scope to a planting brief, then shows how to shop, phase the work yourself, or hand a clear scope to a landscaper when the install is bigger than your weekend.
Decide what belongs in a DIY garden design project
DIY landscape design is a reasonable place to begin when the decisions are visible, measurable, and reversible. The more a project changes grade, water movement, structures, or public safety, the earlier you should bring in local help.
Planting refresh
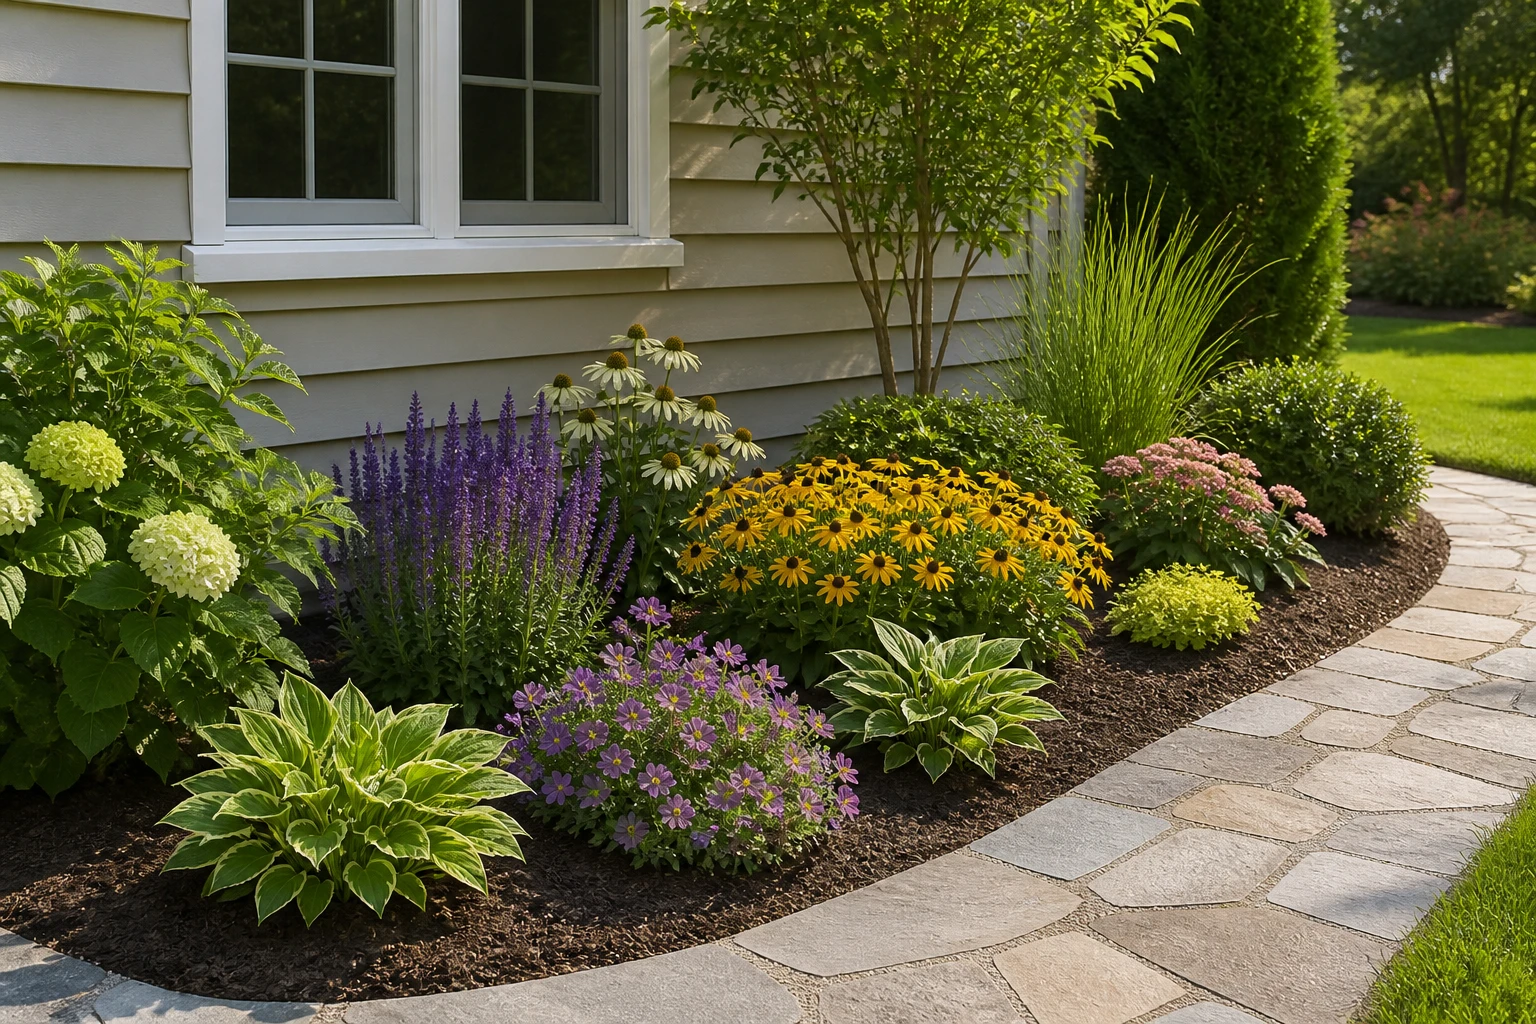
- A DIY starting point: A bounded bed, border, foundation edge, or a few containers with clear access.
- Bring in help when: The plan still needs mature-size, soil, light, water, pet, and local plant checks.
- Your next check: Mark the change area and measure its usable depth.
Whole-yard concept
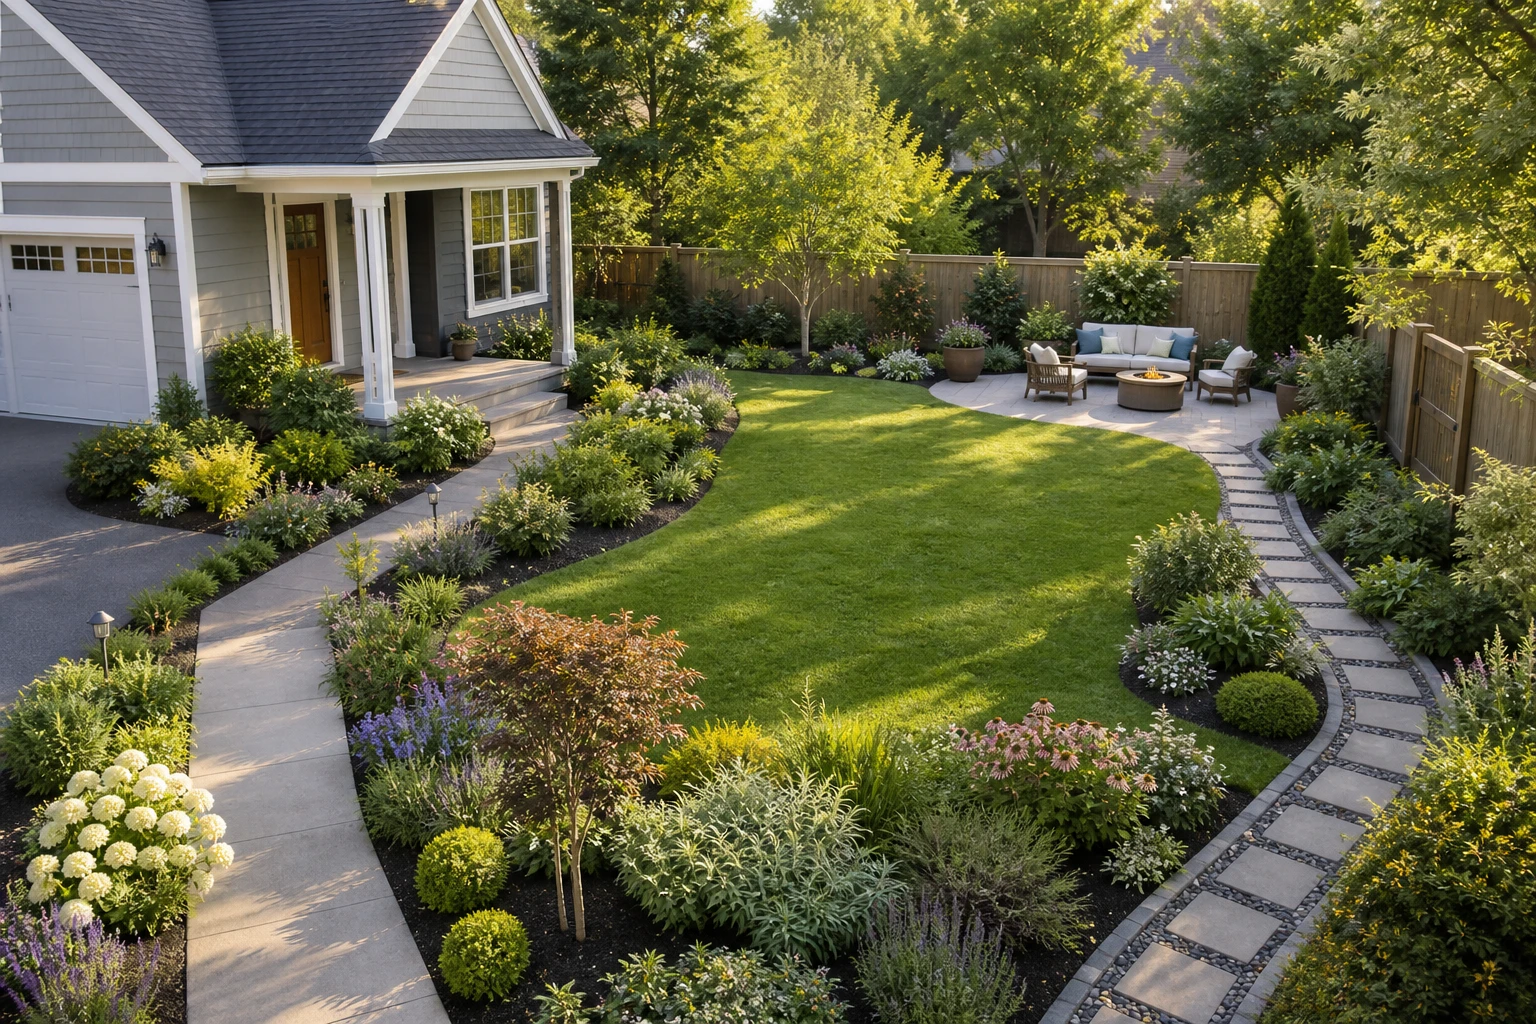
- A DIY starting point: A phased layout for routes, use areas, open space, planting zones, and a future budget.
- Bring in help when: A photo or sketch cannot prove boundaries, grade, drainage, or every utility.
- Your next check: Record fixed features and dimensions before buying plants or materials.
Installation handoff
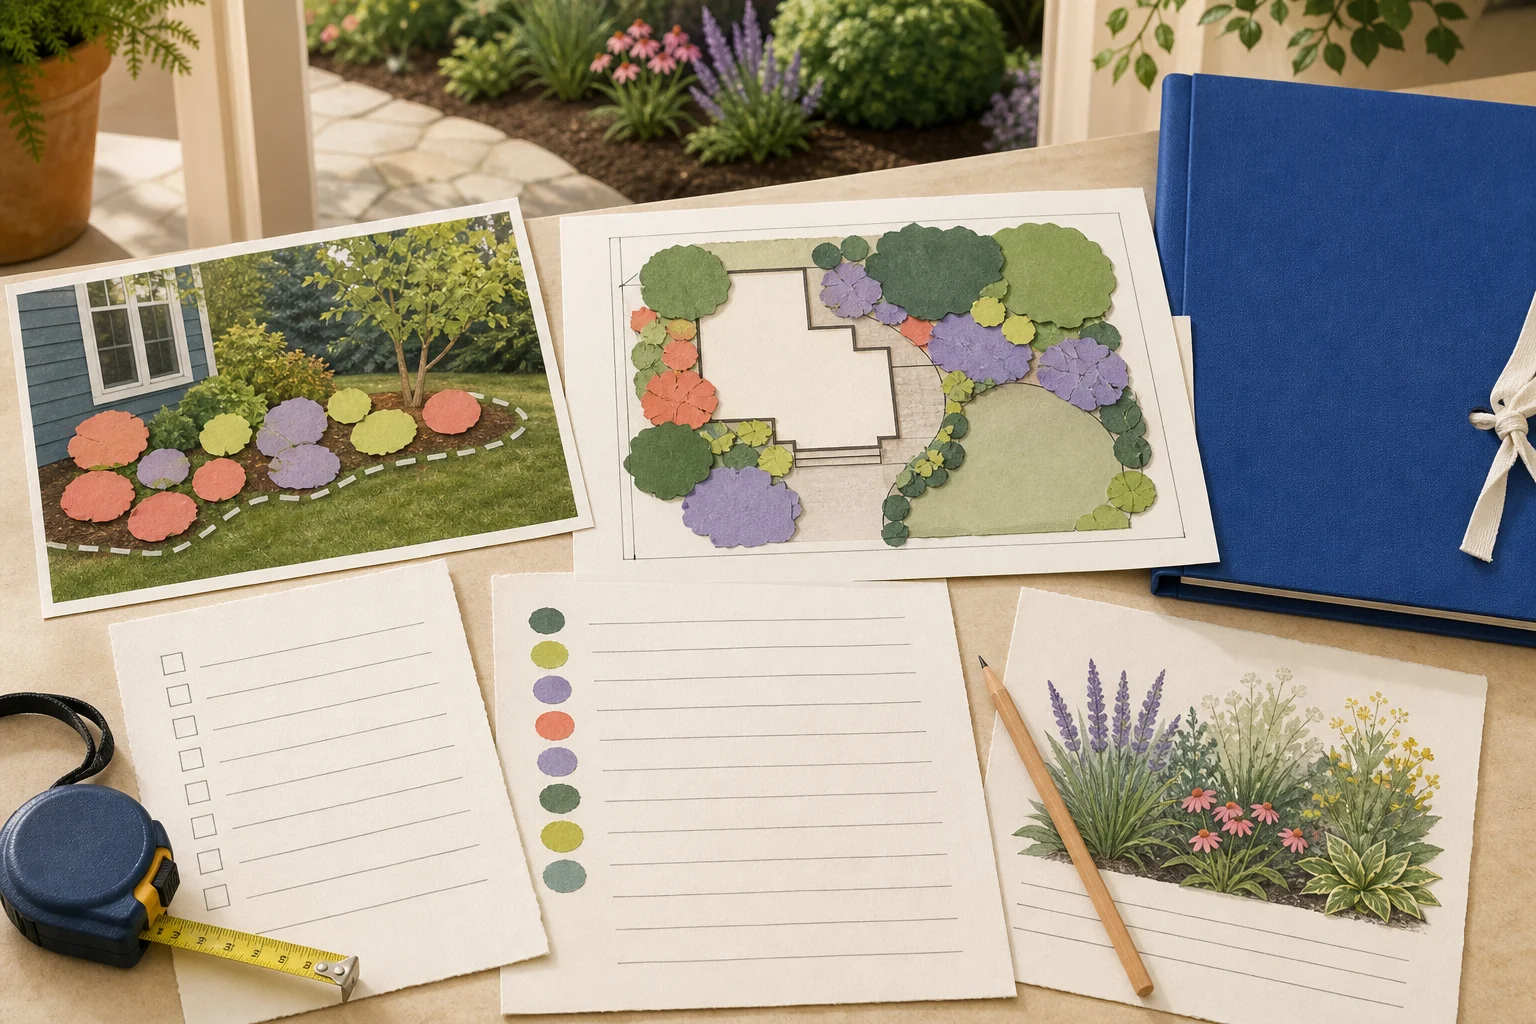
- A DIY starting point: A planting direction and scope you want a local crew to price or install.
- Bring in help when: The installer must verify dimensions, access, materials, substitutions, and site conditions.
- Your next check: Ask for a written line-item scope and schedule.
Technical site work
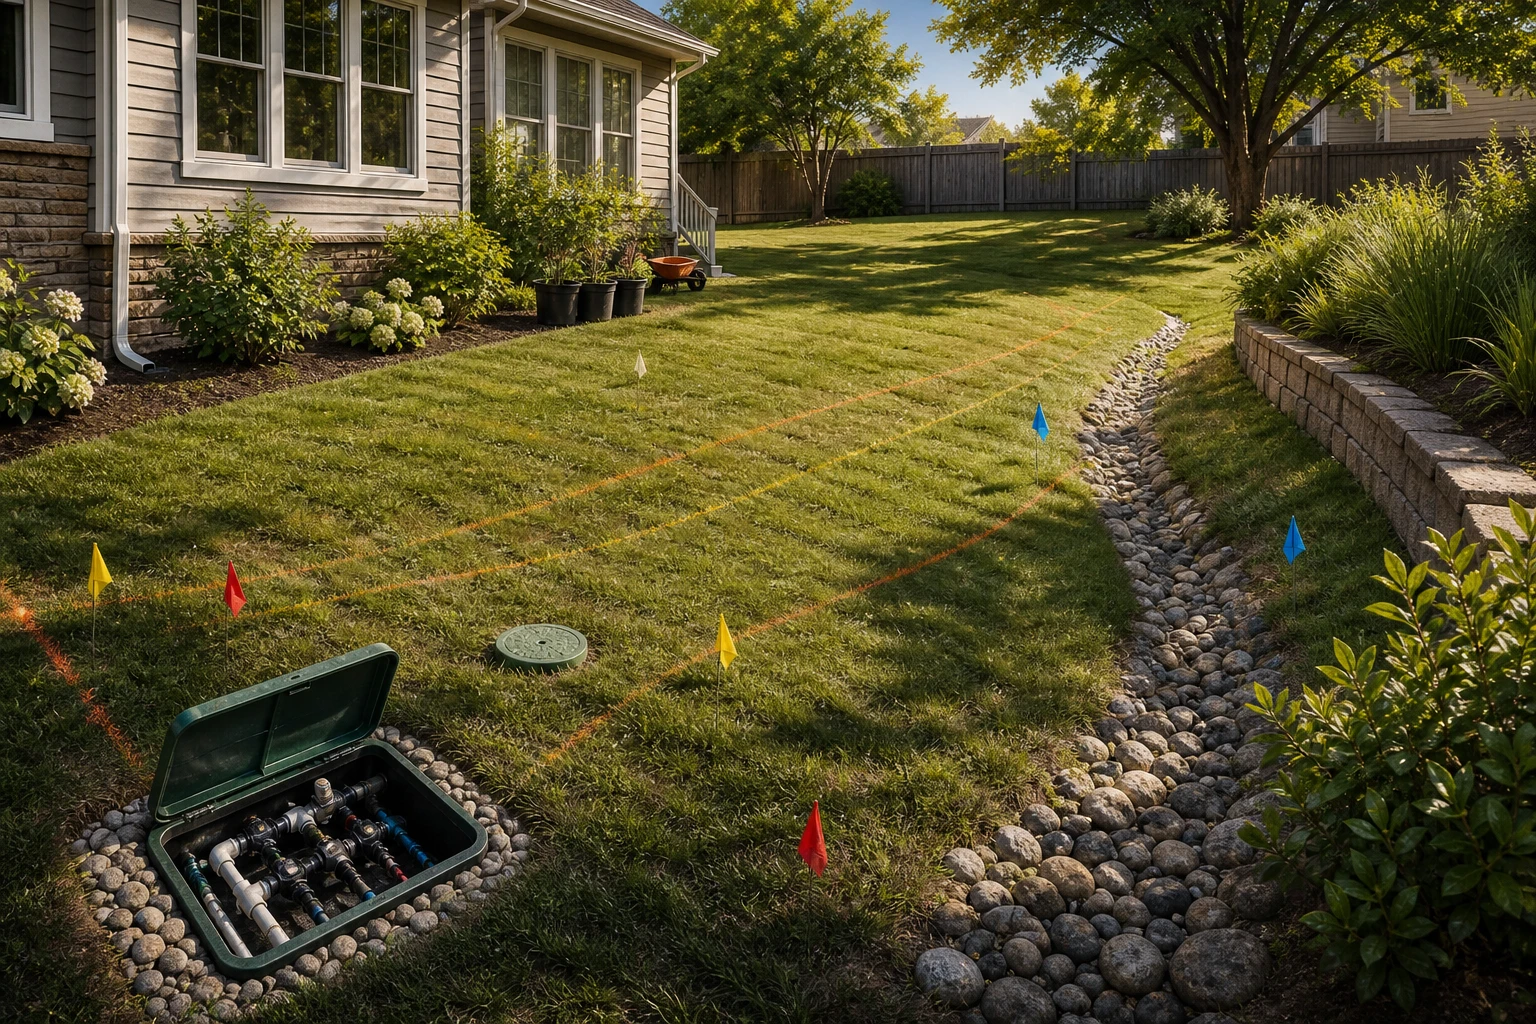
- A DIY starting point: Work involving grading, drainage, retaining walls, utilities, irrigation, electrical, or permits.
- Bring in help when: A planting visual is not engineering, a permit set, or a construction specification.
- Your next check: Ask which qualified or licensed professional owns that part of the work locally.
A landscaper may install, maintain, or offer design-build services. The title alone does not tell you what the written deliverable includes.
Write a brief before you choose plants
A short brief prevents a beautiful collection of unrelated ideas. Write down what the yard needs to do, where you will see it, and how much recurring work you will actually accept.
Use: Name the daily job: welcome guests, hide a view, hold a dog route, create a place to sit, grow food, support wildlife, or make a bare edge feel finished.
View: List the viewpoints that matter and the sightlines that must stay open. A bed beside a front walk has a different design brief from one seen through a kitchen window.
Care: Choose the chores you can keep up with: watering, pruning, mowing, weeding, cleanup, or replacement. Repetition and clear access usually make care easier than a longer plant list.
Stages: Separate the first finished area from later work. A smaller complete bed is easier to evaluate than a whole yard left half-built, and it gives you a real maintenance test before expanding.
Use Gardenful to shape the planting direction
Gardenful is most useful in the layer where a yard photo, your taste, and plant choices need to become a coherent planting idea.
Upload a photo of the real yard, select the area you want to change, and use your style and plant inspiration to compare different planting visualizations. Gardenful can connect the direction you choose to named plant choices, design roles, suggested quantities, and notes you can take to a nursery.
Bring that starting brief back to the real site: recheck mature size, sunlight, soil, drainage, watering, pet concerns, local restrictions, availability, and timing before buying. Keep the photo as a visual reference while measurements and local checks decide what fits.
If you are hiring help, the useful question is not whether the installer likes the picture. It is whether the written scope explains what will be installed, what remains open, who verifies the site, and how substitutions or unknowns will be handled.
Turn the output into a planting brief
- 1Keep the original yard photo and the marked project boundary together.
- 2Copy the plant roles, names, suggested quantities, mature-size assumptions, and unresolved local checks into your notes.
- 3Mark what stays: paths, windows, gates, utilities, mature trees, drainage routes, and service access.
- 4Use the brief to shop, phase your own work, or ask a landscaper for an installation price.
See the real Gardenful workflow screens
Gardenful is an iPhone garden-design app for exploring a planting direction from a real yard photo. These real product screens—not generated editorial art—show the useful path from choosing the area and style to comparing the visual direction, reading the design notes, and checking the plant list.
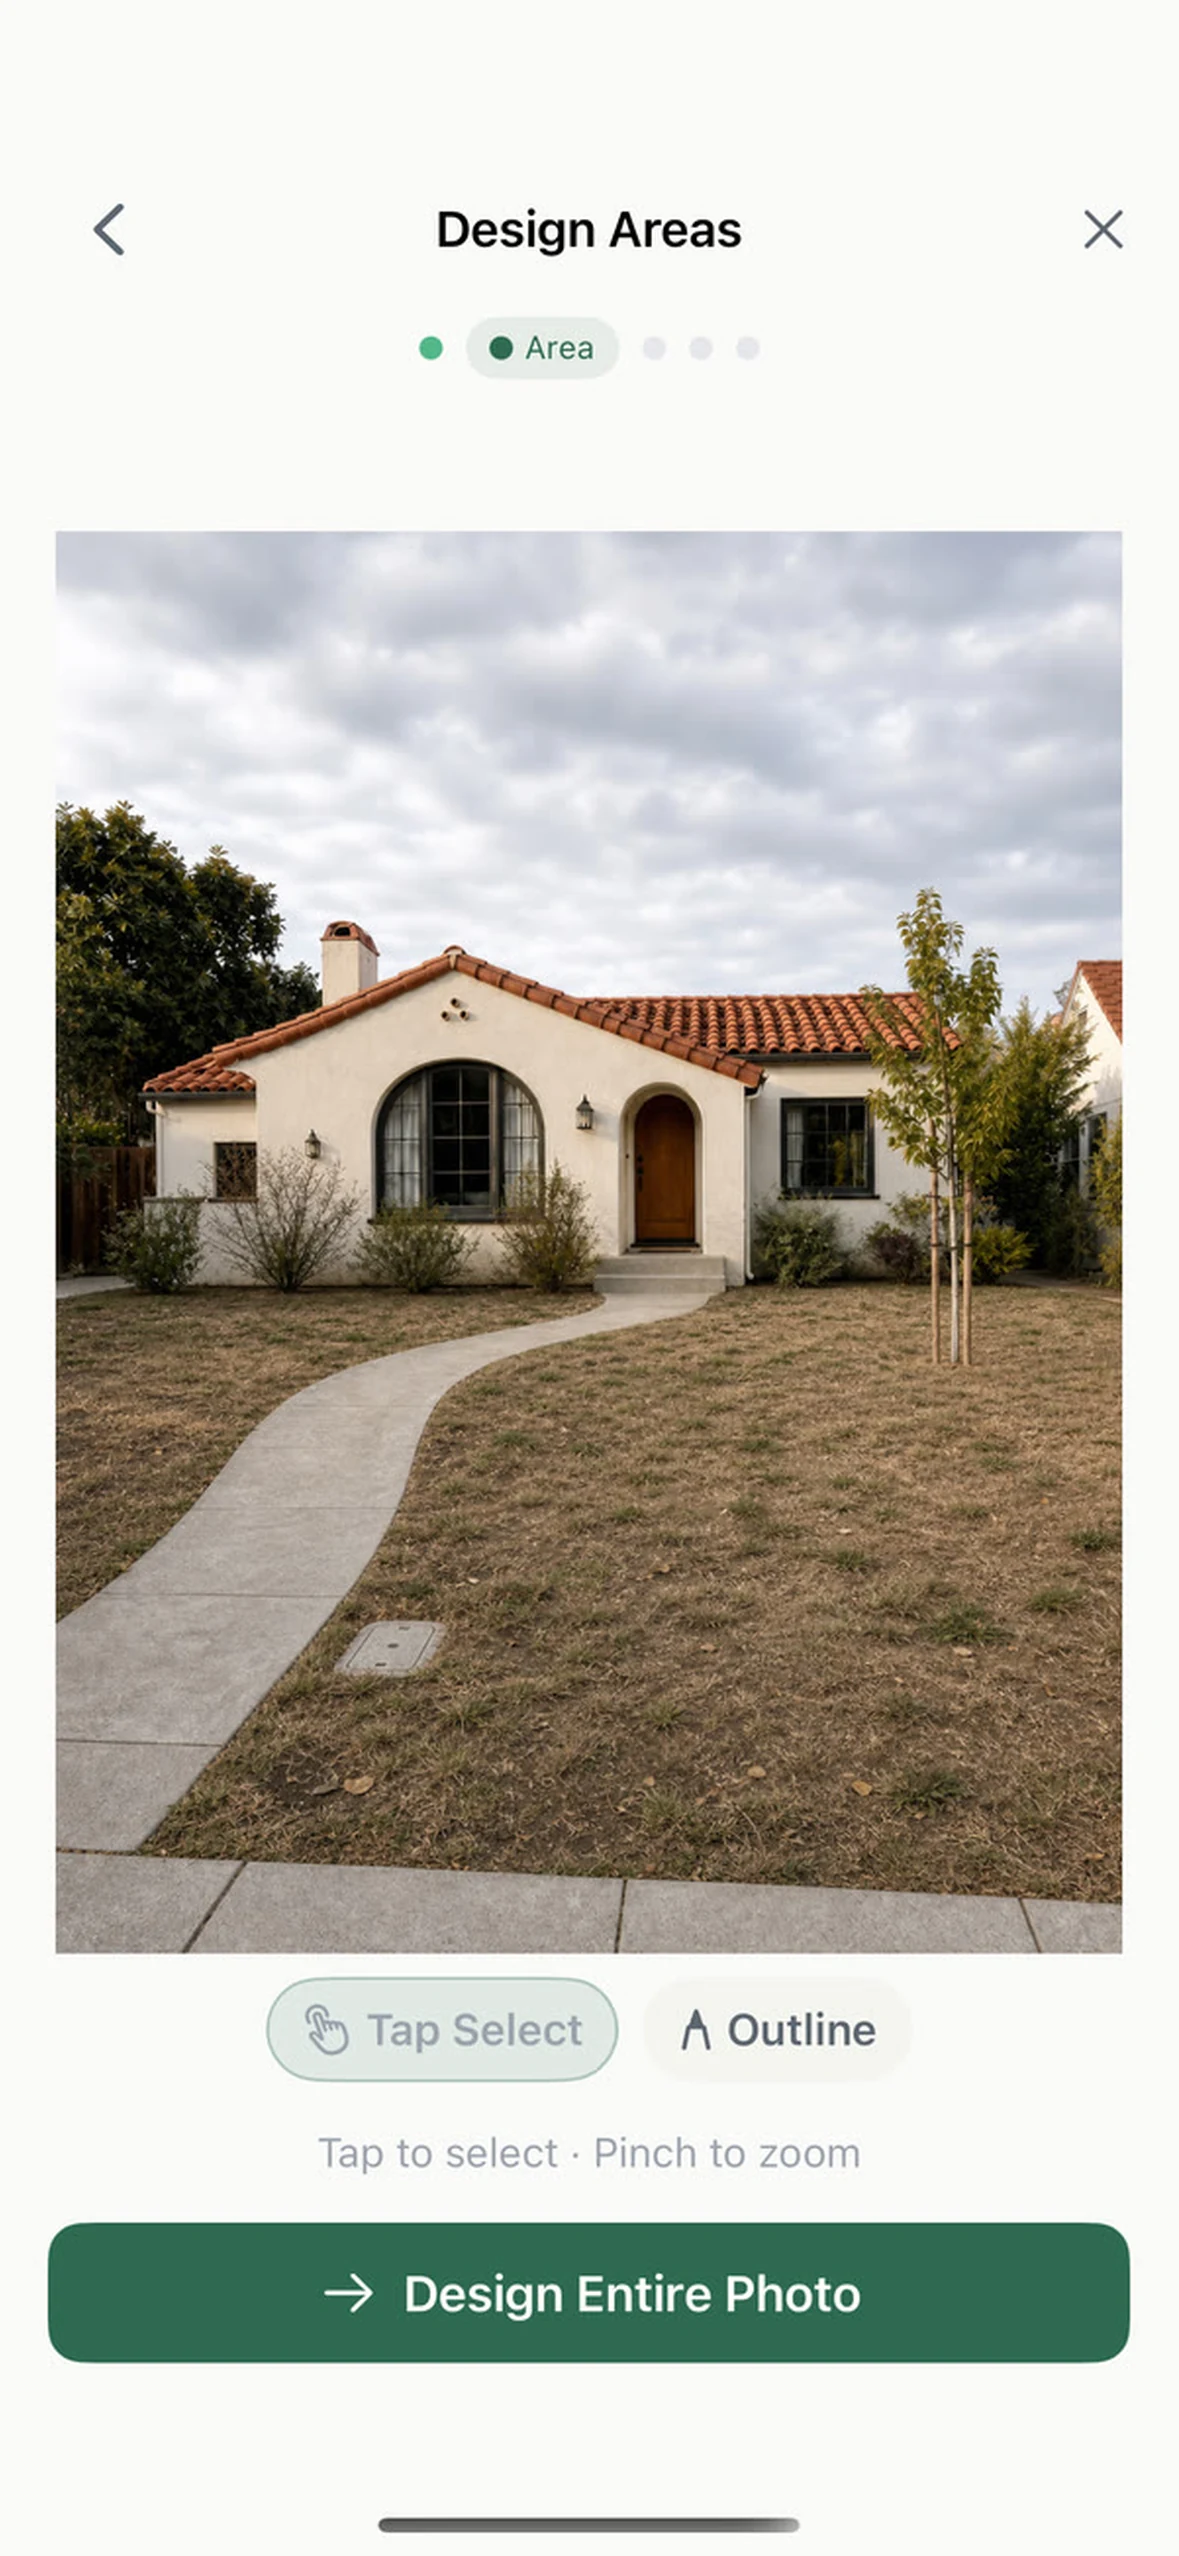
Choose the area that should change
Marking a bounded area keeps the visual direction tied to the part of the yard you can measure, price, and maintain first.
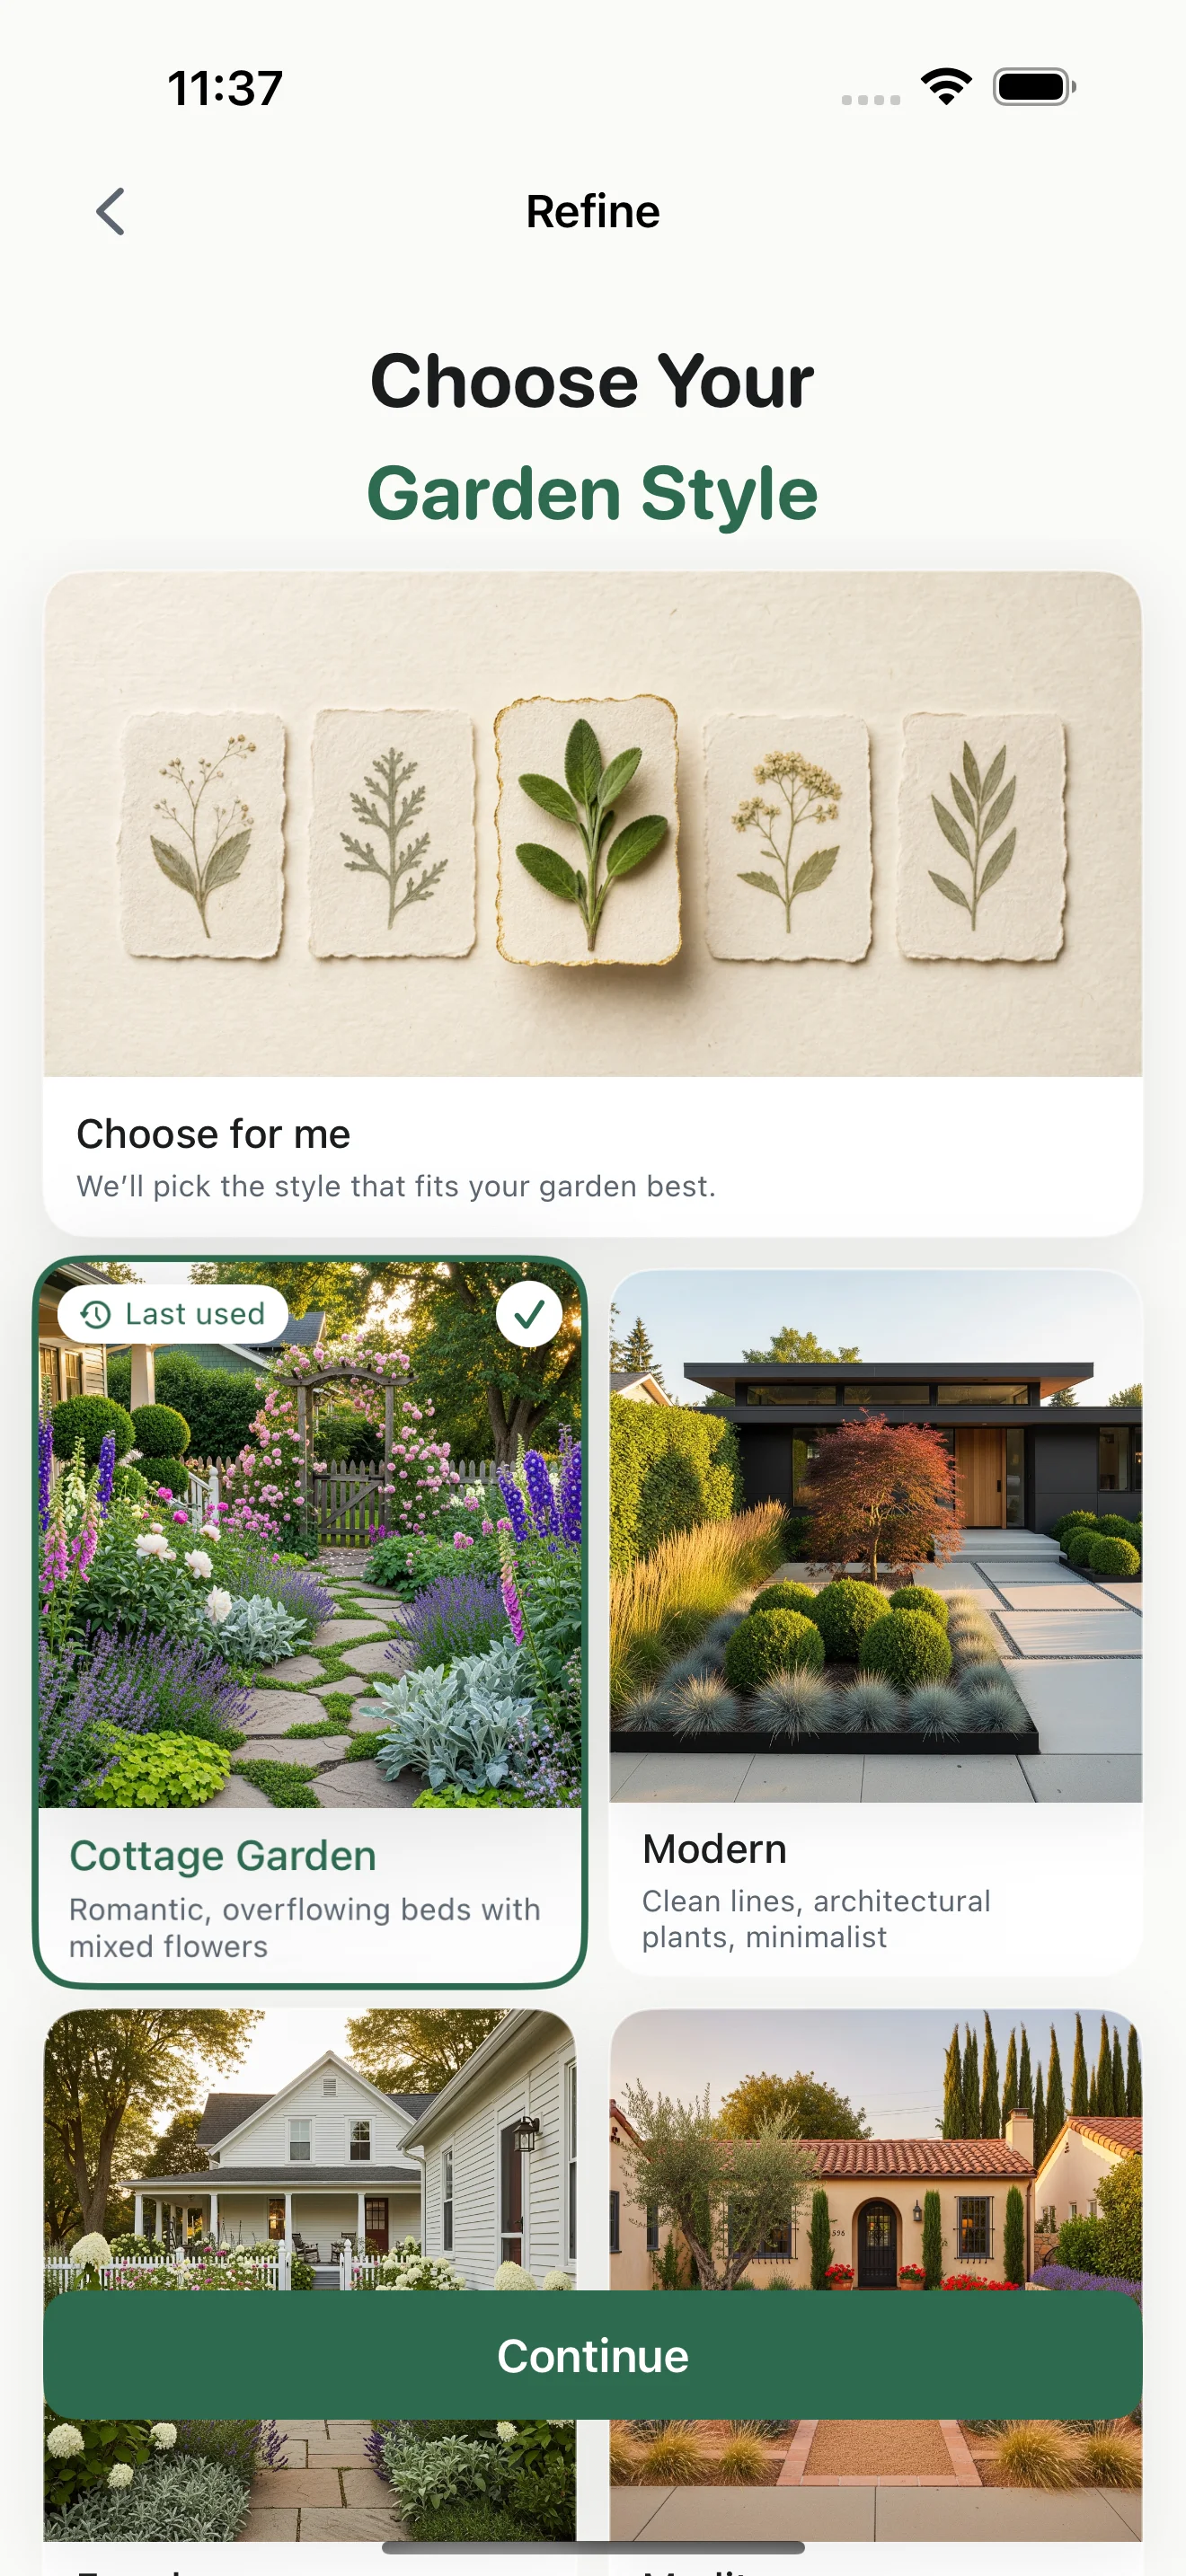
Choose a garden style
The real Garden Style screen gives the visualization a clear point of view. It shapes the direction without replacing the local checks that decide whether a specific plant belongs in the yard.
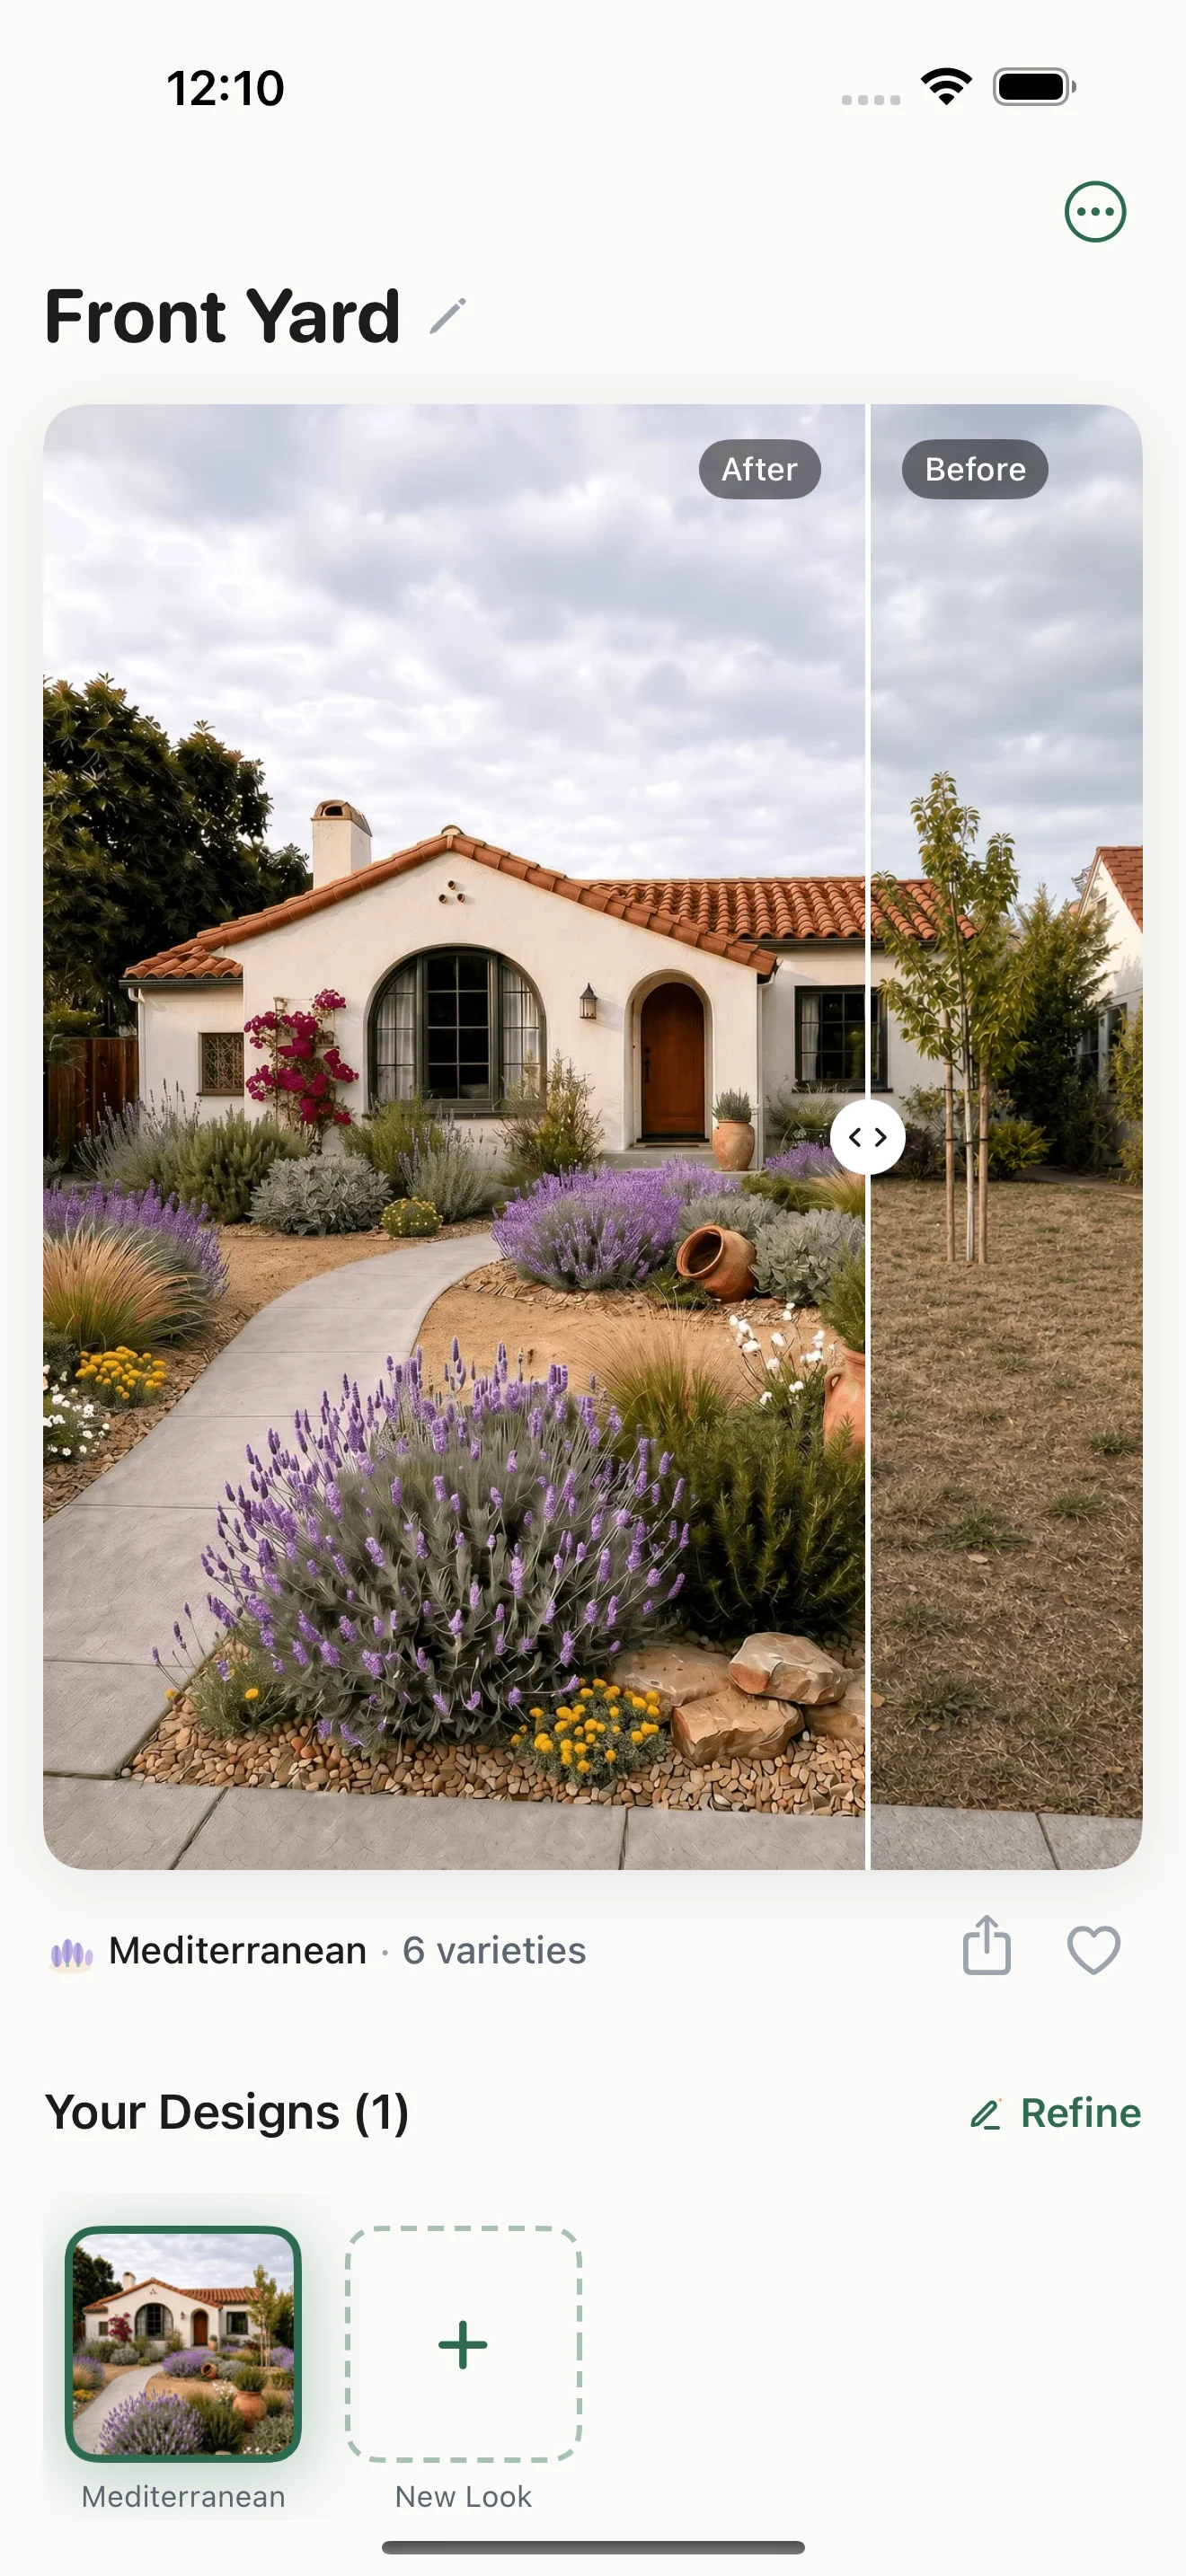
Compare the visual direction on your yard
The detail view keeps the original yard and the planting direction together, so you can ask whether the change improves the actual view rather than an imaginary site.
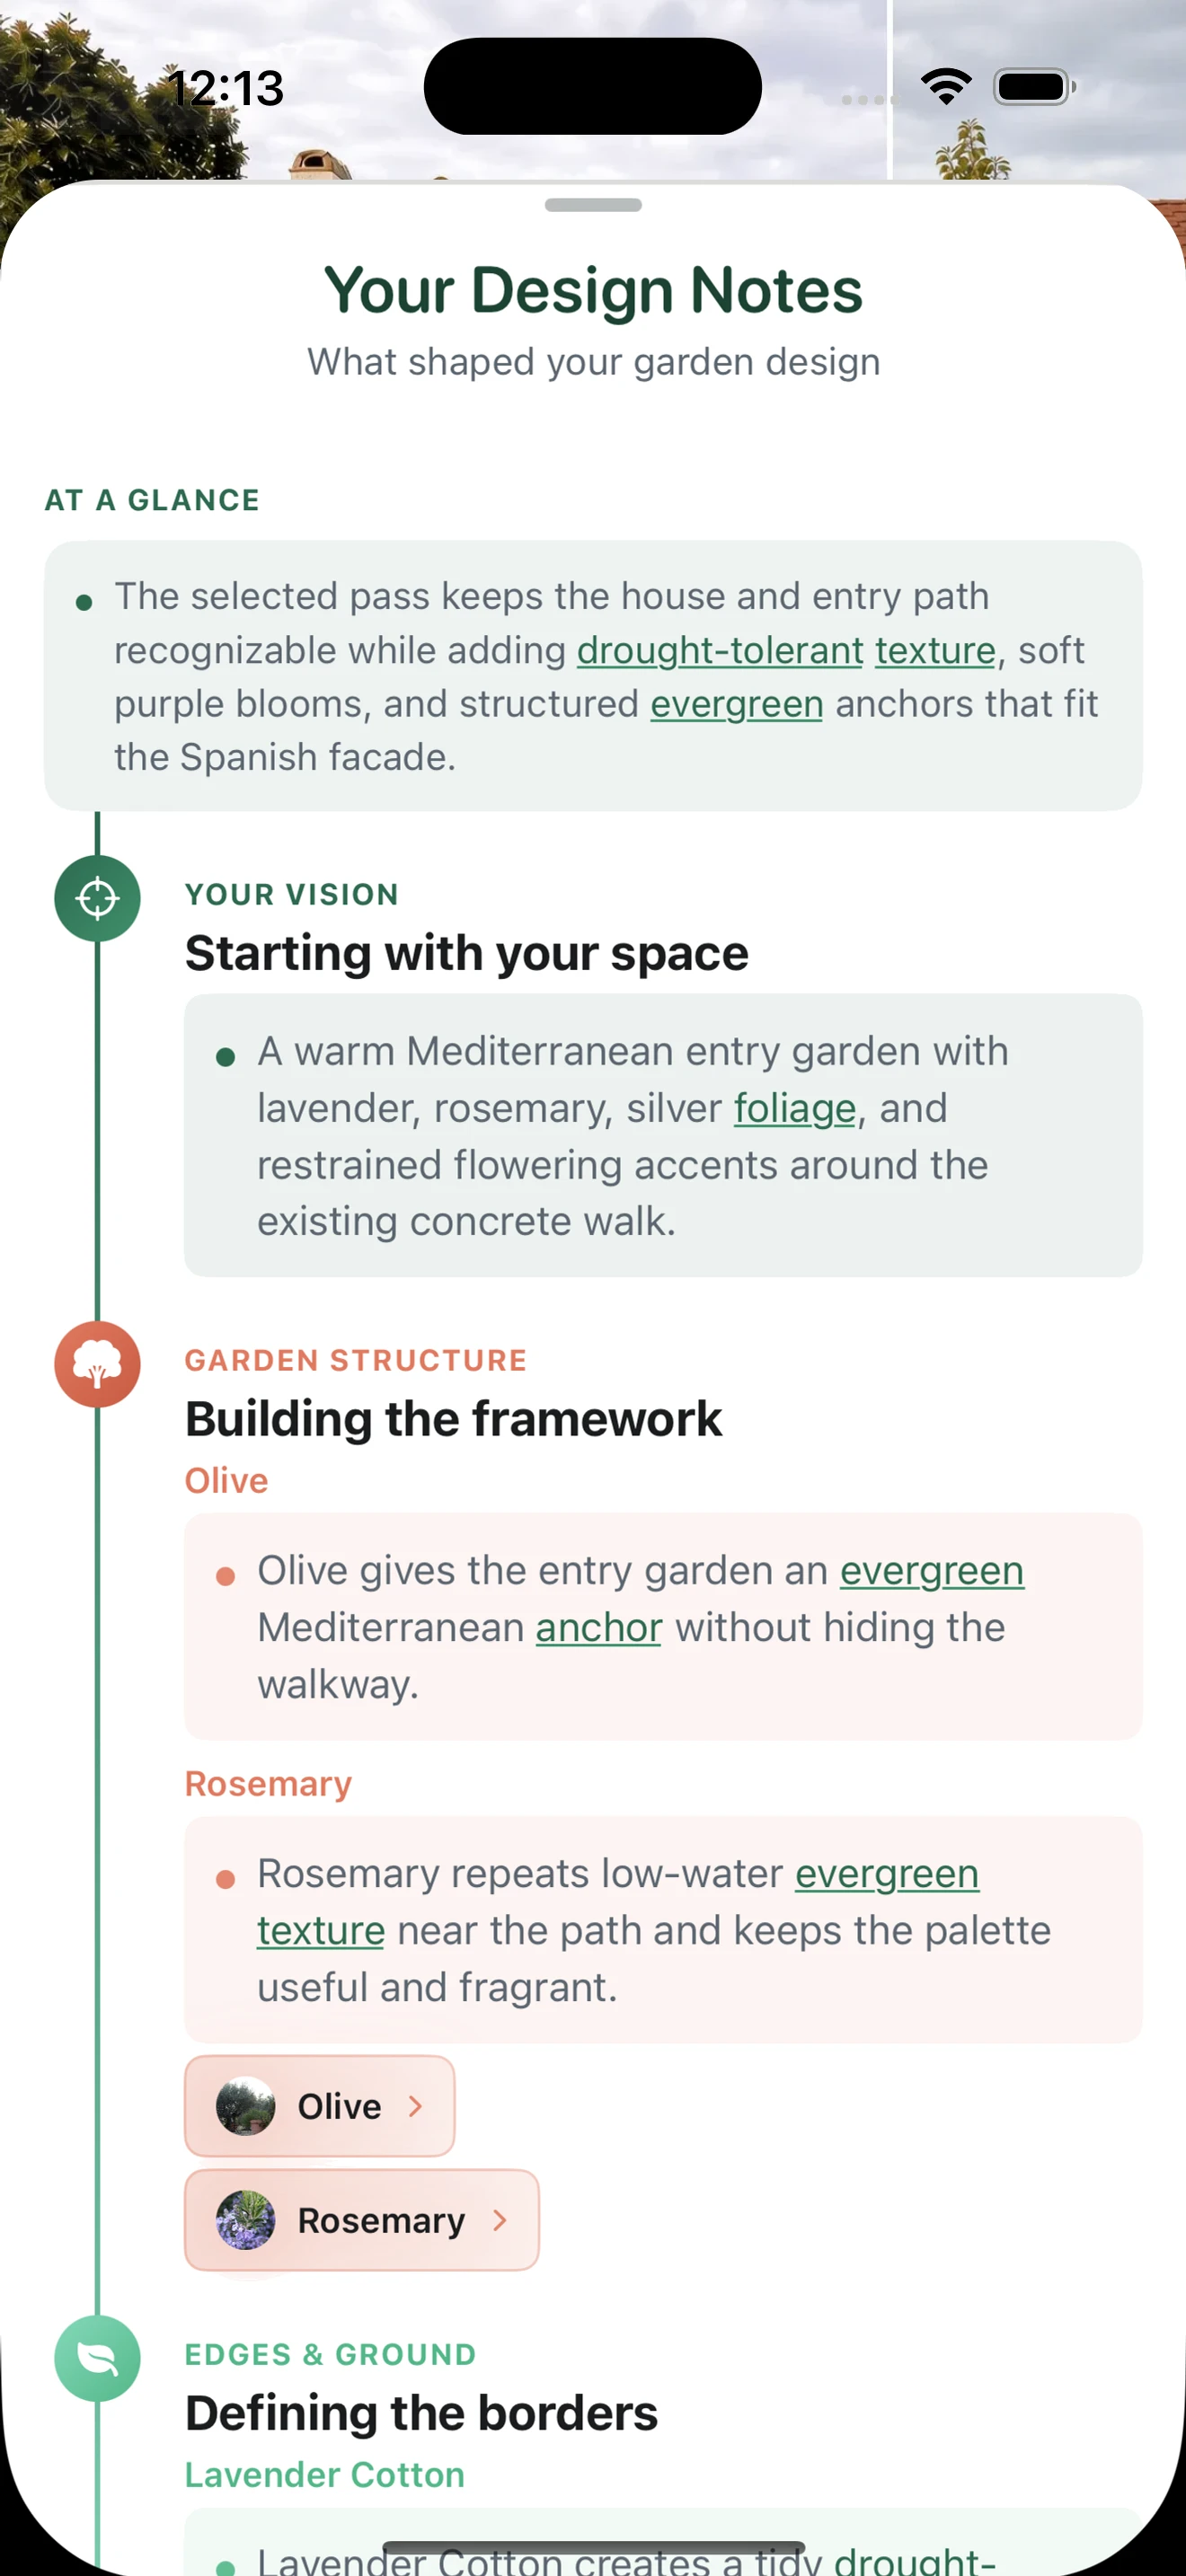
Read the design notes
After the design is generated, Design Notes explain the visual choices—such as layering, color harmony, and light fit—so the output can become a brief rather than a picture you forget.
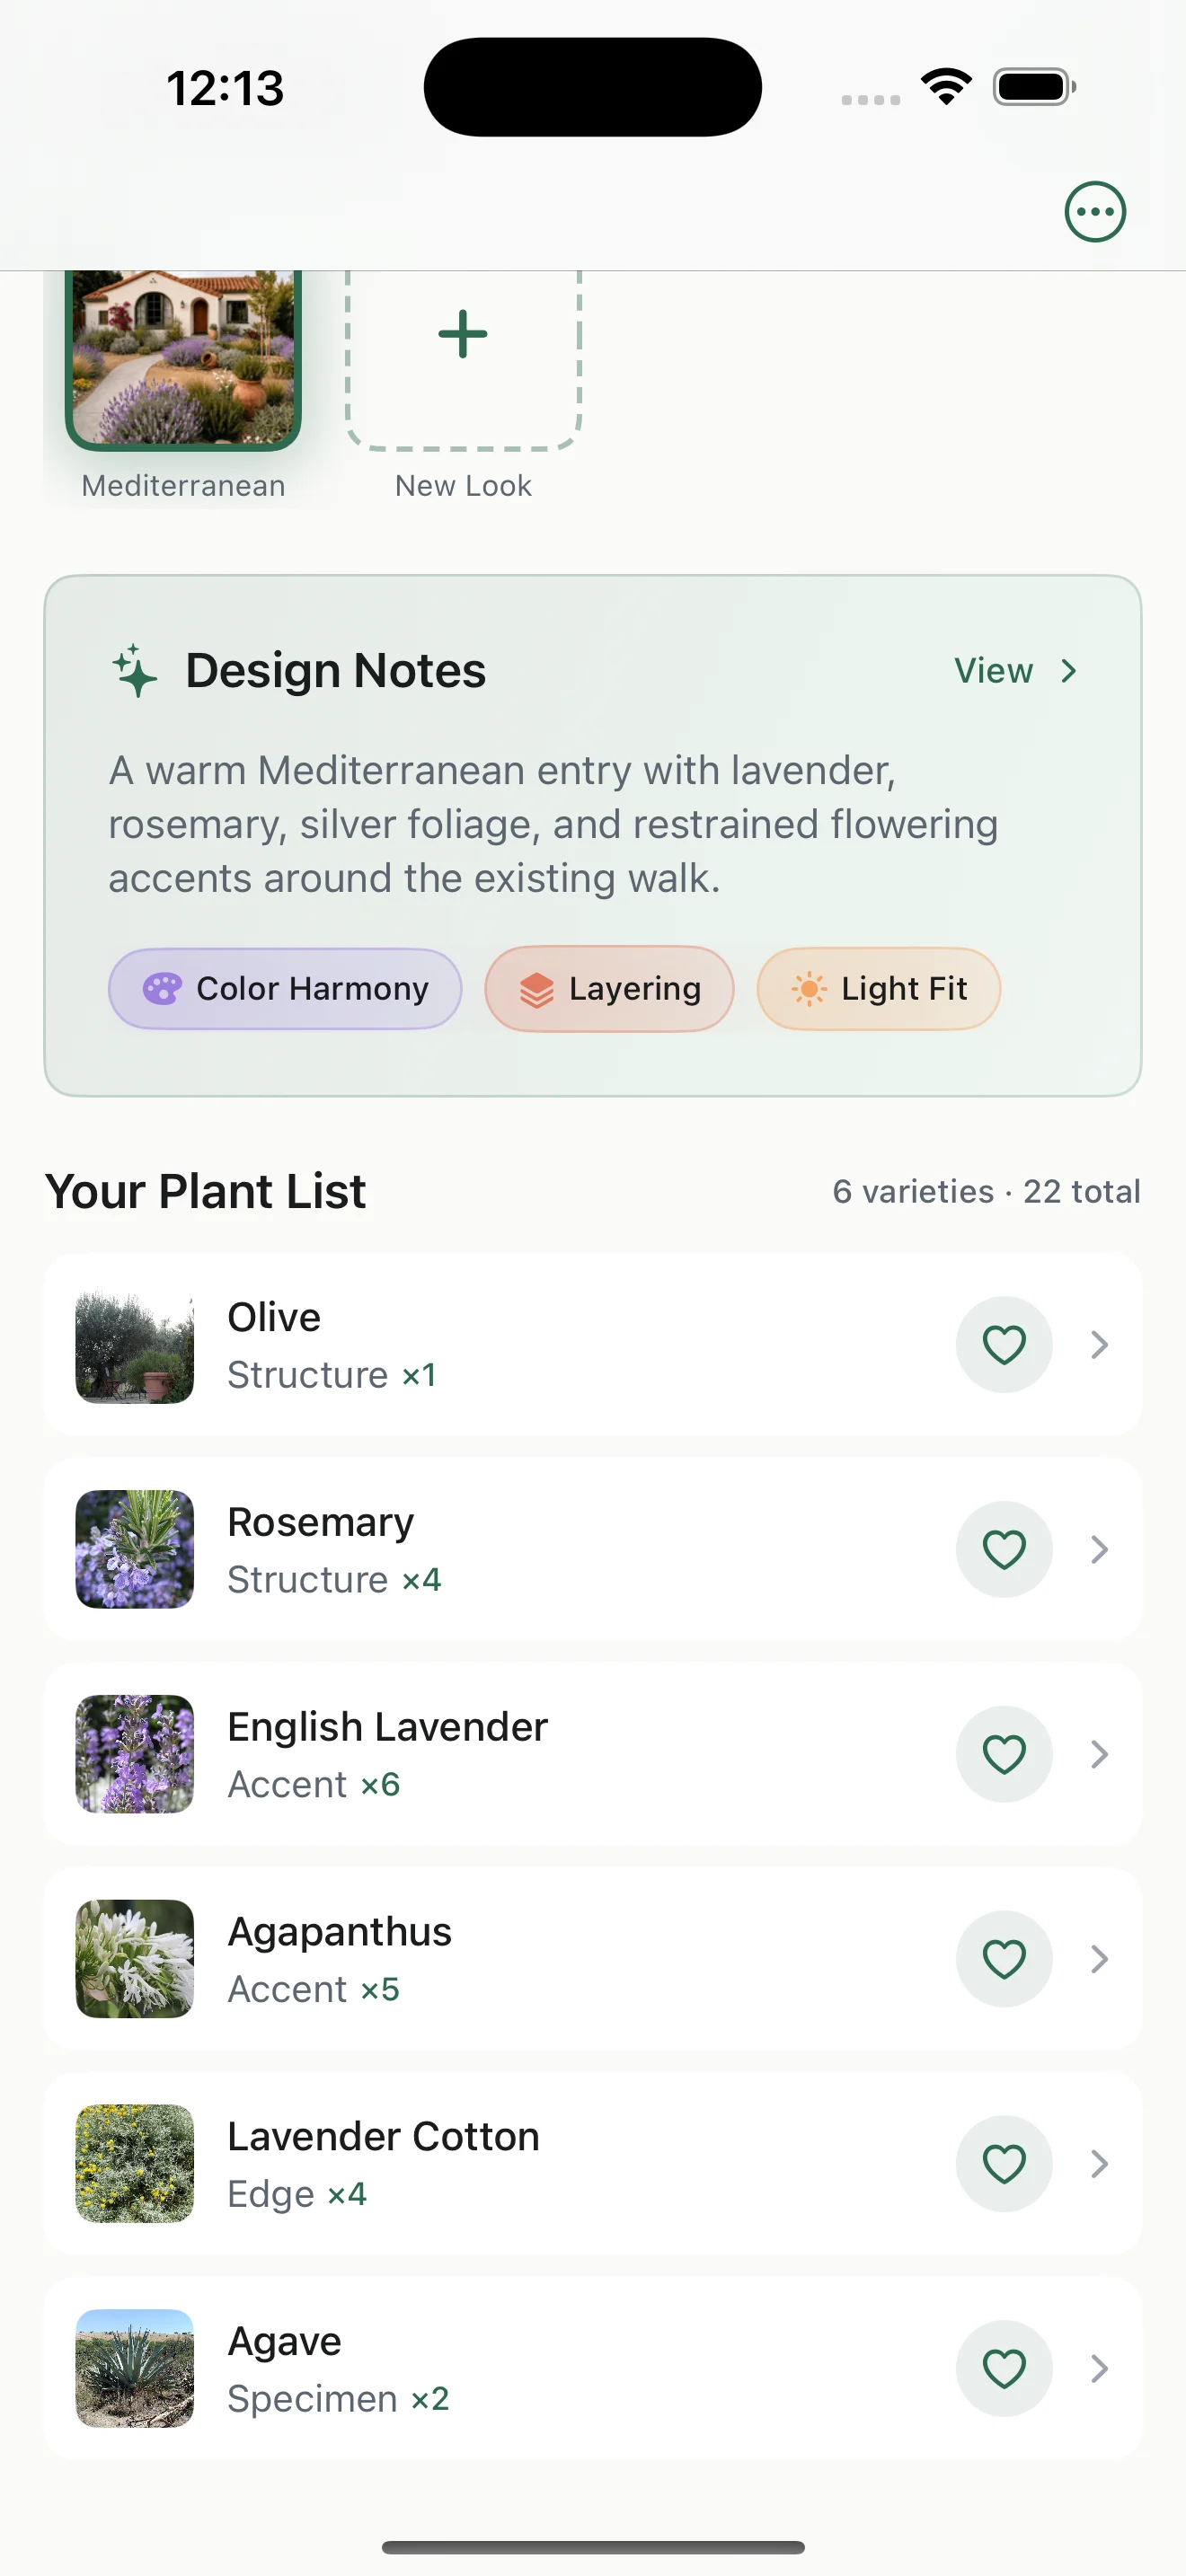
Open the plant list
The plant list turns the visual direction into a practical starting point for nursery research and a conversation with an installer. Verify exact availability, mature size, and site fit locally.
Use the screens to start a conversation with yourself or an installer; verify dimensions, plant fit, and technical work outside the app.
Worked example: a narrow entry bed that stays usable
A design becomes easier to build when the measurements change the layout instead of decorating the explanation.
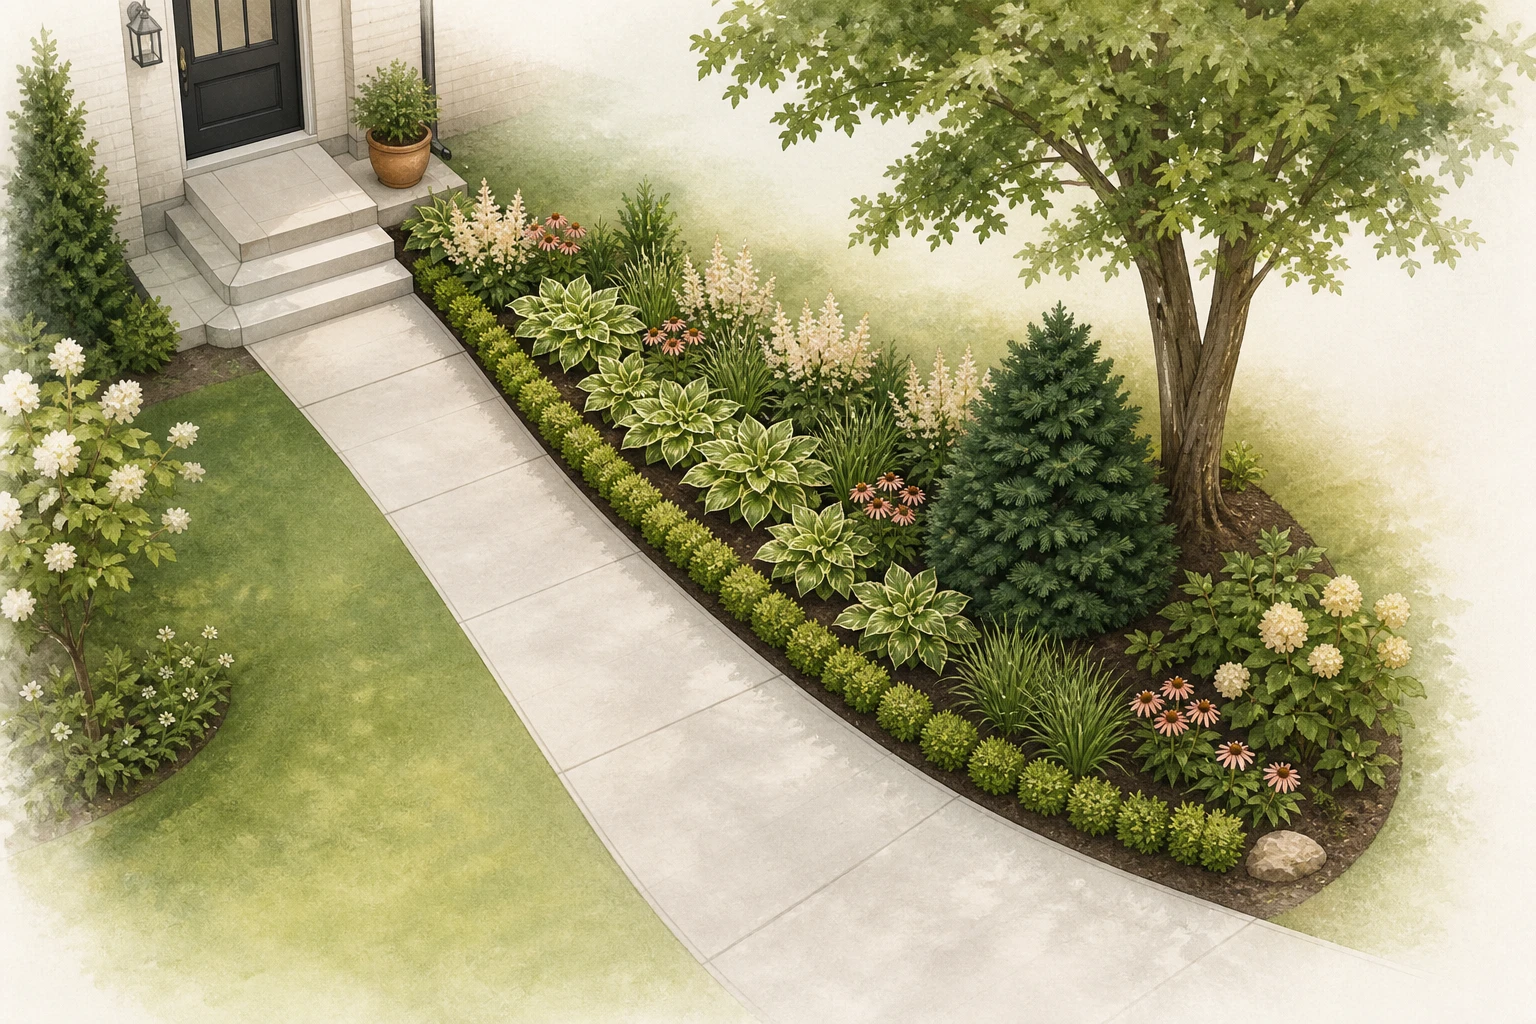
A 14-foot bed beside the front walk
The bed runs 14 feet along the walk. It narrows to 4 feet beside the steps and opens to 6 feet near an existing tree. The walk, steps, window, hose bib, and tree stay in place. The narrow section is the design constraint: it cannot carry the same mature plants as the wider end.
Keep the approach open
Reserve the walking route and the step landing first. The bed edge should clarify arrival, not pinch it.
Example: Put the lower edge and repeated middle plants beside the narrow section; keep tall structure toward the wider end where mature spread has room.
Use roles instead of a plant sampler
Give the bed one structural role, one repeated middle role, a low edge, and a small number of seasonal accents. Repeating a role makes the bed read as one idea.
Example: Draft the roles before naming varieties, then check each candidate's mature width against the 4- and 6-foot sections.
Make quantity follow spacing
Use mature spread and the usable planting length to estimate a starting count. Do not fill the whole bed with nursery-sized plants just because the gaps look large on planting day.
Example: If an exact variety needs more room than the narrow section offers, substitute by role and mature envelope rather than forcing it into the bed.
Phase the install
Finish the entry bed first, watch how it handles water and foot traffic, and expand only after the route and care pattern work.
Example: The next phase can extend the same palette toward the tree once the first bed has proved its access and maintenance rhythm.
The point of the example is not the exact 14-foot length. It is the habit of letting usable depth, mature spread, and access decide what belongs where.
Sequence the work before you dig
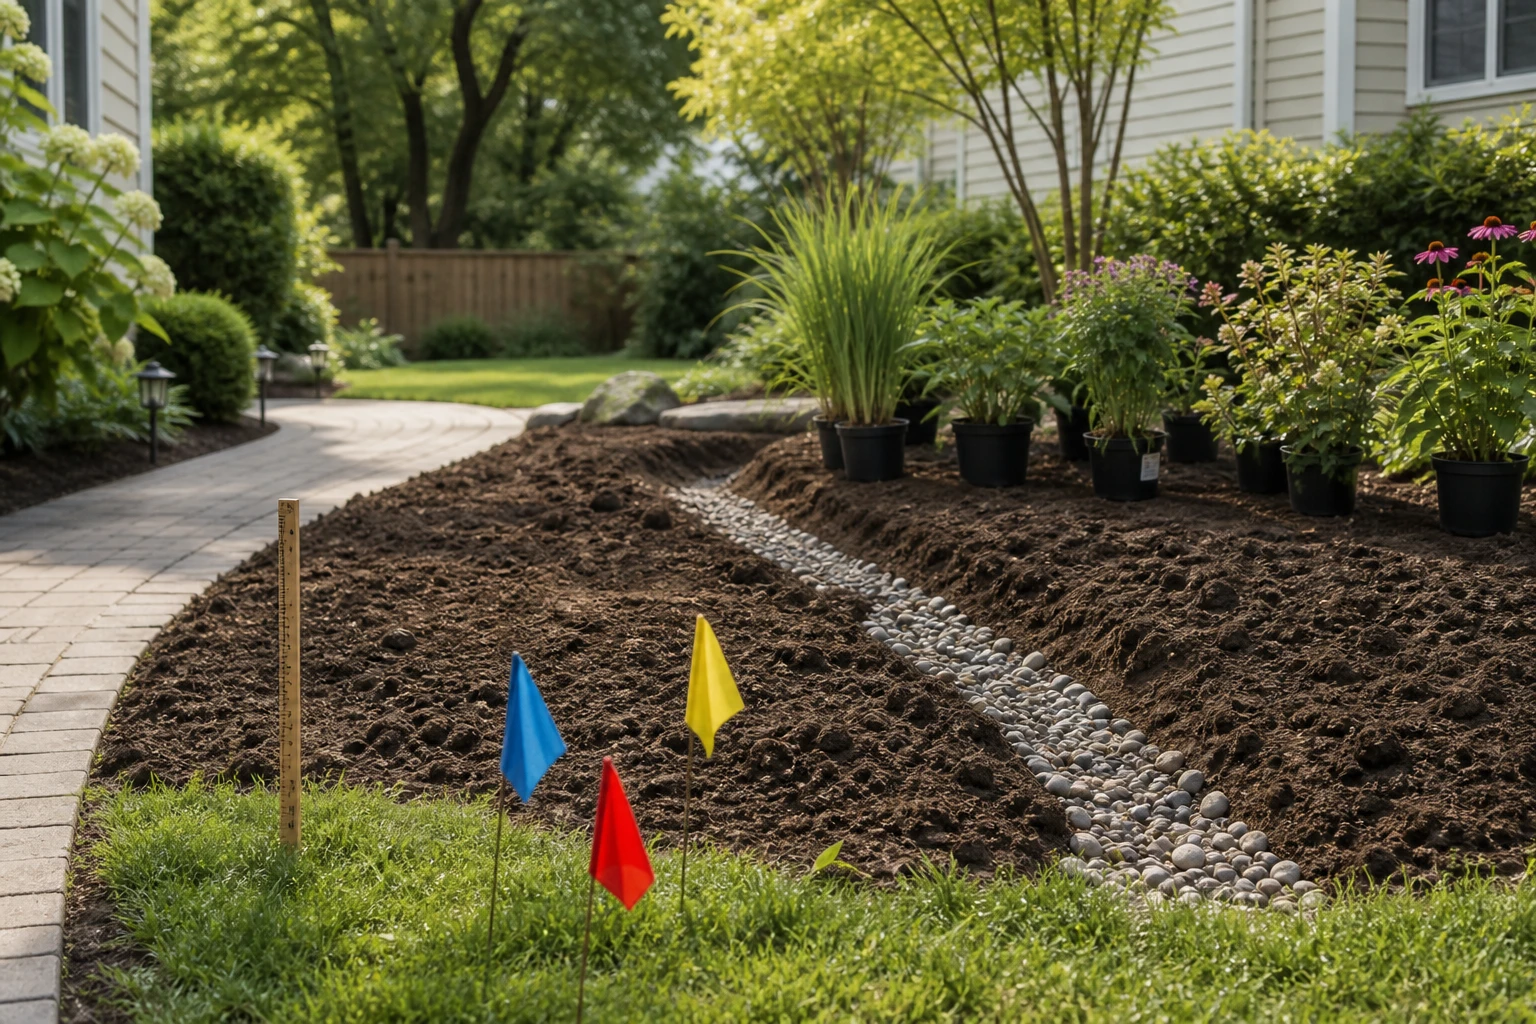
A planting idea can survive a few revisions. Rebuilding a path, moving irrigation, or repairing a drainage mistake is much harder, so install from fixed risks toward flexible planting.
- 1
Locate utilities and confirm local requirements
Request utility locating before digging and check local rules, easements, fire guidance, or approvals that affect the project. Call 811 is a starting point, not a substitute for state or local instructions.
- 2
Protect what stays
Mark tree roots, trunks, paths, windows, gates, vents, service panels, drainage routes, and the access path for tools and materials.
- 3
Finish technical and structural work first
Complete grading, drainage, retaining, irrigation, electrical, hardscape, or other specialist work before installing a delicate planting layer. Ask who is qualified to own each part locally.
- 4
Prepare soil and place plants by role
Group plants with compatible light and water needs, use mature spacing, and keep the bed edge and route readable while you work.
- 5
Plan establishment care
Decide who will water, weed, check irrigation, replace failures, and adjust the plan while plants establish. A lower-maintenance design still needs early care.
Common failure: buying plants before the route, utilities, drainage, mature clearances, and watering plan are resolved.
Hand a landscaper a brief they can price
If you already have the planting direction, hire for the work you need. A good handoff makes the installer's questions visible instead of asking them to guess what the picture means.
Bring a clear intent, then let the installer verify the site and price the actual scope.
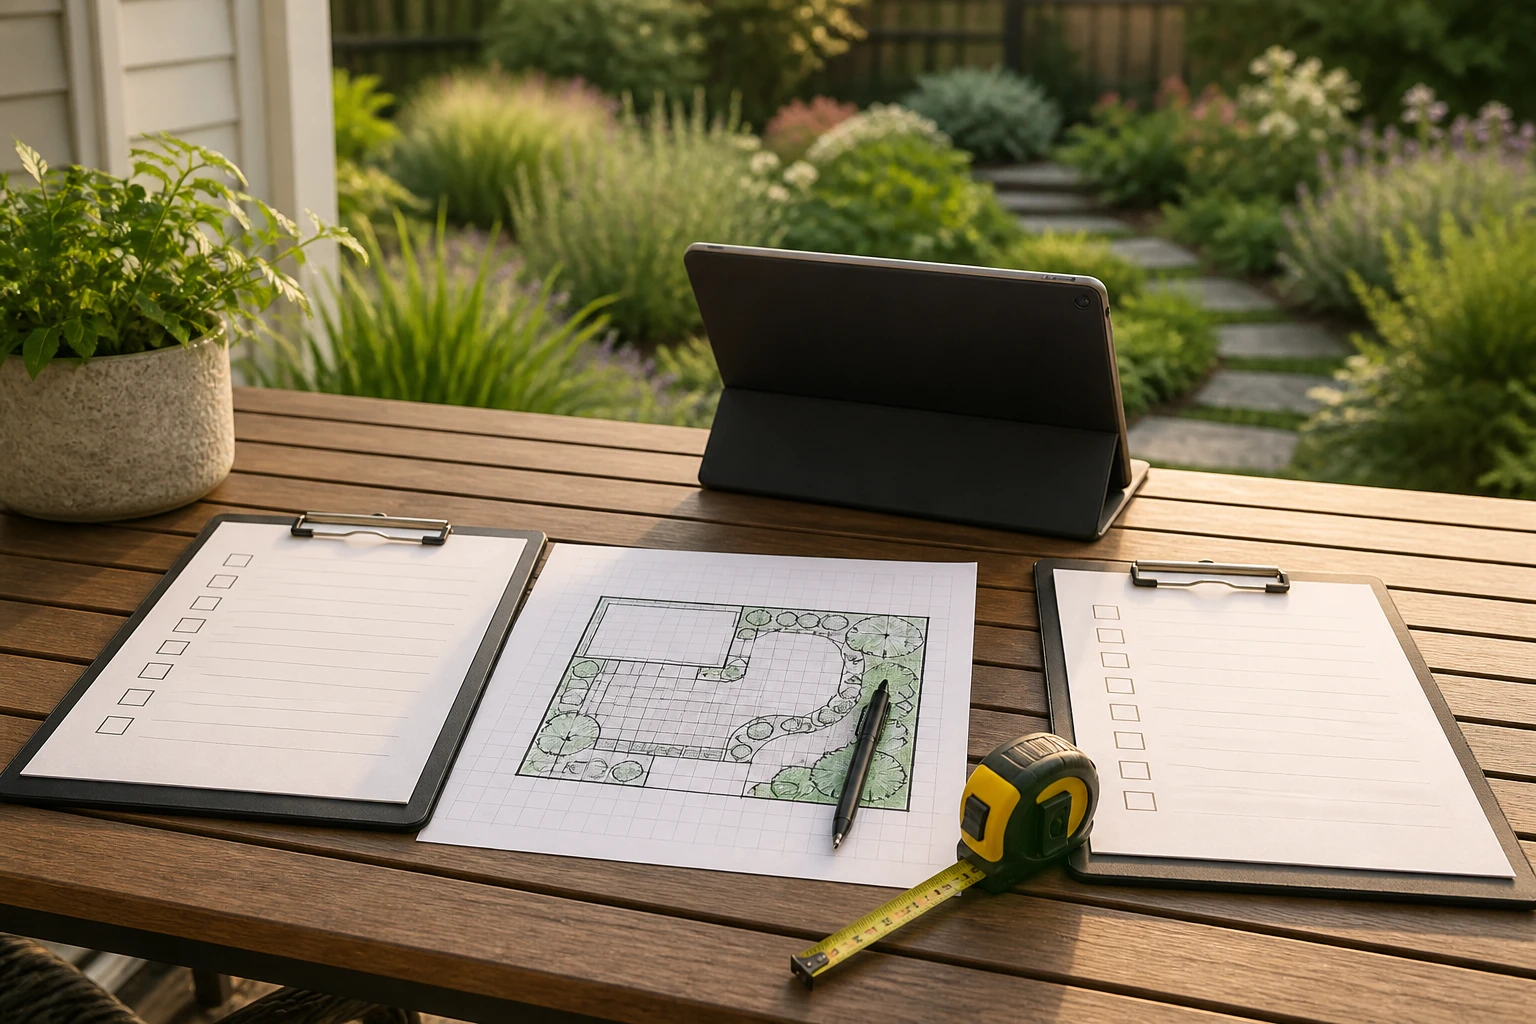
Site packet
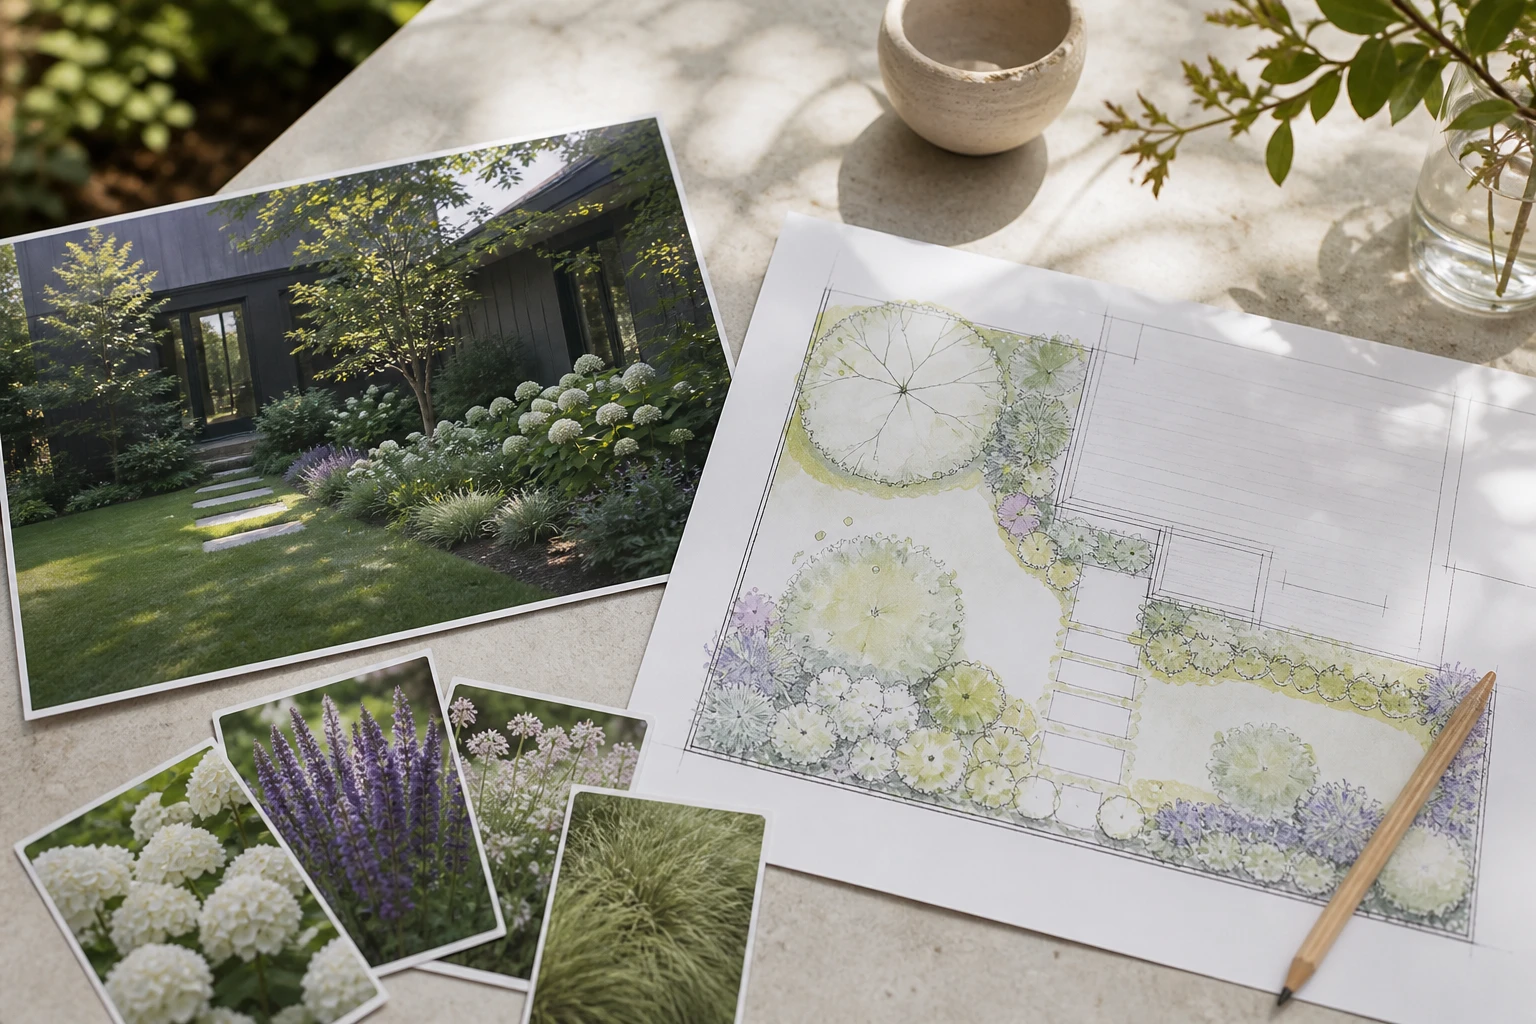
Include the marked yard photo, base map, dimensions, fixed features, access route, sun and water observations, and anything that must remain untouched.
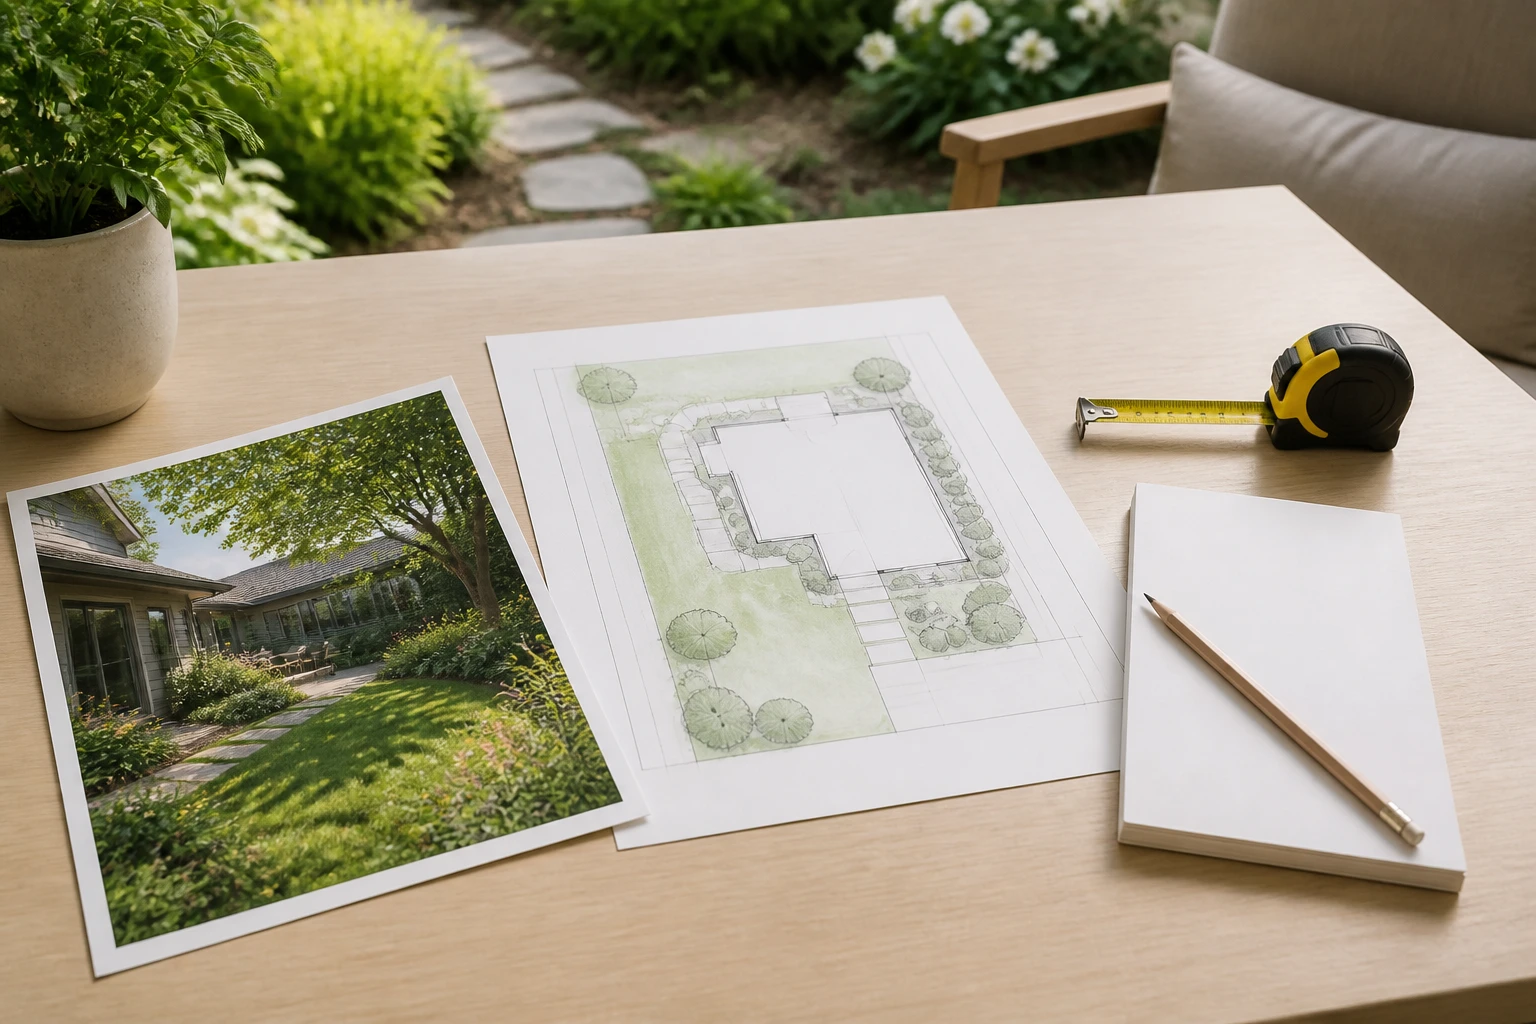
Planting direction
Share the Gardenful concept, plant roles, draft plant list, suggested quantities, mature-size assumptions, and acceptable substitutions. Mark unresolved site checks so the installer can verify them.
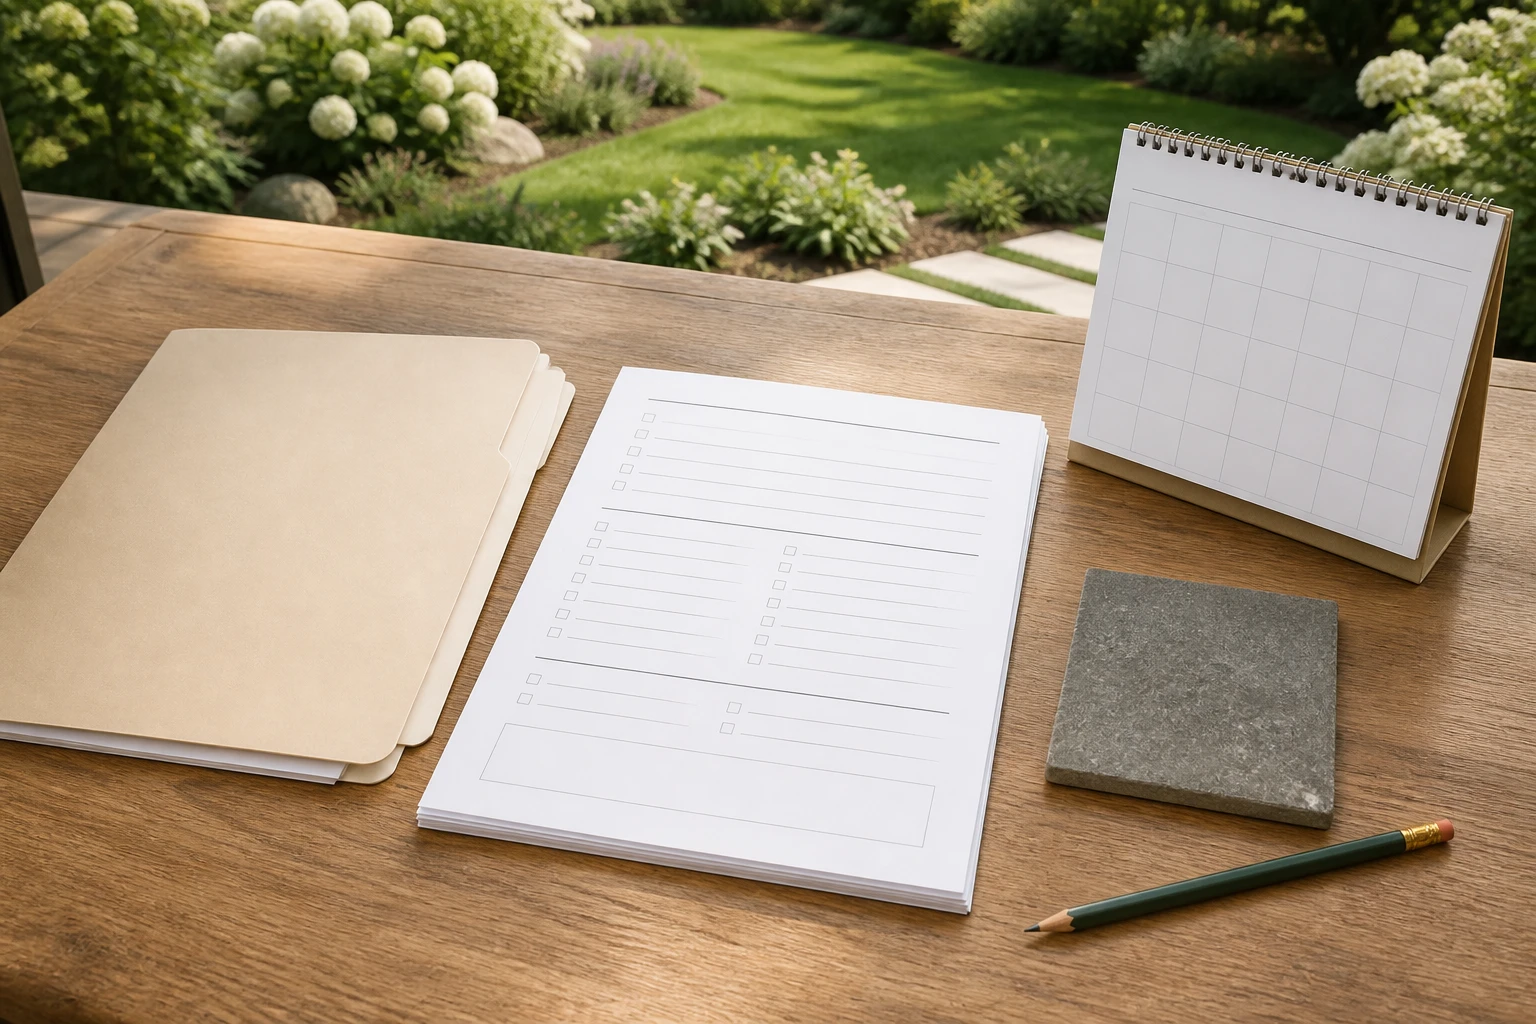
Written scope
Ask for line items covering demolition, soil preparation, plants, mulch or other surfaces, irrigation, disposal, cleanup, establishment care, schedule, payment terms, and warranty or replacement terms.
Questions to resolve
Ask who measures, who locates utilities, who handles drainage, grading, irrigation, permits, or subcontractors, and what happens when a plant or material is unavailable.
Get more than one written estimate when the scope is substantial. Compare what each estimate includes, not only the total number.
Sources: University of Arizona Cooperative Extension, Oklahoma State University Extension
Know which kind of help you are hiring
The words overlap in everyday conversation. Ask the company to name the deliverable, site responsibilities, and installation scope in writing.
DIY homeowner
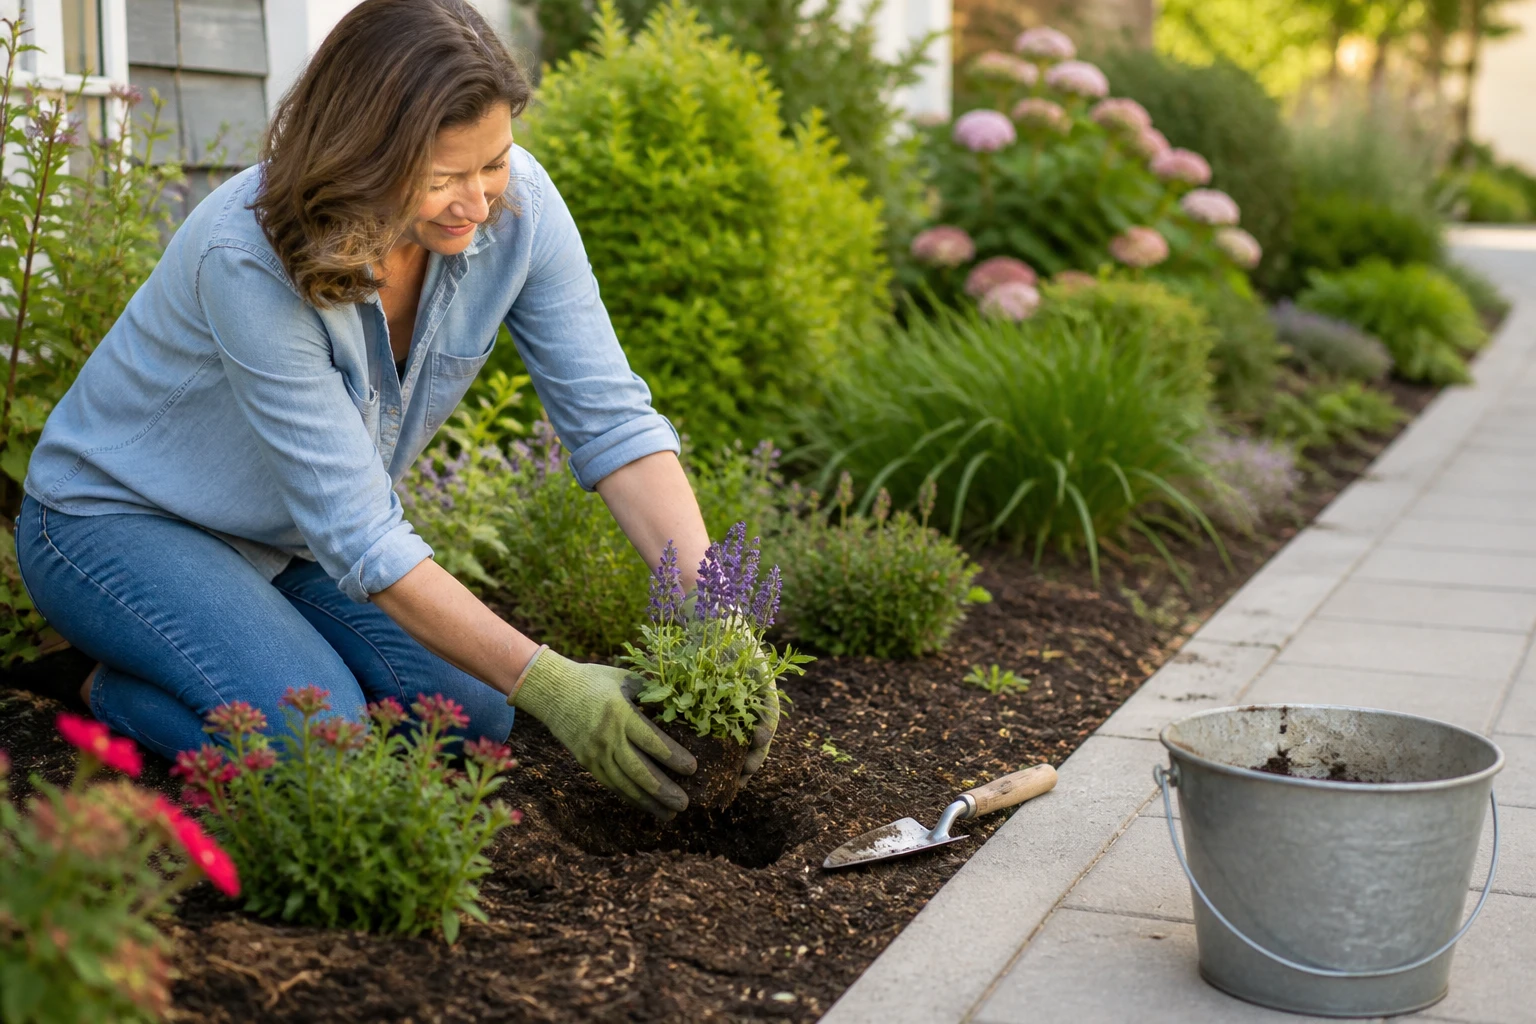
- Useful when: Planting refreshes, clear beds, containers, research, shopping, and phased work you can safely measure and maintain.
- Ask about: You own site verification, sequencing, labor, and early care.
- Written proof: Base map, plant checks, safe work boundary, and realistic time.
Landscaper or installation crew
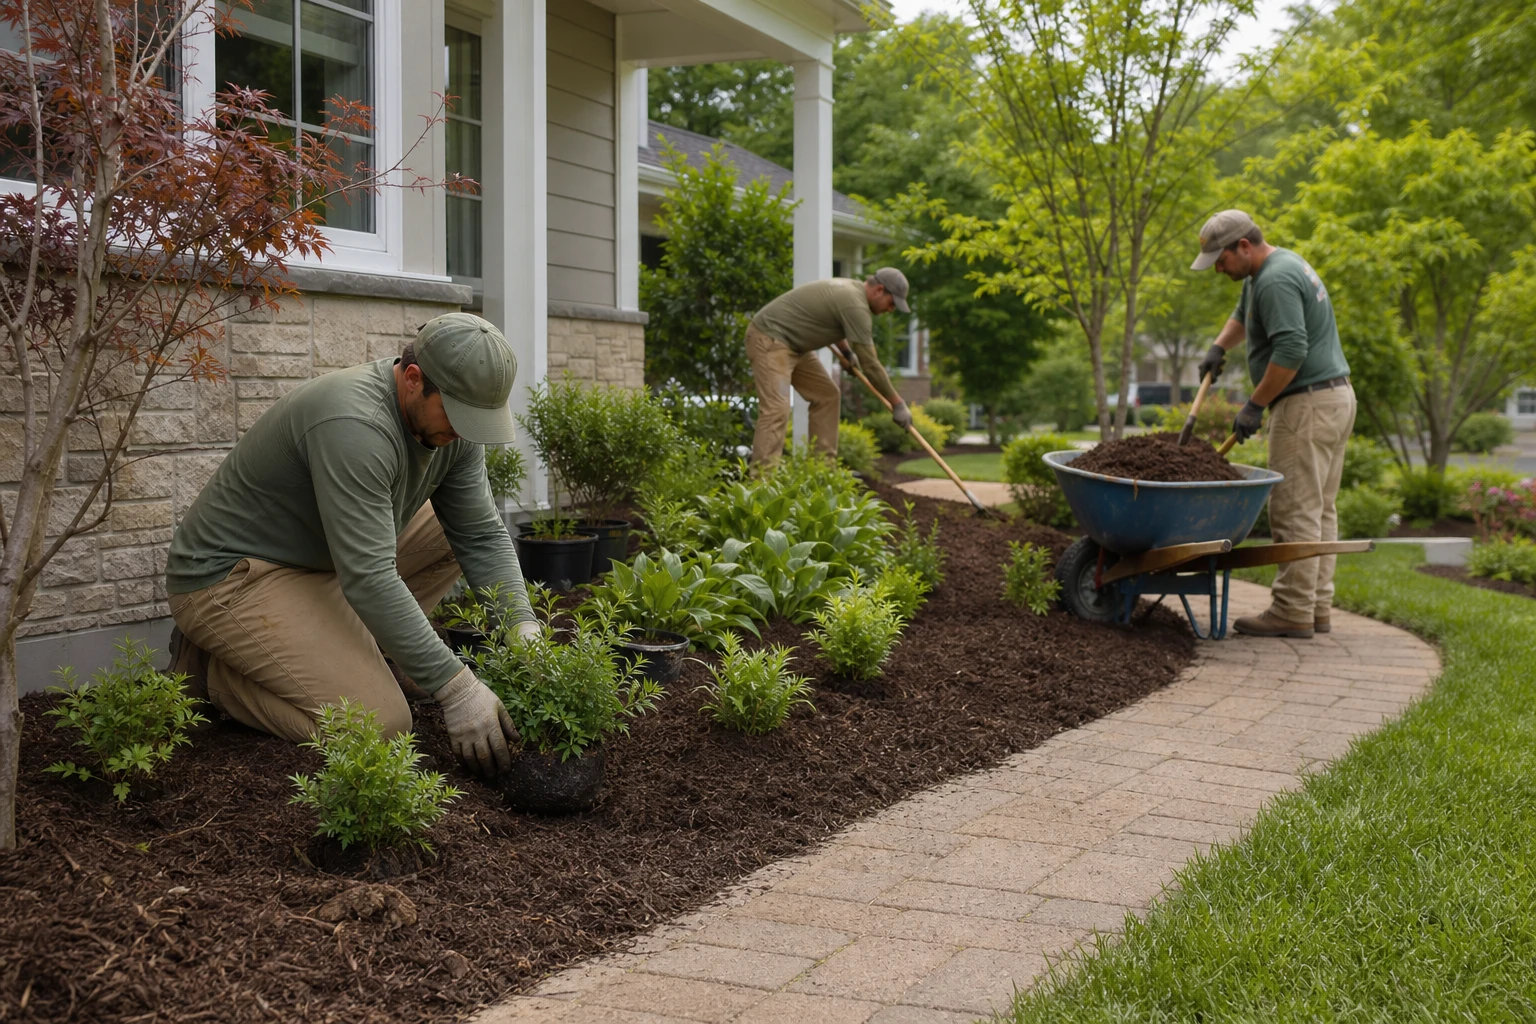
- Useful when: Digging, soil preparation, planting, mulch, cleanup, and other installation work within their capabilities.
- Ask about: Some crews also design or maintain; others install only. The title is not the scope.
- Written proof: Insurance, licensing requirements, references, crew, scope, schedule, and warranty.
Landscape designer or design-build firm
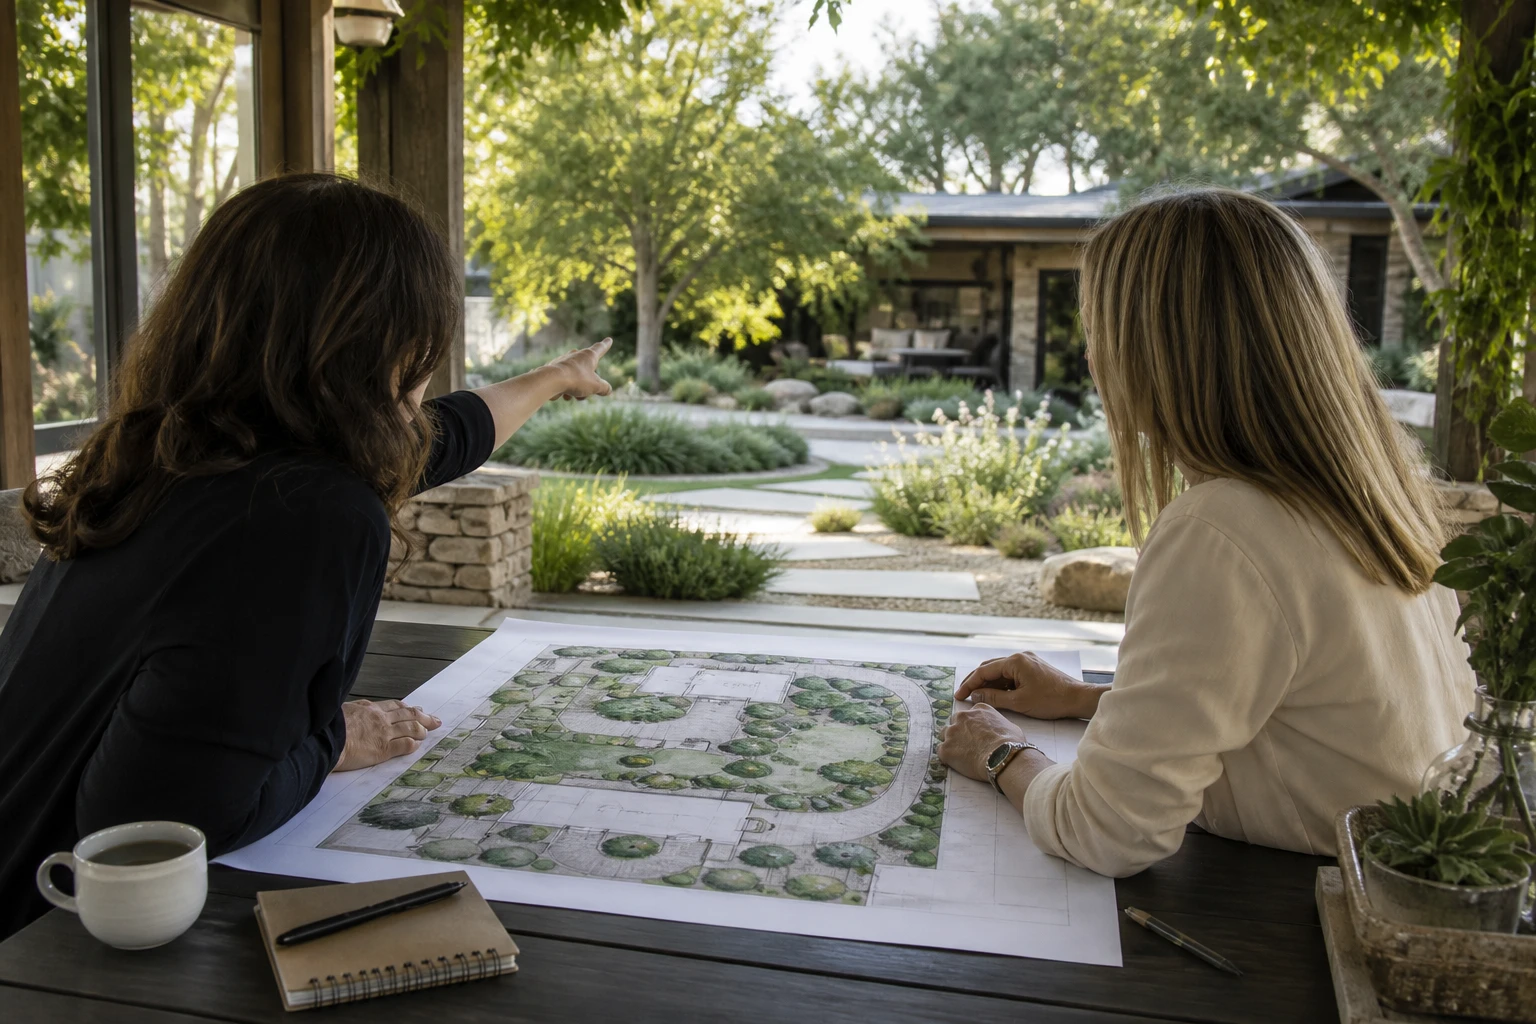
- Useful when: A new whole-yard concept, complex spatial problem, or a project where you need professional design coordination.
- Ask about: You may be paying for a new design phase even when you already have a planting direction.
- Written proof: Deliverables, revisions, site measurements, fees, and whether installation is included.
Qualified specialist
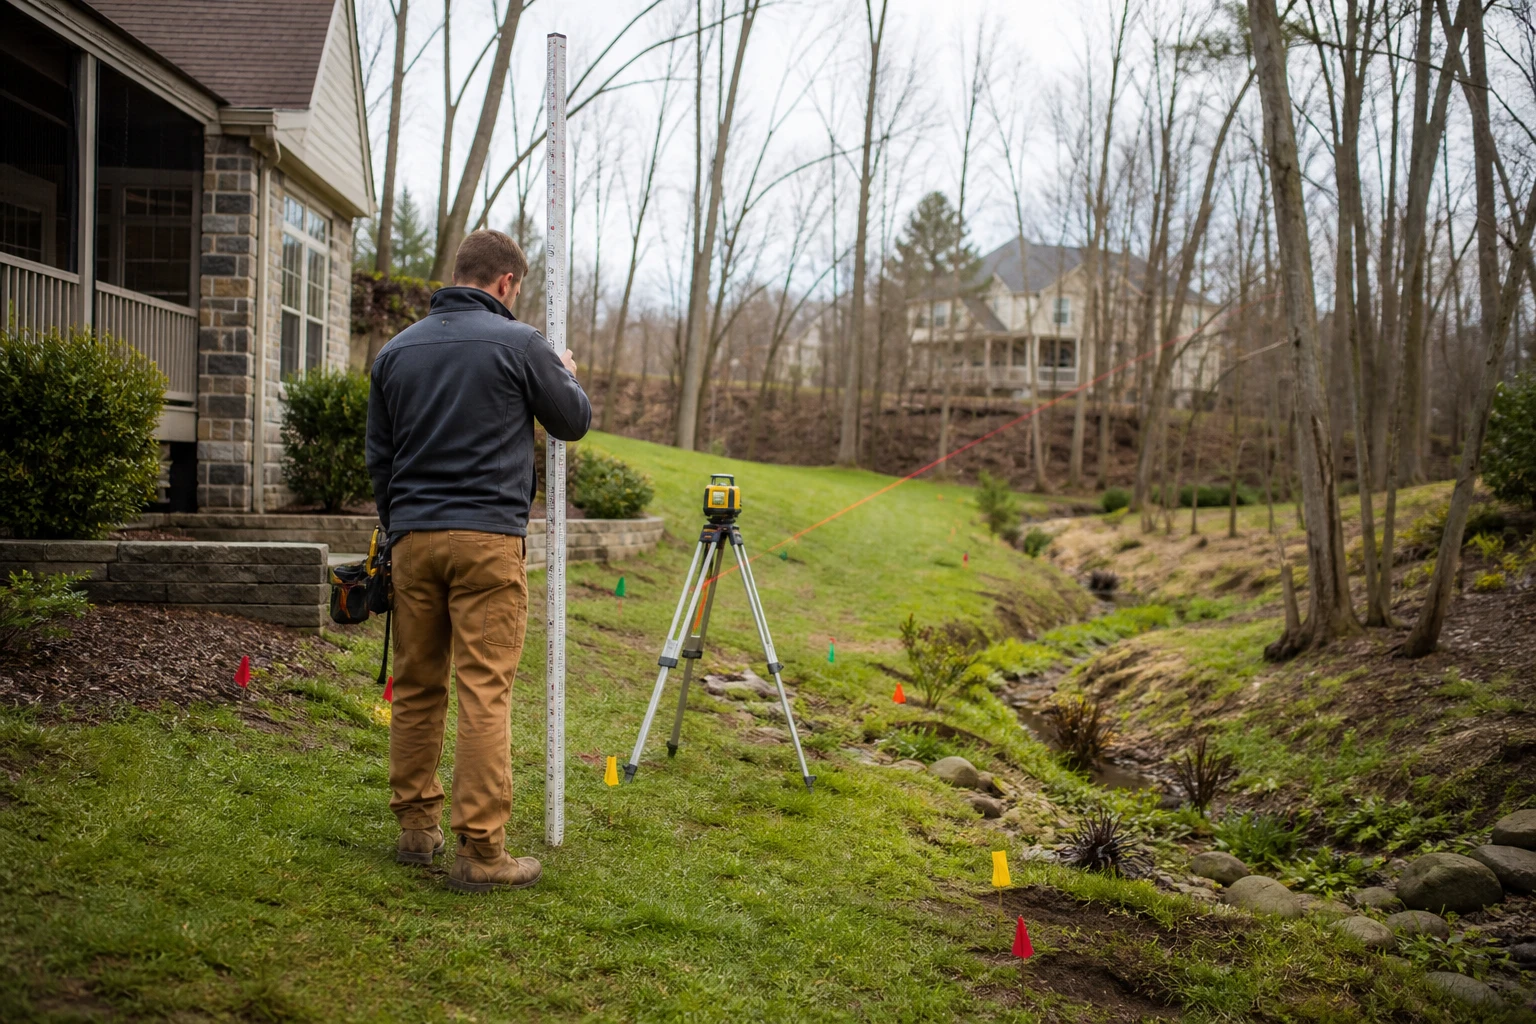
- Useful when: Grading, drainage, retaining structures, large-tree risk, irrigation, electrical, utilities, or regulated work.
- Ask about: The right professional depends on the problem and local rules; a planting visual cannot choose for you.
- Written proof: Who is responsible, what they are qualified to do, and which approvals or inspections apply.
Sources: University of Arizona Cooperative Extension, University of Florida IFAS Extension
The common DIY landscape-design misses
Most disappointing projects do not fail because the homeowner lacked taste. They fail because the pretty part was decided before the practical part.
Buying plants before measuring creates a crowded bed, blocked windows, or a route that slowly disappears. Designing the entire yard before choosing a first phase creates half-finished edges and a maintenance burden you did not test. Treat those as sequencing problems, not personal failures.
A photo-based visual can also make the project look more certain than it is. Keep the image for comparison and conversation; use measurements, a simple site map, and a written scope for decisions that affect money, safety, water movement, or construction.
If the plan is still too large to explain on one page, reduce the first phase. One clear bed, route, or outdoor room can teach you more about the site than a grand plan you cannot price or maintain.
Frequently asked questions
Can I design my own garden or landscape?
Yes, especially for a bounded planting project or a phased whole-yard concept. Start with a site inventory and simple site map, use mature plant sizes, and get local help early for grading, drainage, retaining, utilities, irrigation, electrical, large-tree risk, or permits.
Is Gardenful a landscape design app?
Gardenful is an iPhone app for planting-focused garden design from a yard photo. It helps you explore a visual direction, plant roles, named plants, suggested quantities, and design notes. It does not create construction-ready drawings or replace local site verification.
Can a landscaper install from my own design?
Often, but ask what the company installs, what it measures, and whether it accepts homeowner-supplied plans. Send the marked photo, site map, plant brief, scope, and unresolved questions, then get the work and substitutions in writing.
Do I need a landscape designer or a landscaper?
Hire a designer when you need a new spatial concept or professional coordination. Hire a landscaper or installation crew when you have a clear scope and need the work built. Some firms do both, so compare the actual deliverables rather than the job title.
What should a DIY landscape plan include?
Include the site boundary, house and fixed features, routes, dimensions that change decisions, sun and water observations, planting roles, mature-size assumptions, a draft plant list, phases, materials, and the facts a local installer still needs to verify.
When should I stop DIY planning and hire a professional?
Bring in qualified local help when the work could change drainage or grade, involve a retaining structure, affect utilities or electrical, require irrigation design, involve a large or hazardous tree, or need permits or inspections. Ask who is qualified for that specific work in your area.
Can Gardenful create a construction-ready landscape plan?
No. Gardenful provides a planting-led visual direction and plant planning starting point. Construction, grading, drainage, utilities, irrigation, structural work, measurements, and approvals need separate local verification and qualified professionals where required.
 Gardenful
Build the plan you can actually use.
Start with a photo of the area you want to change, turn the visual direction into a measured brief, and decide whether the next step is a nursery trip, a DIY weekend, or a written installation bid.
Gardenful for iPhone
Download the app free and start with a photo of your yard.

Sources and local checks(7)
These sources support the planning, base-map, utility, irrigation, and hiring boundaries in this guide. Plant choices still need regional verification for your yard.
- [1]Landscape Planning
University of Maryland Extensionhttps://extension.umd.edu/resource/landscape-planning
- [2]Landscape Design: Ten Important Things to Consider
University of Florida IFAS Extensionhttps://edis.ifas.ufl.edu/publication/EP375
- [3]
- [4]Drawing a Landscape Plan: The Base Map
University of Florida IFAS Extensionhttps://ask.ifas.ufl.edu/publication/EP456
- [5]How to Hire a Landscaper
University of Arizona Cooperative Extensionhttps://extension.arizona.edu/sites/default/files/2024-10/Landscaper-Hiring.pdf
- [6]
- [7]Call 811 Before You Dig
Call811.comhttps://call811.com/