Make a usable base map
How to measure your yard for landscaping
The short answer
Useful yard measurements locate fixed features; total square footage is not enough. Start with a property survey if one is available, sketch the house and boundaries, measure doors and windows from one fixed baseline, and locate trees or irregular features from two known points. Redraw the result to scale, then add separate observations for sunlight, water movement, utilities, roots, and access.
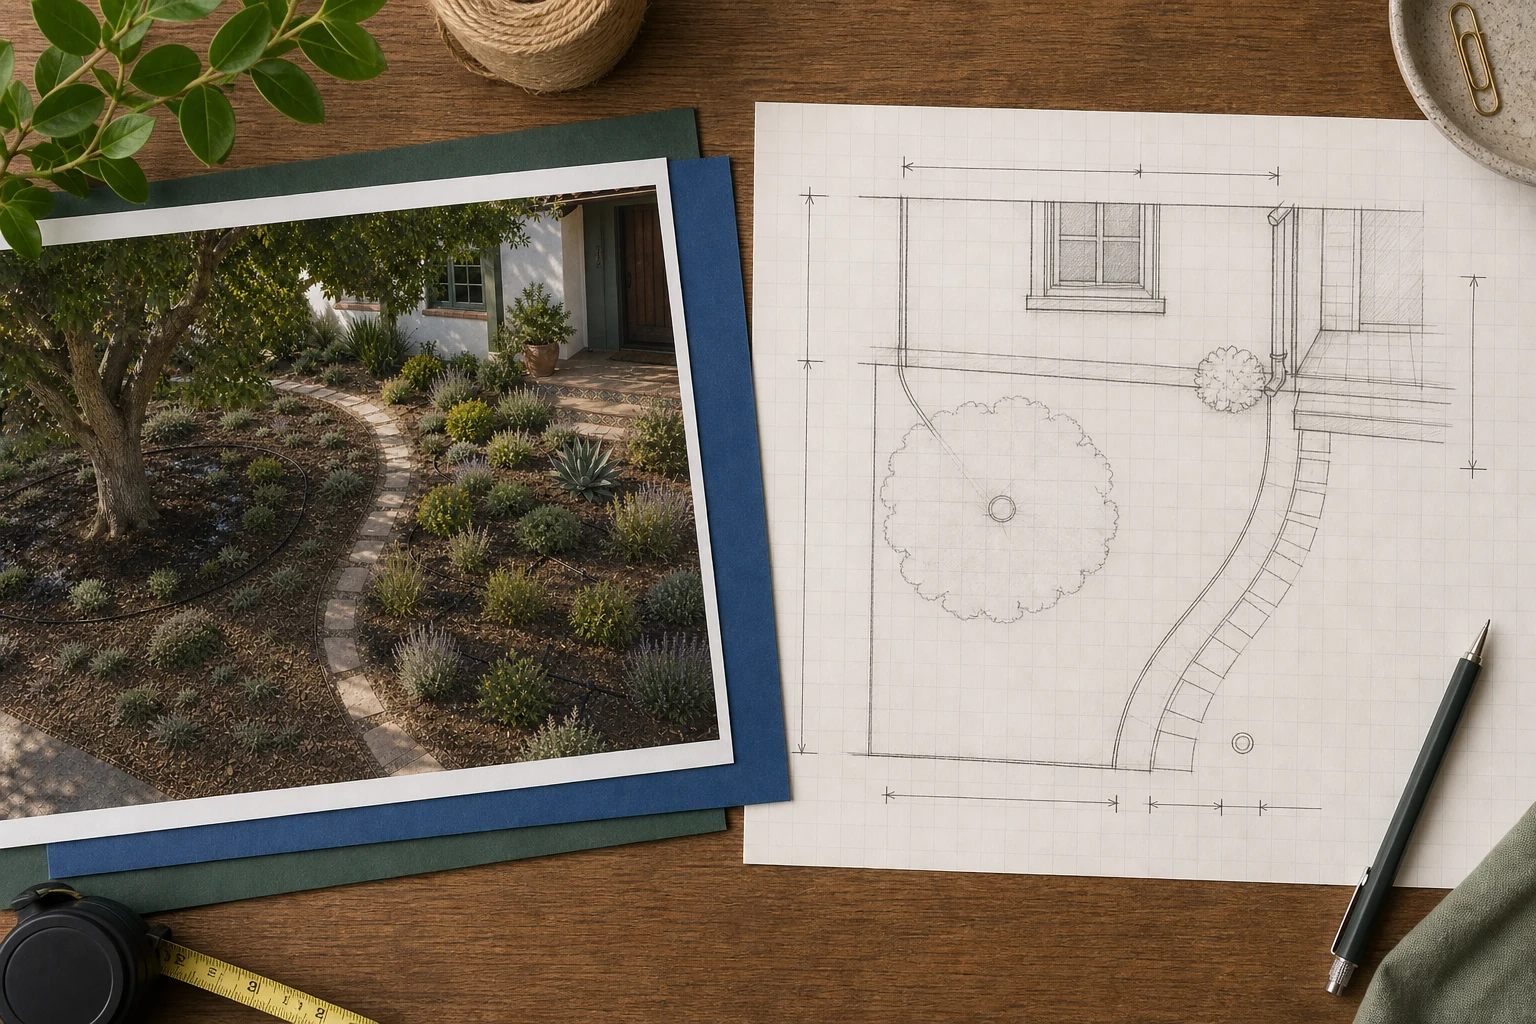
Start with the existing-condition base map
Before you open a measuring app, take a slow walk through the yard. You are building a reliable set of anchors for the next drawing—not trying to produce a survey in one afternoon.
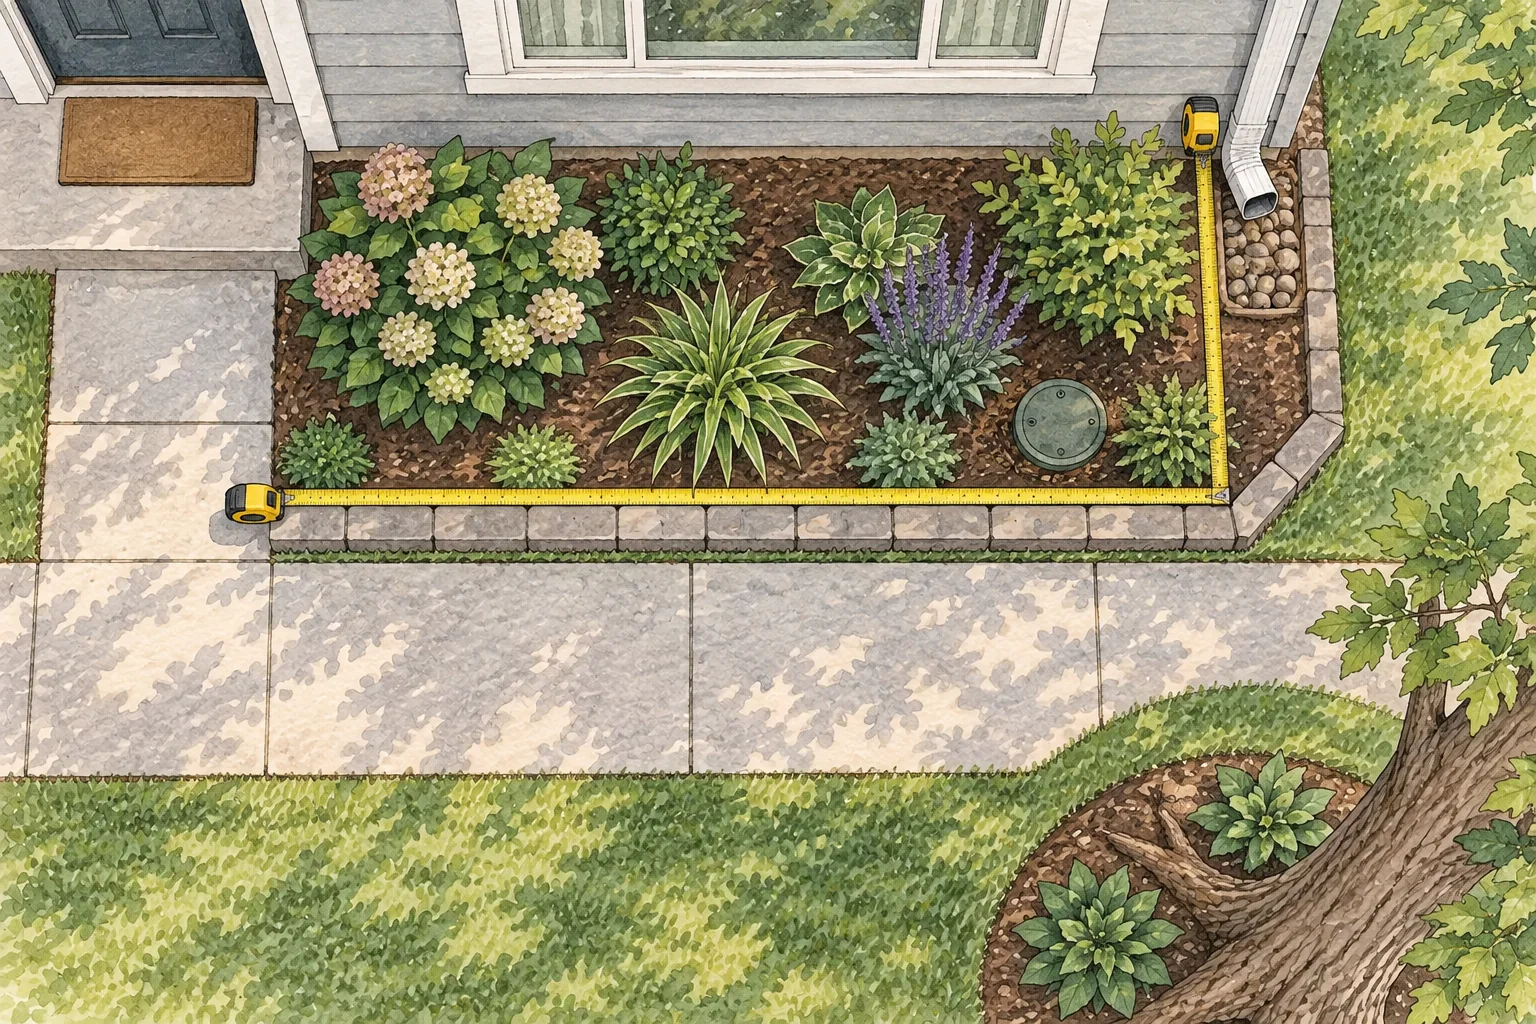
If you have a property survey, use it as the boundary reference. On your own sketch, draw the house footprint, driveway, paths, fences, doors, windows, steps, patios, downspouts, utility equipment, beds, and existing trees or shrubs. A homeowner sketch can support an early planting plan; it does not establish a legal boundary.1,3
Choose one origin, such as a house corner, and one baseline, such as the wall facing the yard. Locate features from that system instead of measuring each object from a different starting point.1
Keep a measurement ledger with the feature name, reference points, distance, date, and any uncertainty. Recheck one diagonal or second distance before using the drawing for quantities.
Choose the simplest method that locates the feature
Use a direct measurement for a simple object and a reference-point method for anything that is hard to measure from one line.
- 1
Point to point
Best for simple shapes.
Measure the length and width of a simple bed, patio, path, or rectangular open area.
- 2
Baseline measurements
Best for features aligned to an edge.
Measure windows, doors, spigots, downspouts, and corners along one wall or fence.
- 3
Triangulation
Best for objects away from a straight edge.
Measure an isolated tree, post, boulder, or utility feature from two fixed points already on the map.
- 4
Grid or stations
Best for curves and uneven shapes.
Break curved beds, irregular patios, and complex boundaries into smaller points that can be redrawn.
Sources: University of Florida IFAS Extension, UGA Cooperative Extension
Locate one tree by triangulation
A second measured distance turns a rough “tree is over there” note into a point on the plan.
Two house corners and one mature tree
The two fixed house corners are 24 feet apart. The tree center is 13 feet from the first corner and 17 feet from the second. On a drawing at 1 inch to 4 feet, draw a 6-inch baseline, then intersect arcs at 3.25 and 4.25 inches.
See the plan notes
Draw the known baseline
Place the two house corners 24 feet apart, or 6 inches at the chosen scale.
Measure from the first point
Use the 13-foot distance to draw a 3.25-inch arc from the first corner.
Measure from the second point
Use the 17-foot distance to draw a 4.25-inch arc from the second corner.
Plot the intersection and recheck
The arc intersection is the tree center. Confirm the position with a third observation before designing around the canopy or roots.
The base map is ready for design when fixed features can be located and a second measurement catches obvious transcription errors.
Add site observations that dimensions cannot settle
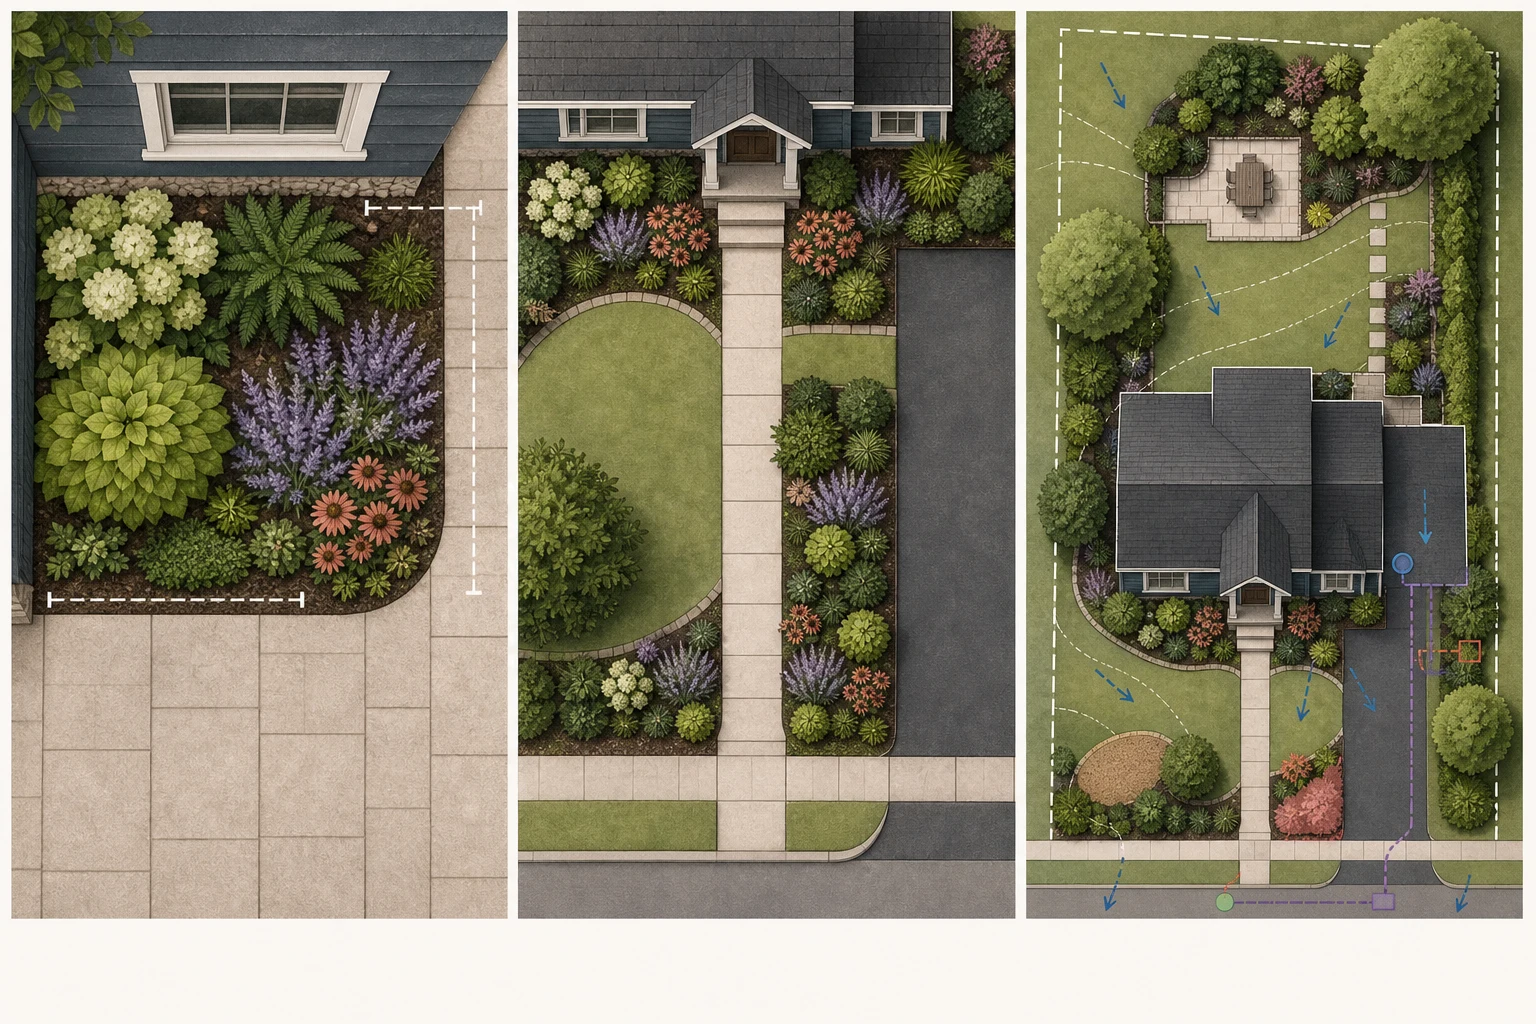
Use separate overlays so a visual direction does not confuse a measured fact with a seasonal or hidden condition.
- 1
Light and seasonal shade
Record observations at useful times and seasons. A single sunny photograph does not prove full-day light.
- 2
Water and grade
Mark wet pockets, dry eaves, runoff paths, slopes, and irrigation reach. Do not redirect water toward a building or neighbor.
- 3
Roots, wind, and soil
Note mature tree zones, exposed edges, reflected heat, soil differences, and any place that needs professional diagnosis.
- 4
Use and maintenance
Trace furniture, gates, bins, hoses, tools, routes, views, and the clearances needed to maintain the planting.
Use the base map for the next planning job
Stop the measurement guide when the existing yard is locatable. Then hand the map to the decision you need to make.
Use the map to draw plant masses, calculate quantities, and set substitution rules in a planting plan. Use the exact bed dimensions and mature spacing—not total property area—for a first buying estimate.5
Use a photo to compare a planting direction and preserve the visible relationship to the house. Keep the measured base map for anything the photo cannot prove, including clearances, quantities, boundaries, utilities, and construction decisions.4,6
A base map is a planning tool, not a legal survey, utility locate, drainage design, grading plan, or permit document.
Frequently asked questions
Can I measure my yard from a photo?
A photo can help record shape and visible constraints, but perspective distorts distance. Use direct measurements or a reliable survey for quantities, clearances, boundaries, and construction decisions.
Do I need a property survey to make a garden plan?
You can make an early planting sketch without one. Use a legal survey or qualified surveyor when property lines, easements, setbacks, fences, paving, or structures affect the work.
How do I locate a tree on a landscape plan?
Measure from the center of the trunk to two fixed points already shown on the base map. Plot the point where those two measured arcs intersect, then verify it with another measurement.
Does a landscape drawing need to be to scale?
Early ideas can be rough. Use a scaled drawing before calculating quantities or checking mature clearance around buildings, paths, utilities, trees, and property edges.
What should I measure before landscaping?
Measure boundaries and fixed features first: the house, doors, windows, paths, paving, fences, utilities, trees, beds, and access routes. Record sunlight, drainage, soil, and wind as separate observations.
 Gardenful
Make the yard legible before you make it new.
Locate what stays, record what changes through the day, and hand a usable base map to the next planting decision.
Gardenful for iPhone
Download the app free and start with a photo of your yard.

Sources(6)
The methods here help create a homeowner planning base map. They do not establish legal boundaries, locate private utilities, diagnose drainage, or replace professional site documents.
- [1]Site Measurements and Base Maps
University of Florida IFAS Extensionhttps://ask.ifas.ufl.edu/publication/EP427
- [2]
- [3]Home Landscape Design
Mississippi State University Extensionhttps://extension.msstate.edu/publications/home-landscape-design
- [4]Landscape Design: Ten Important Things to Consider
University of Florida IFAS Extensionhttps://ask.ifas.ufl.edu/publication/EP375
- [5]Landscape Design: Drawing a Planting Plan
University of Florida IFAS Extensionhttps://ask.ifas.ufl.edu/publication/EP456
- [6]Right Plant, Right Place
University of Florida IFAS Extensionhttps://ask.ifas.ufl.edu/publication/EP416